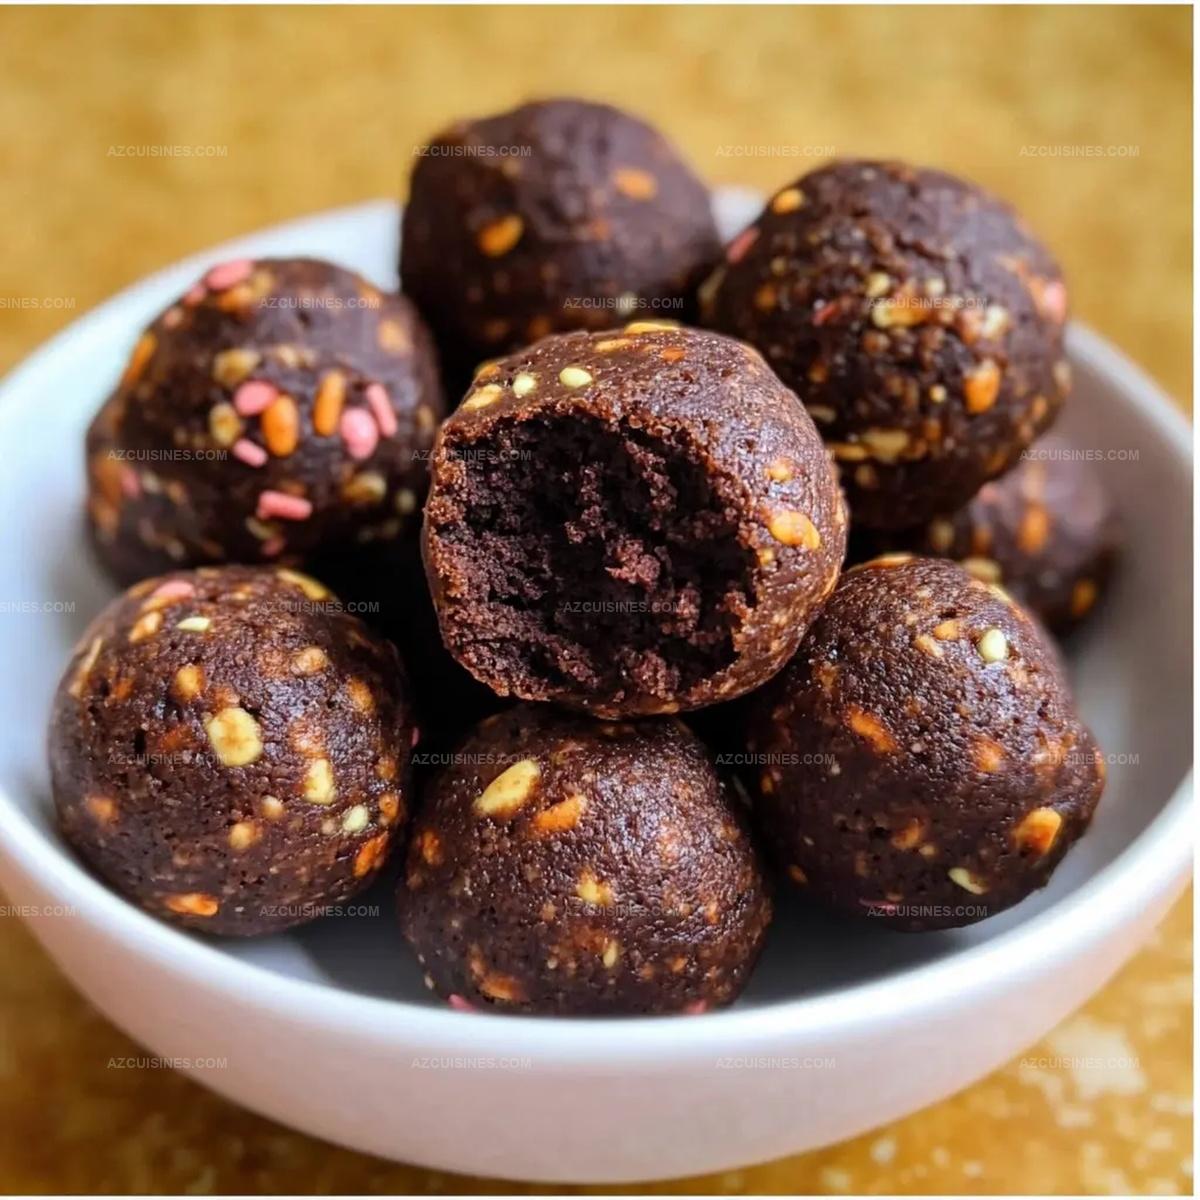
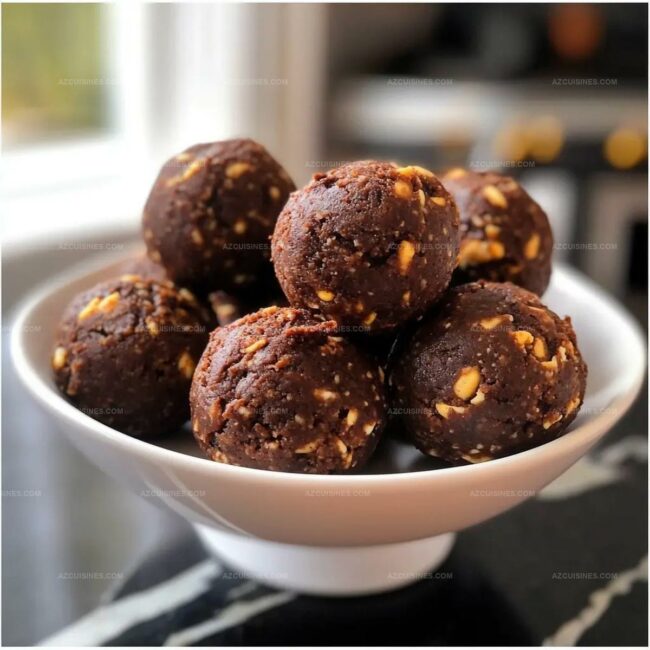
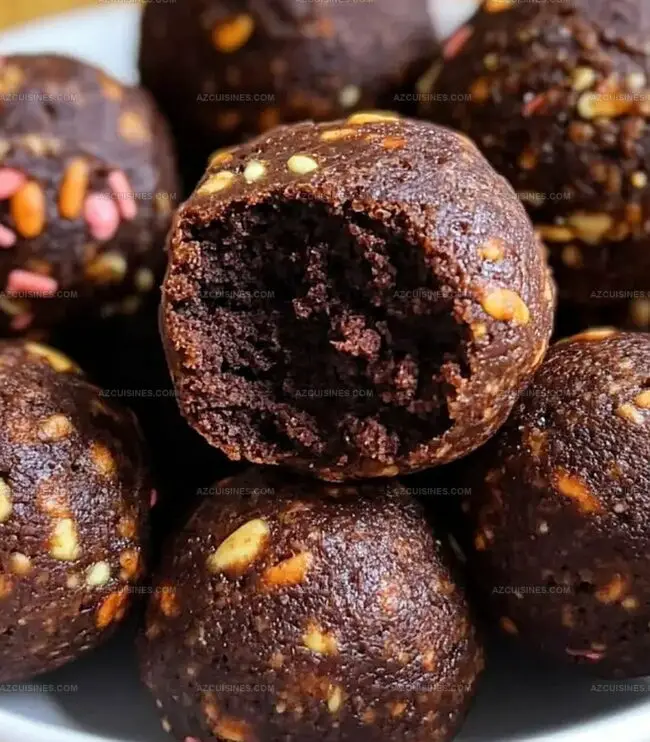
Quick & Sweet Brownie Batter Protein Balls Recipe for Energy
Craving a delightful brownie batter protein balls snack that packs both flavor and nutrition?
Energy levels can dip midday, making smart snacking crucial for staying focused.
These no-bake treats combine rich chocolate essence with muscle-supporting protein in a compact bite.
Healthy ingredients come together quickly, promising a guilt-free indulgence that satisfies sweet tooths.
Nutritionists love how these protein balls deliver sustained energy without processed sugar crashes.
Blending simple pantry staples creates a convenient, portable snack perfect for busy lifestyles.
You’ll want to whip up a batch and keep them ready for those moments when hunger strikes between meals.
What’s To Love About Healthy Brownie Batter Protein Balls No Bake Snack
Ingredients Needed For Healthy Brownie Batter Protein Balls No Bake Snack
Base Dry Ingredients:Wet Ingredients:Optional Add-Ins:How To Make Healthy Brownie Batter Protein Balls No Bake Snack
Step 1: Blend Dry Ingredients
Grab a spacious mixing bowl and combine almond flour, cocoa powder, protein powder, and a pinch of salt. Use a whisk to thoroughly mix, eliminating any pesky lumps that might disrupt your smooth texture.
Step 2: Whisk Wet Components
In a separate bowl, merge maple syrup, almond butter, and vanilla extract. Stir energetically until the mixture transforms into a silky, glossy liquid that promises incredible flavor.
Step 3: Form Delectable Dough
Gradually pour wet ingredients into dry ingredients, stirring consistently. Your goal is a rich, thick dough that holds together beautifully. If the mixture seems too crumbly, splash in almond milk one tablespoon at a time until you achieve perfect consistency.
Step 4: Enhance With Chocolate
For chocolate enthusiasts, fold in chocolate chips. This step amplifies the brownie batter experience with bursts of melty goodness.
Step 5: Shape Protein Treasures
Dampen hands slightly to prevent sticking. Scoop small portions of dough and roll into bite-sized spheres, approximately one inch in diameter. The smoother, the better!
Step 6: Chill and Preserve
Arrange protein balls on a parchment-lined baking sheet. Refrigerate for a minimum of 30 minutes, allowing them to firm up. Once set, transfer to an airtight container. These protein-packed treats will maintain their deliciousness for up to one week in the refrigerator.
Helpful Tips For Healthy Brownie Batter Protein Balls No Bake Snack
Ways To Switch Up Healthy Brownie Batter Protein Balls No Bake Snack
Pairings For Healthy Brownie Batter Protein Balls No Bake Snack
How To Store Healthy Brownie Batter Protein Balls No Bake Snack Right
Questions Answered About Healthy Brownie Batter Protein Balls No Bake Snack
Yes, they’re protein-packed and made with wholesome ingredients like almond flour and protein powder, which can help support weight management and keep you feeling full.
Absolutely! You can swap in whey, plant-based, or any other protein powder you prefer. Just ensure it’s a chocolate or unflavored variety for best taste.
These protein balls are naturally gluten-free and can be made dairy-free by choosing the right protein powder. For nut-free options, substitute almond butter with sunflower seed butter.
Consider adding an extra scoop of protein powder or including chia seeds or hemp seeds to boost the protein content even more.
Print
Brownie Batter Protein Balls Recipe
- Total Time: 45 minutes
- Yield: 12 1x
Description
Indulgent chocolate brownie batter protein balls deliver guilt-free energy and deliciousness in one perfect bite. Packed with rich cocoa, nutritious protein, and irresistible sweetness, these no-bake treats provide a quick and satisfying snack you’ll crave anytime.
Ingredients
Main Ingredients:
- 1 cup (240 ml) almond flour
- 1/2 cup (120 ml) cocoa powder
- 1/2 cup (120 ml) protein powder (chocolate or vanilla)
- 1/4 cup (60 ml) maple syrup or honey
- 1/4 cup (60 ml) almond butter or peanut butter
Liquid and Flavoring Ingredients:
- 2–4 tablespoons (30–60 ml) almond milk (or any milk of your choice)
- 1 teaspoon (5 ml) vanilla extract
Optional Ingredients:
- 1/4 cup (60 ml) chocolate chips
- 1/4 teaspoon (1.25 ml) salt
Instructions
- In a spacious mixing bowl, blend almond flour, cocoa powder, protein powder, and salt until uniformly combined, ensuring no lumpy fragments remain. Use a whisk for optimal integration.
- Separately, whisk maple syrup, almond butter, and vanilla extract into a smooth, harmonious liquid mixture, creating a rich foundational base for the protein balls.
- Gradually incorporate wet ingredients into dry components, stirring consistently to develop a cohesive, slightly tacky dough. If mixture appears excessively crumbly, introduce almond milk incrementally until achieving desired texture.
- For chocolate enthusiasts, gently fold chocolate chips into the developing dough, distributing them evenly throughout the mixture.
- Moisten hands slightly to prevent excessive sticking, then methodically shape dough into compact, uniform spheres approximately one inch in diameter. Apply gentle, consistent pressure while rolling.
- Arrange protein balls on parchment-lined baking sheet, then refrigerate for minimum 30 minutes at 40°F. Chilling facilitates structural solidification and enhances flavor melding.
- Transfer thoroughly chilled protein balls to sealed container. Refrigerate up to seven days, ensuring convenient access to nutritious, delectable snacking option perfect for post-exercise recovery or midday energy boost.
Notes
- Customize protein powder types to suit dietary needs like vegan, whey, or plant-based options for versatile nutrition.
- Adjust sweetness levels by experimenting with monk fruit sweetener or stevia for lower sugar alternatives.
- Use wet hands when rolling balls to prevent sticky dough from clinging and ensure smooth, uniform shapes.
- Store protein balls in freezer for extended shelf life up to one month, creating convenient grab-and-go energy bites.
- Prep Time: 15 minutes
- Cook Time: 0 minutes
- Category: Snacks, Desserts
- Method: Rolling
- Cuisine: American
Nutrition
- Serving Size: 12
- Calories: 120
- Sugar: 6 g
- Sodium: 50 mg
- Fat: 7 g
- Saturated Fat: 1 g
- Unsaturated Fat: 5 g
- Trans Fat: 0 g
- Carbohydrates: 12 g
- Fiber: 2 g
- Protein: 4 g
- Cholesterol: 0 mg
Truc Tran (Kris)
Senior Food Editor
Expertise
Home Cooking, Meal Planning, Recipe Development, Baking and Pastry, Food Editor, Cooking-video Maker, Vietnamese Food Evaluation Expert
Education
Truc Tran (Kris), an experienced food writer and editor, is great at exploring and describing global cuisines, from simple street food to fancy dining. In her writing, she skillfully mixes different flavors, cooking methods, and culinary traditions, showing the unique character of various cultures through their food and drinks. On azcuisines.com, Kris highlights her knowledge, especially in Asian cuisine and worldwide traditional dishes.