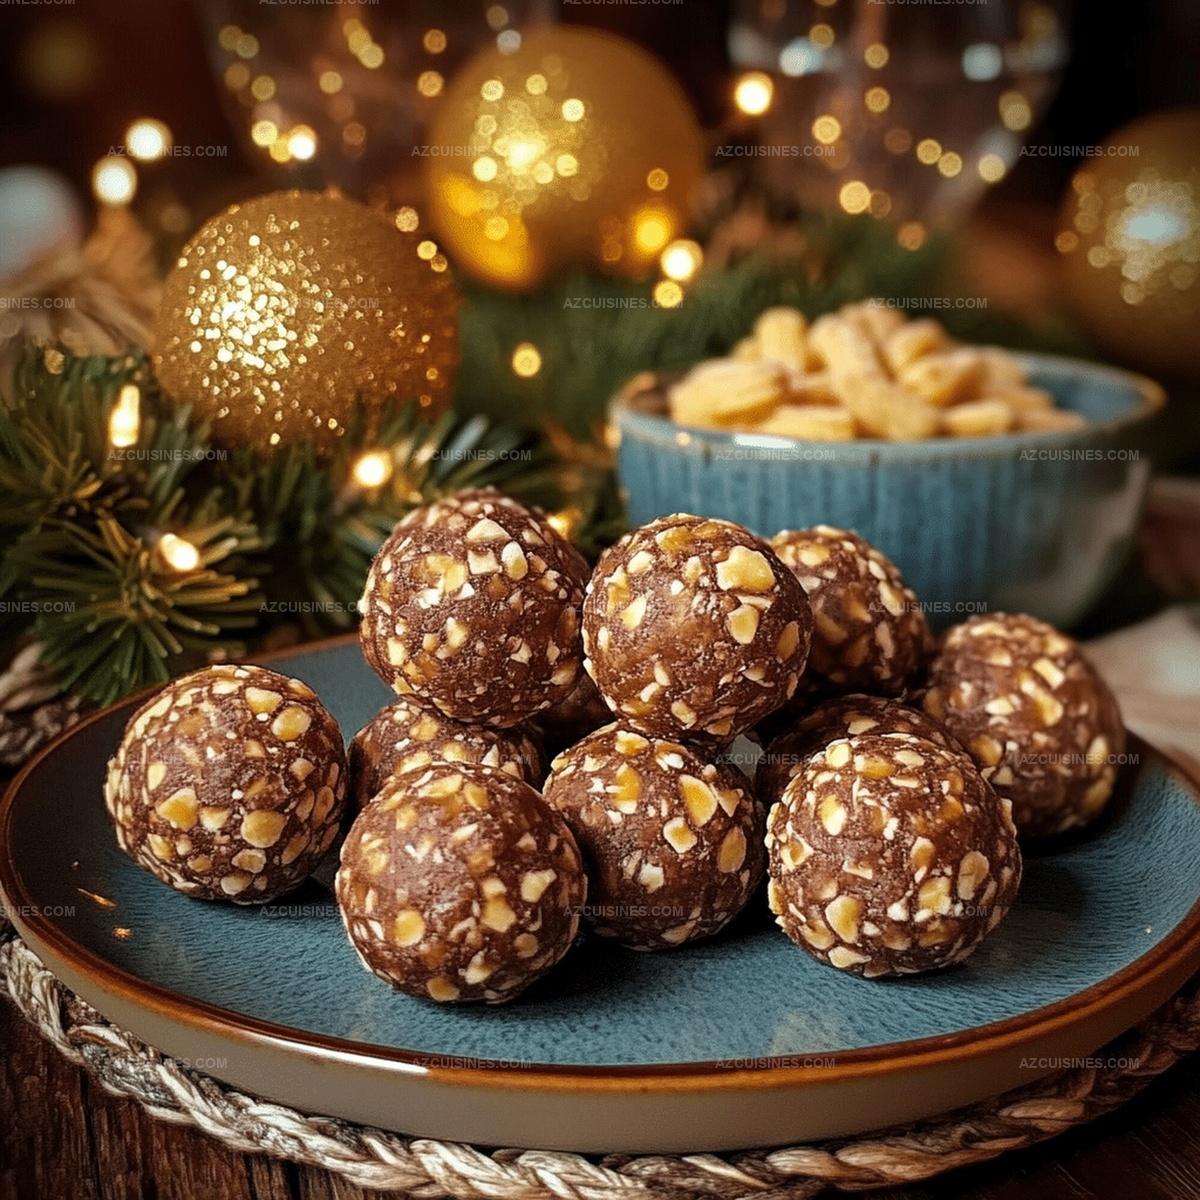
Irresistible Butterfinger Balls Recipe: Sweet Homemade Joy
Crafting delectable butterfinger balls brings pure childhood nostalgia to your kitchen adventure.
Sweet memories burst with every creamy bite of this treat.
Chocolate and peanut butter create a magical combination that dance across taste buds.
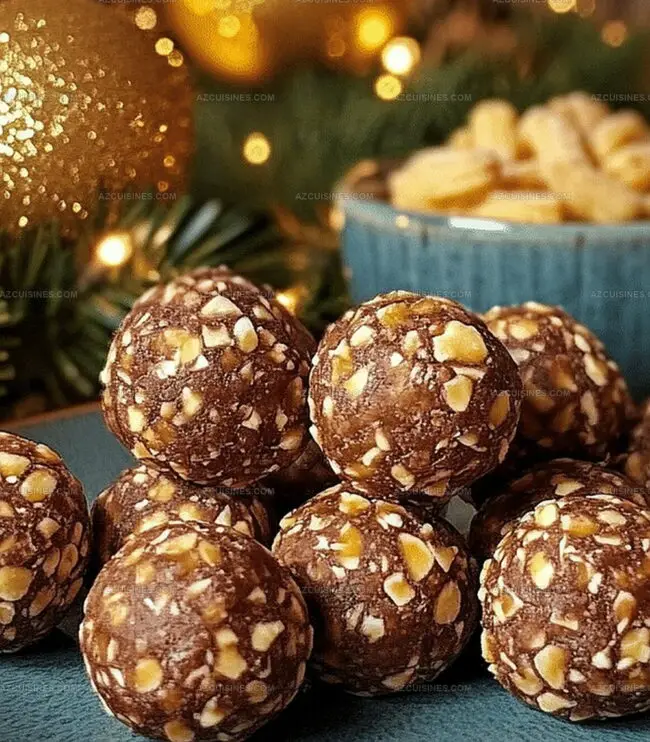
Crumbly candy pieces add unexpected texture and delightful crunch to each morsel.
Simple ingredients make this dessert accessible for bakers of all skill levels.
Minimal preparation time means you can whip up these decadent spheres quickly.
Indulge in this irresistible confection that promises to delight everyone at the gathering.
Why Everyone Loves Butterfinger Balls

What Goes Into Butterfinger Balls
For the Base:For the Mix-Ins:For the Coating and Decoration:Simple Guide To Make Butterfinger Balls
Step 1: Pulverize Graham Crackers
Transform graham crackers into fine, sandy crumbs using a food processor or rolling pin. Aim for a consistent texture that will blend smoothly with other ingredients.
Step 2: Mix Dry Ingredients
Combine the graham cracker crumbs in a large mixing bowl with:Blend thoroughly until the mixture becomes a unified mass.
Step 3: Create Dough Base
Fold in softened butter and honey, kneading gently to develop a sticky, pliable dough that holds its shape perfectly.
Step 4: Chill and Firm
Refrigerate the mixture for 15-20 minutes. This cooling period helps the dough become more manageable and easier to shape.
Step 5: Form Bite-Sized Balls
Roll the chilled dough into compact, uniform spheres. Arrange them carefully on a parchment-lined tray.
Step 6: Prepare Chocolate Coating
Melt chocolate chips using a double boiler or microwave. Stir occasionally to achieve a smooth, glossy texture. Aim for a temperature around 110°F for optimal consistency.
Step 7: Chocolate Dipping
Carefully submerge each ball into the melted chocolate, ensuring complete coverage. Gently tap to remove excess coating.
Step 8: Add Crunchy Topping
While the chocolate remains wet, sprinkle additional crushed Butterfinger fragments over the balls for extra crunch and flavor.
Step 9: Set and Harden
Place the chocolate-covered balls in the refrigerator. Allow them to set for approximately 15 minutes until the chocolate hardens completely.
Step 10: Store and Enjoy
Transfer the Butterfinger Balls to an airtight container. Store in the refrigerator, where they will maintain their delicious texture and flavor for up to one week.
Little Tricks For Better Butterfinger Balls
Different Styles For Butterfinger Balls
Snacks That Go With Butterfinger Balls
How To Keep Butterfinger Balls Fresh Longer
Common Questions About Butterfinger Balls
Use a food processor for uniform, fine crumbs. If you don’t have one, place crackers in a sealed bag and crush with a rolling pin until they resemble fine sand.
You can replace peanut butter with almond butter, and swap Butterfinger with other crushed candy bars like Reese’s or Heath bars. Just maintain similar proportions.
Chilling helps the mixture firm up, making it easier to shape consistent balls without sticking to your hands. Cold dough holds its shape better during rolling and coating.
Print
Butterfinger Balls Recipe
- Total Time: 35 minutes
- Yield: 12 1x
Description
Indulgent Butterfinger balls deliver a creamy, crunchy dessert experience that blends rich chocolate and classic peanut butter candy. Cool and irresistible treats satisfy sweet cravings with minimal effort, drawing chocolate enthusiasts into a delightful culinary moment you won’t want to miss.
Ingredients
Candy Base:
- 2 cups crushed graham crackers
- 1 cup creamy peanut butter
- 1/2 cup powdered sugar
- 2 Butterfinger candy bars, crushed
Binding Ingredients:
- 1/4 cup unsalted butter, softened
- 2 tbsp honey
Coating:
- 12 oz chocolate chips (milk or semi-sweet)
- 2 Butterfinger candy bars, extra for topping/garnish
Instructions
- Transform graham crackers into fine crumbs using a food processor or rolling pin, ensuring a uniform, sandy texture.
- In a spacious mixing bowl, combine the pulverized graham crackers with creamy peanut butter, powdered sugar, and finely crushed Butterfinger pieces, blending thoroughly until a cohesive mixture forms.
- Incorporate softened butter and honey into the mixture, kneading gently to create a malleable, sticky dough that holds its shape.
- Refrigerate the mixture for 15-20 minutes to firm up, making it easier to shape into consistent, bite-sized spheres.
- Roll the chilled dough into compact, uniform balls, placing them on a parchment-lined tray.
- Melt chocolate chips using a double boiler or microwave, stirring occasionally to achieve a smooth, glossy consistency at 110°F.
- Delicately immerse each ball into the melted chocolate, ensuring complete coverage, then gently tap to remove excess coating.
- Sprinkle additional crushed Butterfinger fragments over the chocolate-enrobed balls while the coating remains wet.
- Transfer the decorated balls to the refrigerator, allowing them to set for approximately 15 minutes until the chocolate hardens completely.
- Store the Butterfinger Balls in an airtight container in the refrigerator, where they will maintain their texture and flavor for up to one week.
Notes
- Ensure graham crackers are finely ground to prevent lumpy texture in the final treat.
- Use room temperature ingredients for smoother mixing and easier dough formation.
- Consider substituting peanut butter with almond or sunflower seed butter for nut-free alternatives.
- Opt for dark or white chocolate coating to create flavor variations and visual appeal.
- Prep Time: 20 minutes
- Cook Time: 15 minutes
- Category: Snacks, Desserts
- Method: Rolling
- Cuisine: American
Nutrition
- Serving Size: 12
- Calories: 217
- Sugar: 16 g
- Sodium: 73 mg
- Fat: 11 g
- Saturated Fat: 5 g
- Unsaturated Fat: 6 g
- Trans Fat: 0 g
- Carbohydrates: 27 g
- Fiber: 1 g
- Protein: 4 g
- Cholesterol: 3 mg
Truc Tran (Kris)
Senior Food Editor
Expertise
Home Cooking, Meal Planning, Recipe Development, Baking and Pastry, Food Editor, Cooking-video Maker, Vietnamese Food Evaluation Expert
Education
Truc Tran (Kris), an experienced food writer and editor, is great at exploring and describing global cuisines, from simple street food to fancy dining. In her writing, she skillfully mixes different flavors, cooking methods, and culinary traditions, showing the unique character of various cultures through their food and drinks. On azcuisines.com, Kris highlights her knowledge, especially in Asian cuisine and worldwide traditional dishes.