
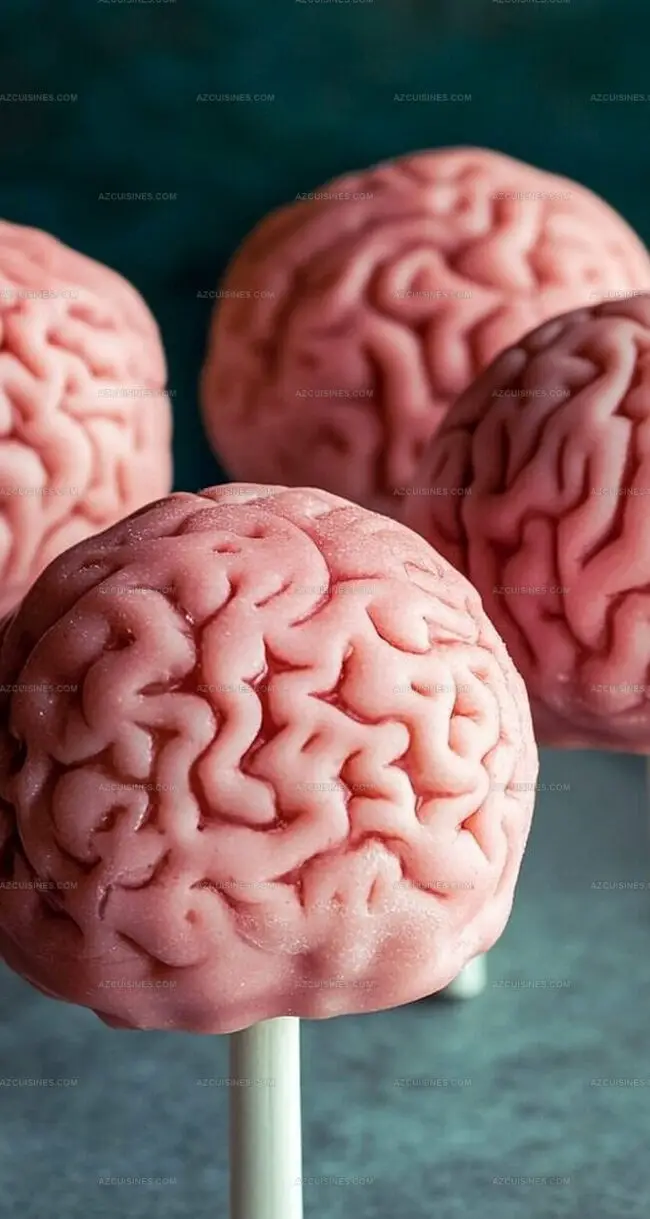
Spooky Cake Pop Brains Recipe: Freakishly Fun Halloween Treats
Sweet science meets Halloween creativity with these cake pop brains that promise a delightfully spooky twist.
Neuroscience never looked so delectable before today.
Crumbled cake mixed with frosting creates the perfect moldable texture for our ghoulish treat.
Crafting these edible craniums requires minimal kitchen skills and maximum imagination.
Blood-red drizzles and intricate texture details make these treats truly terrifying.
Surgical precision isn’t necessary – just a playful spirit and some basic decorating tools.
You’ll become the mad scientist of dessert with this wickedly fun recipe that guarantees shocked reactions at any Halloween gathering.
Why Cake Pop Brains Are a Party Favorite
Everything You’ll Need for Cake Pop Brains
Main Ingredients:Filling and Coloring:Molding and Preparation:How to Make Creepy-Cute Cake Pop Brains
Step 1: Blend Cake and Frosting
Mix crumbled red velvet cake with vanilla frosting using a stand mixer. Blend on medium speed until the mixture becomes completely smooth and can hold its shape when pressed together.
Step 2: Melt Chocolate Coating
Gently melt chocolate wafers or ruby chocolate in a double boiler. Stir carefully until almost completely melted.
Gradually add remaining chocolate in small batches, continuing to stir until achieving a silky smooth texture.
Step 3: Prepare Brain Mold Shells
Use a small brush to carefully coat the inside of silicone brain molds with melted chocolate.
Ensure sides and bottom are evenly covered. Place molds in the refrigerator to set completely.
Step 4: Create Bloody Raspberry Filling
Combine raspberry jam with a few drops of red food coloring. Add a tiny amount of water to create a slightly more fluid consistency without making it too runny.
Step 5: Fill and Construct Brain Shapes
Once chocolate shells are set, add a spoonful of raspberry jam into each mold. Form cake mixture into small balls and press them into the molds.
Trim the top edges to create a smooth, flat surface.
Step 6: Seal and Set the Brains
Cover the top of each brain with remaining melted chocolate, completely sealing the filling.
Allow to set at room temperature for 40 minutes or refrigerate briefly to speed up the process.
Step 7: Reveal and Serve
Carefully unmold the chocolate brain cake pops.
Arrange on a serving platter for a delightfully creepy Halloween treat.
Tips for Nailing Cake Pop Brains
Scary-Fun Variations for Cake Pop Brains
Sweet and Spooky Pairings for Cake Pop Brains
How to Keep Cake Pop Brains Fresh
FAQs for Cake Pop Brains You’ll Want to Read
Mix the crumbled cake and frosting thoroughly in a stand mixer until the consistency allows you to form compact balls that hold their shape without crumbling.
Ruby chocolate or candy wafers work perfectly. They melt smoothly and create a glossy, even coating for the brain-shaped cake pops.
Raspberry jam provides the best realistic “bloody” effect, but you can substitute with strawberry or cherry jam if needed. Just add a few drops of red food coloring to achieve the desired color intensity.
You’ll need a silicone brain mold, a stand mixer, and a double boiler for melting chocolate.
Print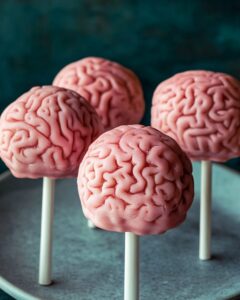
Cake Pop Brains Recipe
- Total Time: 1 hour 10 minutes
- Yield: 12 1x
Description
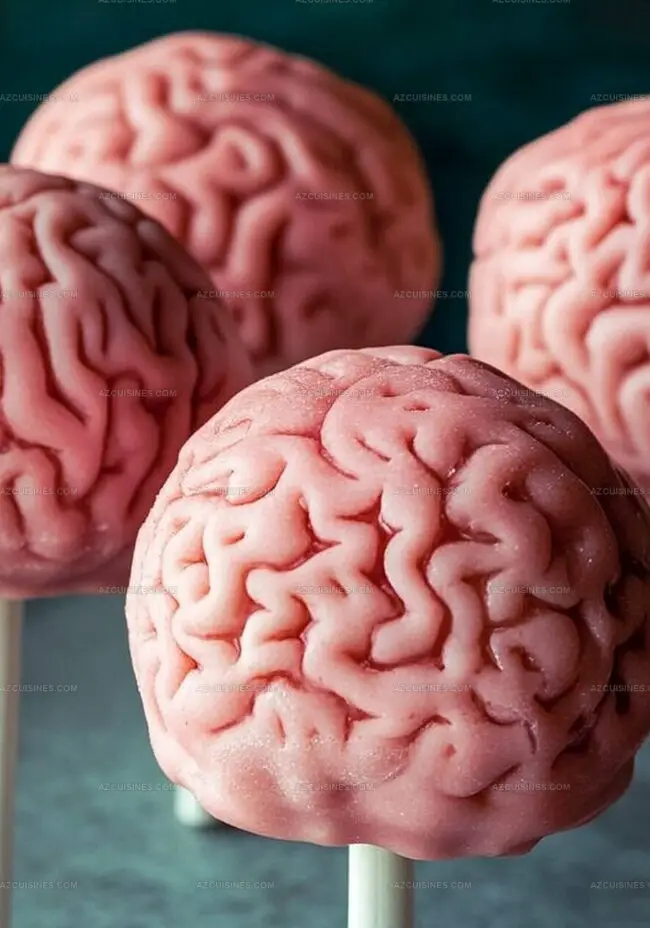
Ghoulish cake pop brains bring Halloween horror to dessert tables with spine-chilling chocolate details. Guests will devour these eerily realistic brain-shaped treats that blend sweet creativity with spooky Halloween spirit.
Ingredients
Main Ingredients:
- 4 cups crumbled red velvet cake
- 1/2 cup seedless raspberry jam
- 8 ounces (226 grams) lime green, purple, or orange candy melting wafers or ruby chocolate
Binding and Flavor Enhancers:
- 3 tablespoons vanilla frosting
Decorative Elements:
- A few drops of red food coloring
Instructions
- Pulverize the red velvet cake into fine crumbs and blend thoroughly with vanilla frosting using a stand mixer until the mixture achieves a cohesive, moldable consistency.
- Create a double boiler and gently melt two-thirds of the candy wafers or ruby chocolate, gradually incorporating remaining candy pieces until achieving a silky, uniform texture.
- Meticulously brush melted candy into silicone brain molds, ensuring complete interior coverage, then chill in refrigerator until solidified.
- Transform raspberry jam by introducing red food coloring and a minimal amount of water, adjusting viscosity for smooth, even distribution.
- After candy shells set, delicately layer raspberry jam into molds, carefully forming cake mixture into compact spheres that nestle perfectly within the brain cavities.
- Seal brain structures by pouring remaining melted candy over the top, creating a seamless surface. Allow 40 minutes setting time at room temperature or expedite hardening through brief refrigeration.
- Carefully extract delicate brain-shaped confections from molds, presenting these intricate culinary artworks ready for serving.
Notes
- Customize cake flavor by swapping red velvet with chocolate, vanilla, or carrot cake for unique variations.
- Choose ruby chocolate for a vibrant pink hue or traditional white candy melts for classic appearance.
- Control jam consistency carefully to prevent leaking or overwhelming the delicate brain structure.
- Use room temperature ingredients to ensure smoother mixing and better cake pop texture.
- Prep Time: 30 minutes
- Cook Time: 40 minutes
- Category: Desserts, Snacks
- Method: Molding
- Cuisine: American
Nutrition
- Serving Size: 12
- Calories: 150
- Sugar: 12g
- Sodium: 50mg
- Fat: 7g
- Saturated Fat: 4g
- Unsaturated Fat: 2g
- Trans Fat: 0g
- Carbohydrates: 20g
- Fiber: 1g
- Protein: 2g
- Cholesterol: 10mg
Truc Tran (Kris)
Senior Food Editor
Expertise
Home Cooking, Meal Planning, Recipe Development, Baking and Pastry, Food Editor, Cooking-video Maker, Vietnamese Food Evaluation Expert
Education
Truc Tran (Kris), an experienced food writer and editor, is great at exploring and describing global cuisines, from simple street food to fancy dining. In her writing, she skillfully mixes different flavors, cooking methods, and culinary traditions, showing the unique character of various cultures through their food and drinks. On azcuisines.com, Kris highlights her knowledge, especially in Asian cuisine and worldwide traditional dishes.