Dreamy Bite-Sized Cake Pop Recipe for Sweet Celebrations
Sweet magic happens when chocolate meets tiny spheres of cake pop delight.
Homemade treats sparkle with unexpected charm and playful presentation.
Bakers adore creating these miniature desserts that surprise everyone at parties.
Compact and adorable, these bite-sized confections bring smiles to gatherings large and small.
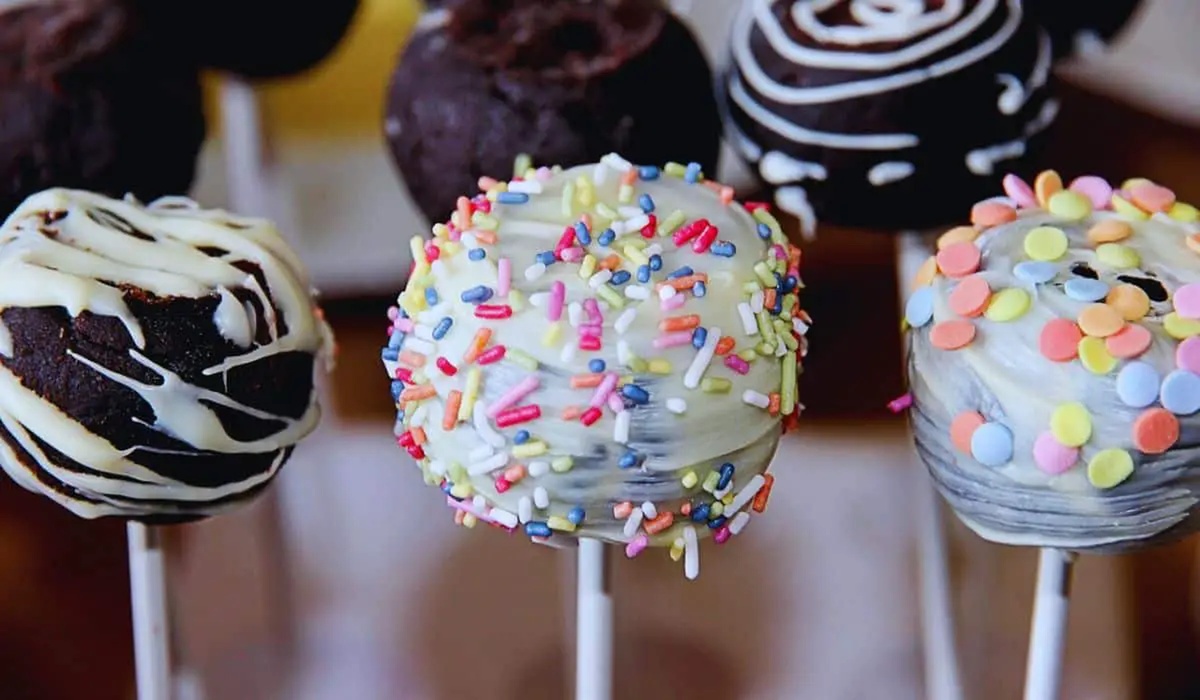
Kids absolutely love decorating each pop with colorful sprinkles and creative designs.
Professional bakery skills aren’t required – just enthusiasm and a willingness to experiment.
You can master this simple yet impressive dessert in minutes.
Grab your mixing bowl and let’s make something truly memorable that will have friends begging for your secret recipe.
Why Cake Pops Are Fun, Cute, And Craveable
Everything You Need To Make Sweet Cake Pops
Base Ingredients:Binding and Flavor Ingredients:Coating and Decoration Ingredients:Additional Supporting Ingredients:How To Shape, Dip, And Decorate Cake Pops
Step 1: Bake The Cake Base
Preheat the oven to 350°F. Prepare vanilla cake mix by combining:Mix ingredients in a large bowl until smooth and well blended. Pour batter into a 9×13 inch pan and bake for 25-30 minutes. Check doneness by inserting a toothpick – it should come out clean. Let cake cool completely at room temperature.
Step 2: Transform Cake Into Crumbs
Carefully crumble the cooled cake into a large mixing bowl. Break cake into fine, uniform crumbs ensuring no large chunks remain. The texture should be soft and consistent.
Step 3: Create Cake Pop Mixture
Add vanilla buttercream frosting to cake crumbs. Mix thoroughly until the mixture holds together and can be easily shaped into balls. The consistency should be moist and compact.
Step 4: Form Cake Balls
Roll the cake mixture into small, uniform balls approximately 1-inch in diameter. Place cake balls on a parchment-lined baking sheet. Ensure each ball is tightly packed and round.
Step 5: Chill And Prepare
Refrigerate cake balls for 15-20 minutes. This helps firm up their structure and makes them easier to handle during coating. While chilling, prepare candy coating.
Step 6: Melt Candy Coating
Melt candy melts with vegetable shortening in a microwave-safe bowl. Stir every 30 seconds until smooth and completely liquid. Maintain a consistent, glossy texture.
Step 7: Attach Lollipop Sticks
Dip the tip of each lollipop stick into melted candy coating. Insert stick halfway into a cake ball, creating a secure base. This helps prevent cake balls from falling off during coating.
Step 8: Coat Cake Pops
Carefully submerge each cake pop into melted candy coating. Gently tap off excess coating and rotate to ensure even coverage. Work carefully to create a smooth, uniform surface.
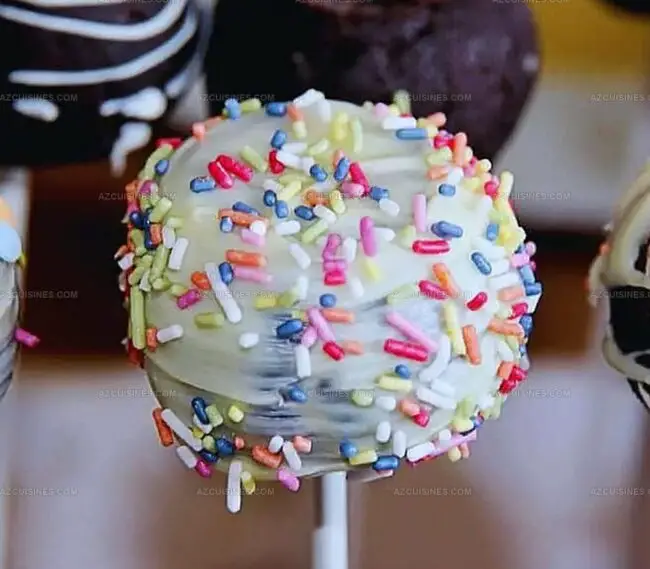
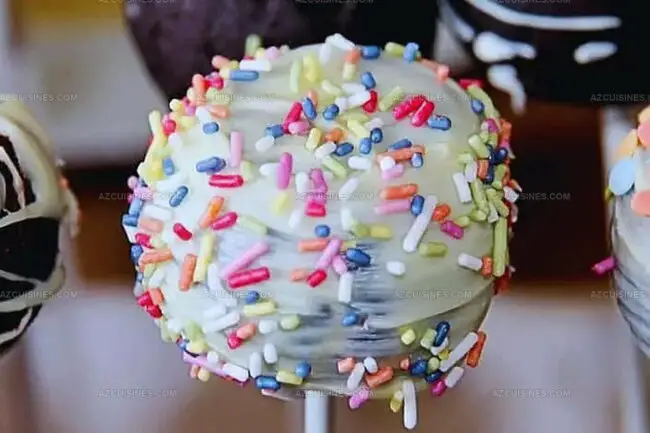
Step 9: Decorate With Sprinkles
Immediately garnish cake pops with sprinkles before the coating sets. Work quickly to prevent hardening. Add decorative elements for visual appeal.
Step 10: Set And Cool
Place cake pops upright in a styrofoam block or cake pop stand. Allow them to set and cool at room temperature. Refrigerate for 10-15 minutes to help coating harden and achieve a glossy finish.
Tips For Cake Pops That Stay Perfectly Round
Cake Pop Flavor Ideas Worth Celebrating
What Goes Great With Your Colorful Cake Pops
How To Store Cake Pops So They Stay Fresh
Cake Pop FAQs To Keep You Stress-Free
The buttercream frosting acts as a binding agent, helping cake crumbs hold together and creating a smooth, moldable texture that allows you to shape uniform cake balls.
Absolutely! You can substitute vanilla cake mix with chocolate, red velvet, or any other flavor you prefer, keeping the basic mixing and preparation method the same.
Dip the stick’s tip in melted candy coating before inserting into the cake ball, which creates a strong seal and prevents the cake pop from sliding off during dipping.
Chilling helps firm up the cake balls, making them more stable and easier to handle during the coating process, which reduces the chance of them falling apart when dipped in melted candy coating.
Print
Cake Pop Recipe
- Total Time: 1 hour to 1 hour 15 minutes
- Yield: 12 1x
Description
Delightful chocolate cake pops bring sweet magic to dessert tables with irresistible charm. Creamy, rich morsels promise pure indulgence that tempts you to savor each delectable bite.
Ingredients
Cake Ingredients:
- 1 box vanilla cake mix
- 3 eggs
- 1/3 cup vegetable oil
- 1 cup water
Frosting and Coating:
- 1/2 cup vanilla buttercream frosting
- 2 cups candy melts (white or colored)
- 1/4 cup sprinkles
Cake Pop Assembly:
- 20 lollipop sticks
- 2 tbsp vegetable shortening (for smooth coating)
Instructions
- Preheat oven to 350°F and prepare vanilla cake mix according to package instructions, combining cake mix, eggs, vegetable oil, and water in a mixing bowl.
- Bake cake in a 9×13 inch pan for 25-30 minutes until a toothpick inserted comes out clean. Allow cake to cool completely at room temperature.
- Crumble the cooled cake into fine, uniform crumbs in a large mixing bowl, ensuring no large chunks remain.
- Incorporate vanilla buttercream frosting into cake crumbs, mixing thoroughly until the mixture holds together and can be easily shaped.
- Roll the cake mixture into uniform small balls, approximately 1-inch in diameter, placing them on a parchment-lined baking sheet.
- Chill cake balls in the refrigerator for 15-20 minutes to firm up their structure and make them easier to handle.
- Melt candy melts with vegetable shortening in a microwave-safe bowl, stirring every 30 seconds until smooth and completely liquid.
- Dip the tip of each lollipop stick into melted candy coating, then insert halfway into a cake ball to create a secure base.
- Carefully submerge each cake pop into melted candy coating, gently tapping off excess and rotating to ensure even coverage.
- Immediately garnish with sprinkles before the coating sets, working quickly to prevent hardening.
- Place cake pops upright in a styrofoam block or cake pop stand to set and cool completely at room temperature.
- Refrigerate cake pops for 10-15 minutes to help coating harden and achieve a glossy finish.
Notes
- Ensure cake crumbs are finely and uniformly processed to prevent lumpy cake pops that might fall apart during coating.
- Control moisture by adding buttercream gradually, checking consistency – mixture should hold shape without being too wet or dry.
- Use room temperature ingredients for smoother cake mix and easier blending of cake and frosting components.
- Maintain consistent ball size by using a small cookie scoop or tablespoon measure for uniform cake pop appearance and even cooking.
- Prep Time: 30 minutes
- Cook Time: 25-30 minutes
- Category: Desserts, Snacks
- Method: Baking
- Cuisine: American
Nutrition
- Serving Size: 12
- Calories: 220
- Sugar: 15g
- Sodium: 150mg
- Fat: 10g
- Saturated Fat: 2g
- Unsaturated Fat: 8g
- Trans Fat: 0g
- Carbohydrates: 30g
- Fiber: 0g
- Protein: 2g
- Cholesterol: 30mg
Truc Tran (Kris)
Senior Food Editor
Expertise
Home Cooking, Meal Planning, Recipe Development, Baking and Pastry, Food Editor, Cooking-video Maker, Vietnamese Food Evaluation Expert
Education
Truc Tran (Kris), an experienced food writer and editor, is great at exploring and describing global cuisines, from simple street food to fancy dining. In her writing, she skillfully mixes different flavors, cooking methods, and culinary traditions, showing the unique character of various cultures through their food and drinks. On azcuisines.com, Kris highlights her knowledge, especially in Asian cuisine and worldwide traditional dishes.