The Crunchy Cheese Straws Recipe Everyone Will Love
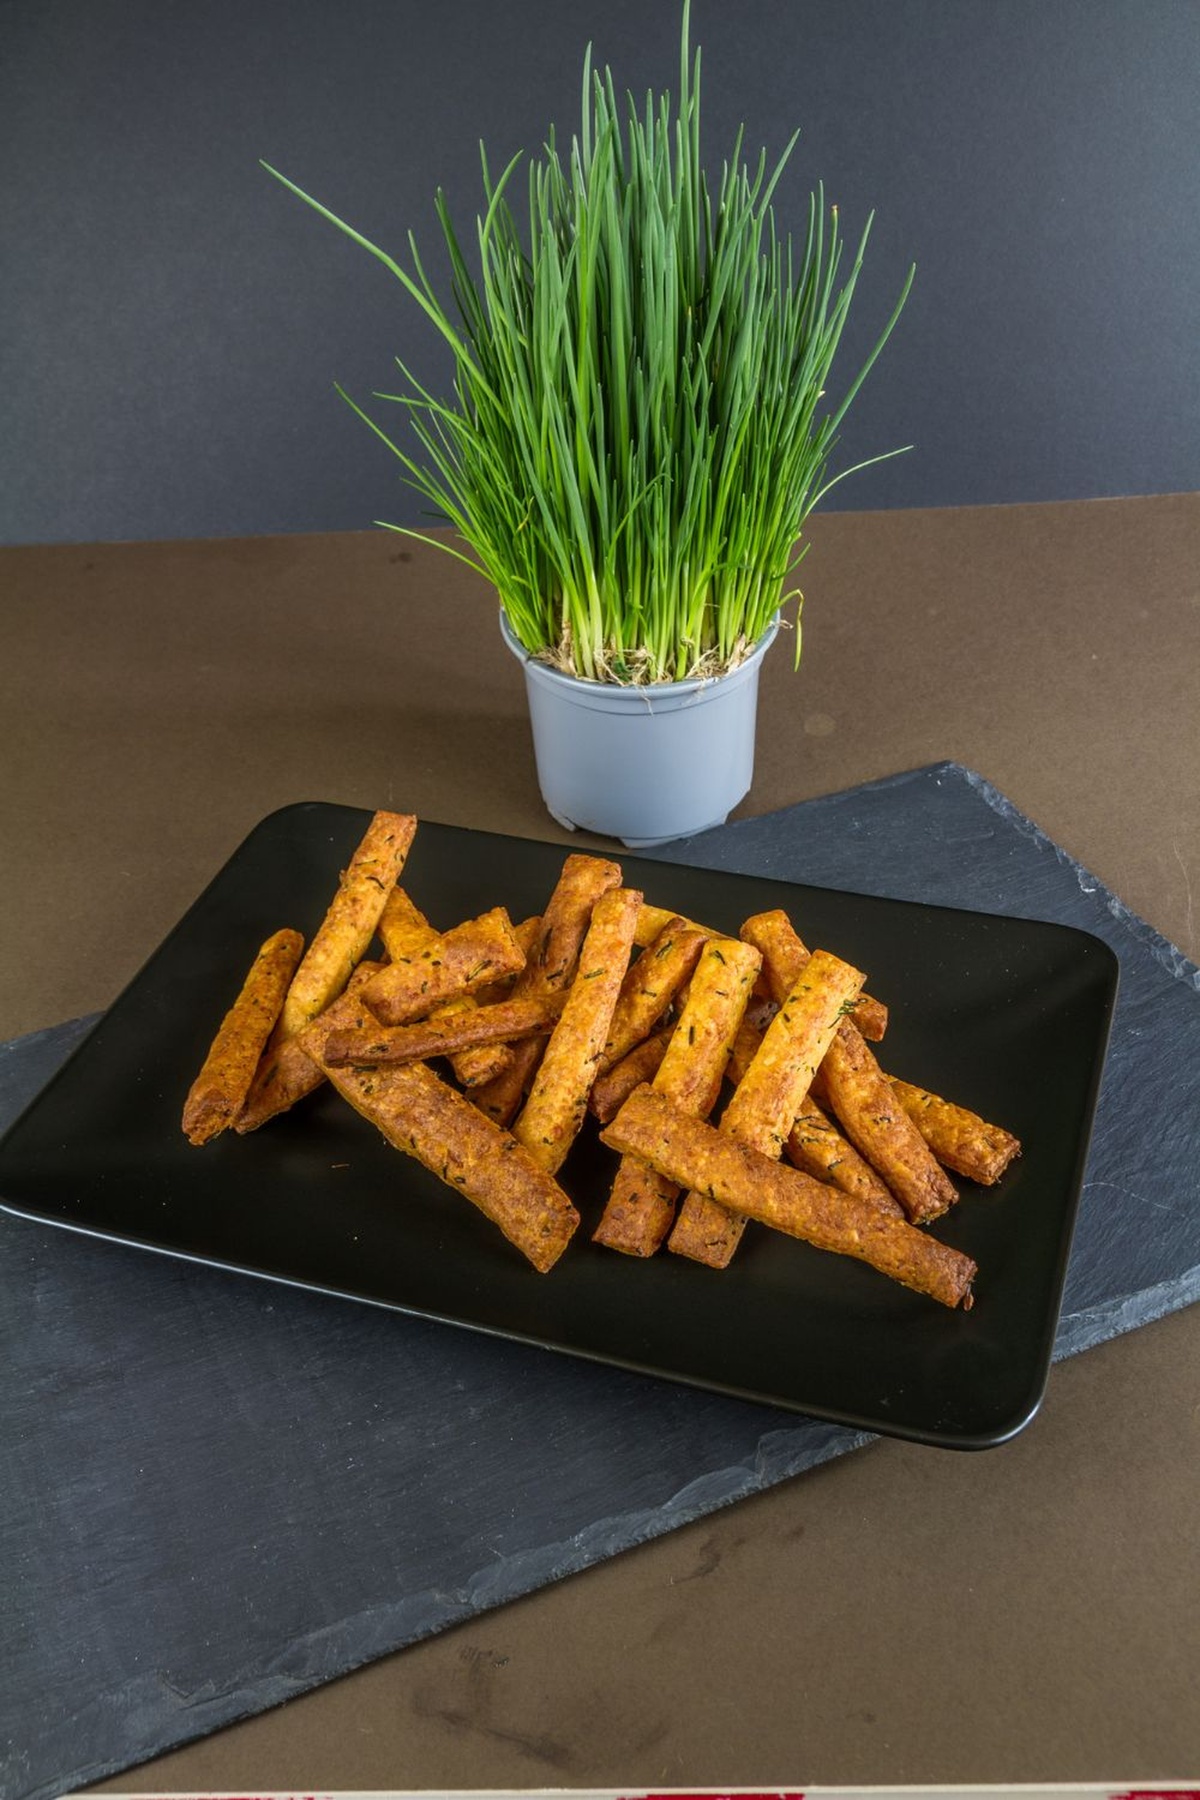
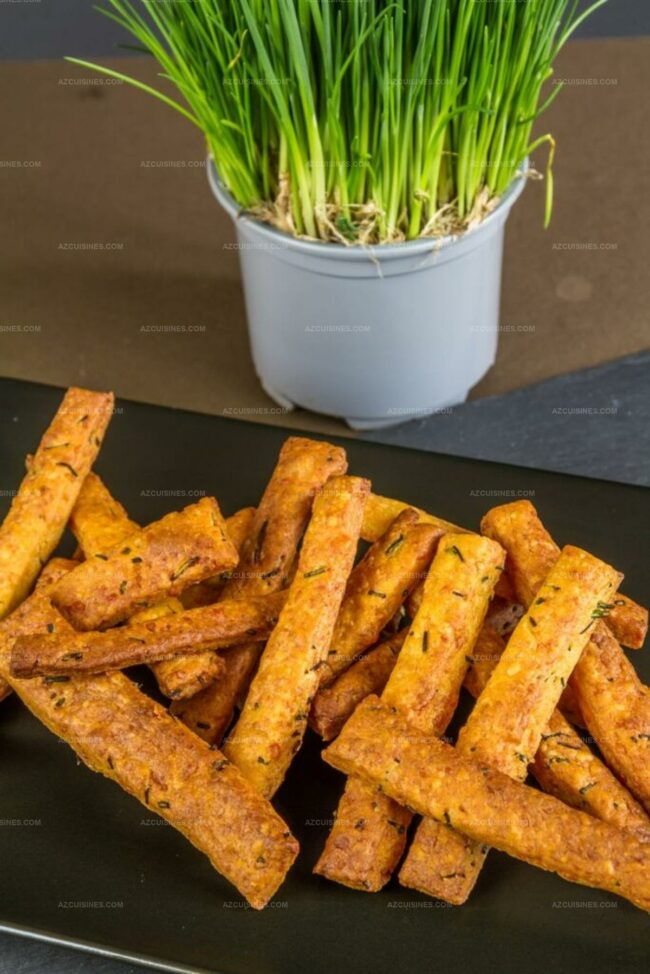
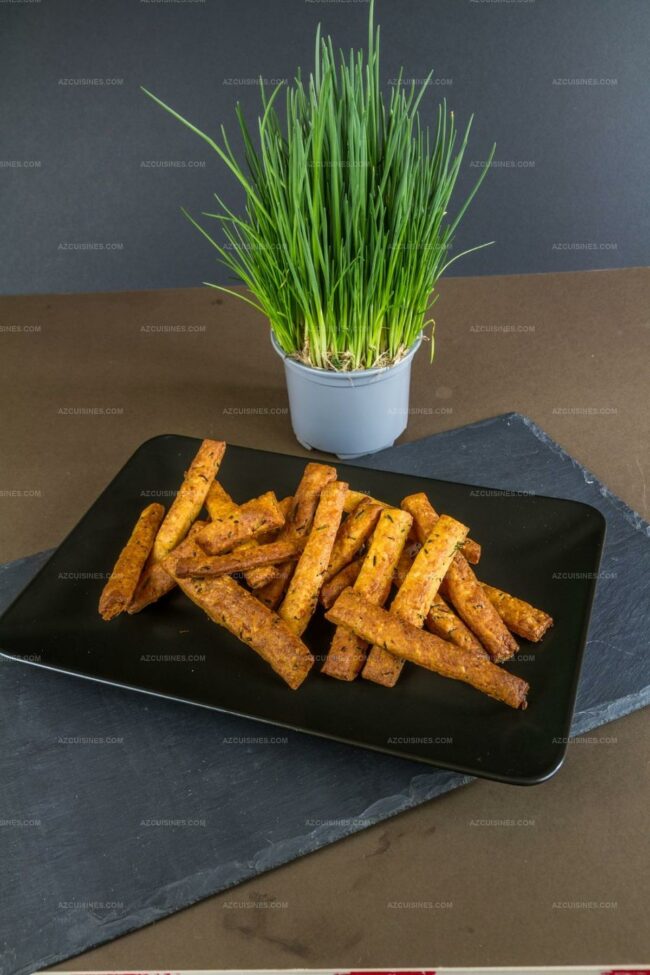
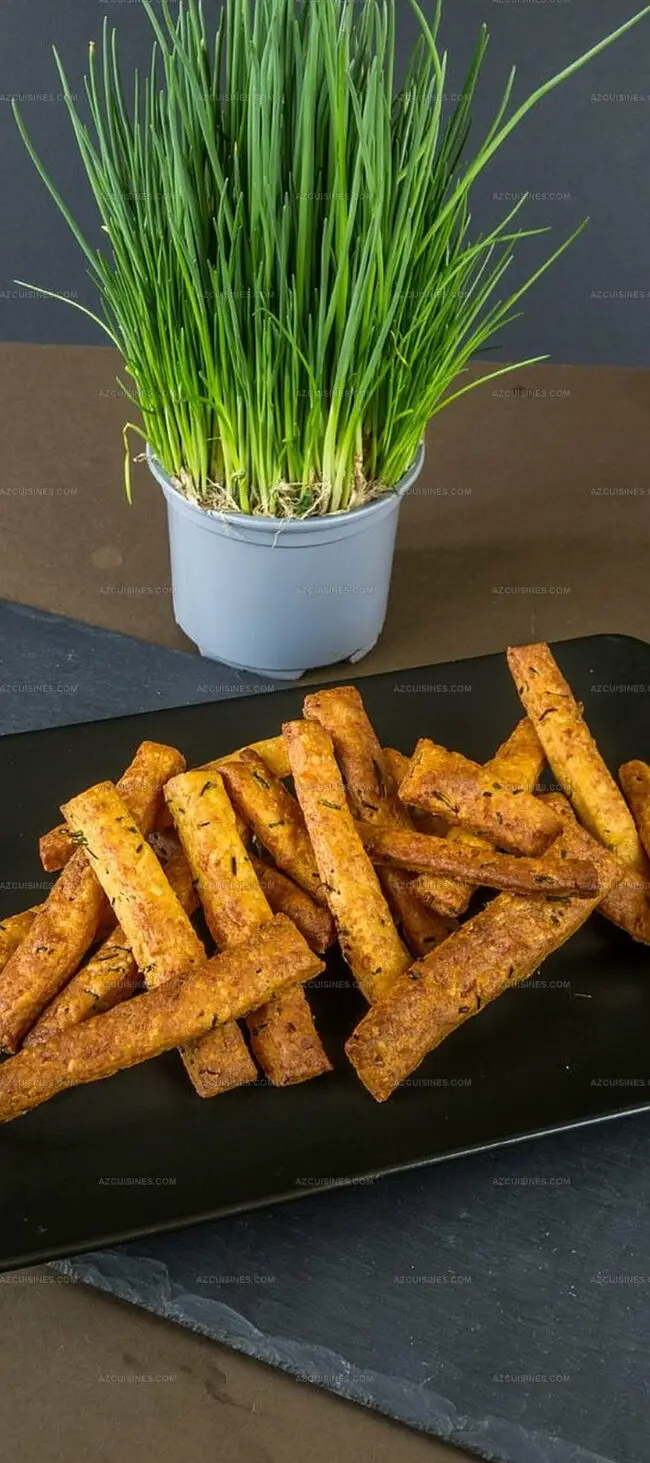
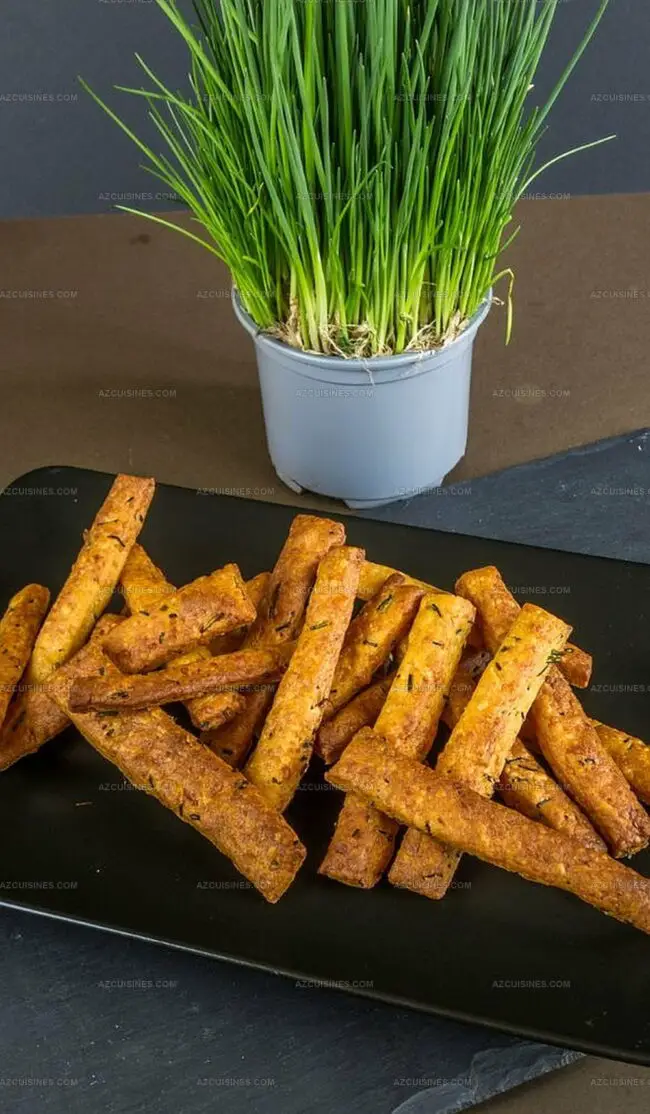
Crispy, golden cheese straws dance with a delightful crunch that captures everyone’s attention.
Southern kitchens have long celebrated this irresistible snack for generations.
Buttery pastry meets sharp cheddar in a savory celebration of flavor.
Perfectly seasoned and elegantly thin, these delicate treats complement any gathering.
Homemade magic happens when simple ingredients blend with passionate technique.
Cheese straws invite you to experience a classic southern comfort that sparks joy and conversation.
Make these, and watch how quickly they disappear from the plate.
Why Bero Cheese Straws Are Always a Hit
Everything You Need for Bero Cheese Straws
Main Ingredients:Seasoning Ingredients:Liquid Ingredients:How to Prepare Bero Cheese Straws
Step 1: Fire Up the Oven
Crank your oven to a toasty 425°F (220°C). Grab two baking sheets and line them with parchment paper or silicone mats for easy cleanup.
Step 2: Craft the Dry Mixture
In a medium bowl, whisk together these dry ingredients:This blend will give your cheese straws a zesty kick.
Step 3: Cream Cheese and Butter
In a large mixing bowl, use an electric mixer to blend cheese and butter until they transform into a smooth, creamy mixture. The texture should be light and fluffy.
Step 4: Combine Ingredients
Slowly fold the dry mixture into the cheese blend. Add a splash of cold water to help everything come together. Mix until a soft dough forms.
Step 5: Prepare the Dough
Gently knead the dough on a lightly floured surface. Roll it out into a long rectangle about 1/4 inch thick. Pop the dough into the refrigerator and let it chill for 15 minutes.
Step 6: Shape the Straws
Remove the chilled dough and slice it into thin, long strips. These will become your crispy cheese straws.
Step 7: Bake to Perfection
Arrange the strips on your prepared baking sheets. Slide them into the preheated oven and bake for 12-14 minutes until they turn golden and crisp.
Step 8: Cool and Serve
Let the cheese straws cool on the baking sheet for 10 minutes. Transfer to a wire rack to cool completely. Enjoy these crunchy, cheesy delights as a snack or party appetizer.
Tips for Baking Bero Cheese Straws to Perfection
Fun Variations for Bero Cheese Straws
Pairing Bero Cheese Straws with Other Snacks
How to Keep Bero Cheese Straws Crisp
FAQs About Bero Cheese Straws
Yes, they have a mild kick from cayenne pepper, adding a subtle heat that enhances the cheesy flavor without being overwhelming.
Absolutely! Sharp cheddar works best, but you can experiment with gruyère or parmesan for unique flavor profiles.
No, just basic kitchen tools like a mixing bowl, rolling pin, and baking sheet are sufficient to create these delicious snacks.
Ensure your dough is well-chilled before cutting and baking, and roll it thin for maximum crispiness.
Print
Cheese Straws Recipe
- Total Time: 37-39 minutes
- Yield: 2 1x
Description
Crispy cheese straws dance with sharp cheddar and buttery pastry, promising a Southern classic that delights guests at any gathering. Perfect for parties or afternoon snacking, you’ll savor these golden, flaky bites of cheesy goodness.
Ingredients
Cheese Straws
Main Cheese Ingredients:
- 8 ounces (226 grams) sharp cheddar, grated
Flour and Seasoning Ingredients:
- 1 1/3 cups (167 grams) plain flour
- 1/4 teaspoon cayenne pepper
- 1 teaspoon kosher salt
- 1/4 teaspoon dry mustard
Fat and Liquid Ingredients:
- 1/2 cup (113 grams) butter, softened
- 2 tablespoons cold water
Instructions
- Prepare workspace by warming oven to 220°C and arranging parchment-lined baking sheets.
- Combine dry seasonings including flour, ground mustard, salt, and cayenne pepper in a mixing bowl.
- Cream cheese and butter together using an electric mixer until achieving a uniform, silky texture.
- Gradually incorporate the seasoned flour mixture into the cheese blend, slowly adding water to form a cohesive dough.
- Gently knead the dough, then roll into a thin, elongated sheet approximately 14 inches long.
- Refrigerate the dough for 15 minutes to enhance its firmness and texture.
- Remove chilled dough and slice into precise, narrow strips matching the original 14-inch length.
- Transfer strips onto prepared baking sheets, ensuring slight separation between pieces.
- Bake in preheated oven for 12-14 minutes, watching for golden edges and crisp texture.
- Allow cheese straws to cool directly on baking tray for 10 minutes, then transfer to wire rack for complete cooling and optimal crispness.
Notes
- Swap butter for margarine to create a dairy-free version that still delivers incredible crunch and flavor.
- Add extra cayenne or smoked paprika for those wanting a spicier cheese straw experience that tingles the taste buds.
- Experiment with different cheese types like sharp cheddar or aged parmesan to customize the straws’ depth and richness.
- Store in an airtight container for up to one week to maintain maximum crispiness and prevent moisture absorption.
- Prep Time: 25 minutes
- Cook Time: 12-14 minutes
- Category: Appetizer, Snacks
- Method: Baking
- Cuisine: Southern United States
Nutrition
- Serving Size: 2
- Calories: 483 kcal
- Sugar: 0 g
- Sodium: 526 mg
- Fat: 37 g
- Saturated Fat: 23 g
- Unsaturated Fat: 12 g
- Trans Fat: 0.5 g
- Carbohydrates: 29 g
- Fiber: 1 g
- Protein: 10 g
- Cholesterol: 85 mg
Truc Tran (Kris)
Senior Food Editor
Expertise
Home Cooking, Meal Planning, Recipe Development, Baking and Pastry, Food Editor, Cooking-video Maker, Vietnamese Food Evaluation Expert
Education
Truc Tran (Kris), an experienced food writer and editor, is great at exploring and describing global cuisines, from simple street food to fancy dining. In her writing, she skillfully mixes different flavors, cooking methods, and culinary traditions, showing the unique character of various cultures through their food and drinks. On azcuisines.com, Kris highlights her knowledge, especially in Asian cuisine and worldwide traditional dishes.