The Ultimate Cheesy Beefy Roll-Ups Recipe You’ll Crave Tonight
Crispy and golden cheesy beefy roll-ups dance with flavor on your plate, promising a meal that sparks instant excitement.
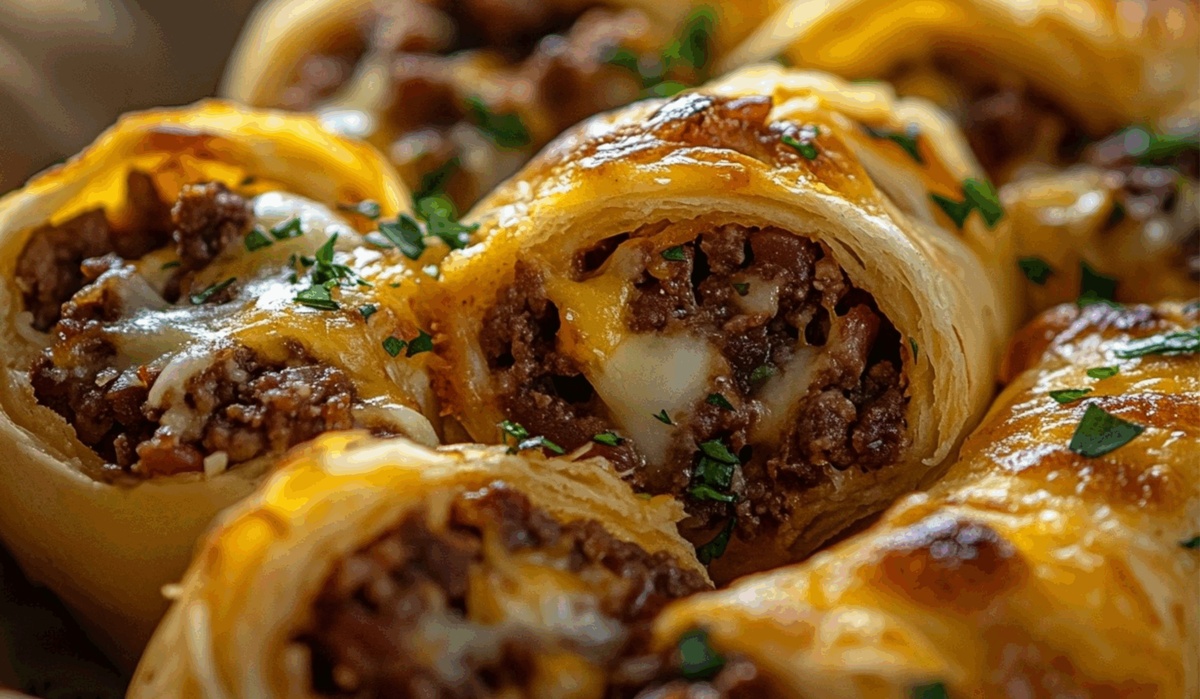
Melted cheese and seasoned beef create a mouthwatering combination that feels like comfort wrapped in pure deliciousness.
Smart cooks know this recipe works magic for busy weeknight dinners.
Minimal ingredients mean maximum satisfaction without complicated preparation steps.
Kids and adults alike will demolish these savory rolls in minutes.
Quick assembly lets you spend less time cooking and more time enjoying conversation around the table.
You’ll want to bookmark this crowd-pleasing recipe that turns simple ingredients into something spectacular.
Why Cheesy Beefy Roll-Ups Are A Total Hit

What You’ll Need For Cheesy Beefy Roll-Ups
Main Protein:Tortilla and Cheese:Seasonings and Herbs:Additional Ingredients:How To Roll And Bake Cheesy Beefy Roll-Ups

Step 1: Fire Up the Oven
Crank the oven to a toasty 375°F and line a baking sheet with parchment paper for super easy cleanup.
Step 2: Brown the Beef
Drizzle olive oil into a large skillet over medium-high heat. Toss in ground beef and break it into tiny crumbles until perfectly browned and delicious.
Step 3: Spice It Up
Sprinkle in your flavor boosters:Stir everything to coat the beef with maximum flavor explosion.
Step 4: Cool Down the Meat
Pull the skillet off the heat and let the beef mixture chill for a quick 3-4 minutes. This prevents soggy tortilla disaster.
Step 5: Build Your Flavor Wrap
Spread out flour tortillas and distribute the seasoned beef right down the center of each tortilla.
Step 6: Cheese Blizzard
Shower each wrap with a generous snowstorm of shredded cheddar cheese, covering every single inch of beef.
Step 7: Roll Like a Pro
Carefully roll each tortilla into a tight wrap, tucking in the sides to create a sealed flavor package.
Step 8: Arrange for Baking
Place the rolled wraps seam-side down on the prepared baking sheet, looking neat and tidy.
Step 9: Bake to Golden Perfection
Slide the baking sheet into the oven and bake for 15-18 minutes until the tortillas turn a beautiful golden brown and cheese melts completely.
Step 10: Rest and Set
Pull the wraps out of the oven and let them rest for 2-3 minutes, allowing the filling to settle and flavors to mingle.
Step 11: Slice and Garnish
Slice each wrap diagonally and sprinkle with fresh chopped parsley and green onions for a pop of color and freshness.
Step 12: Serve and Enjoy
Plate immediately with a generous dollop of sour cream on the side for ultimate dipping pleasure.
Best Tips For Cheesy Beefy Roll-Ups That Work

Fun Twists To Try With Cheesy Beefy Roll-Ups
Perfect Pairings For Cheesy Beefy Roll-Ups
Keep Cheesy Beefy Roll-Ups Fresh With These Tips
Cheesy Beefy Roll-Ups Q&A
Yes, ground turkey works perfectly as a lean alternative. Just ensure it’s fully cooked and seasoned similarly to the original recipe.
Add diced jalapeños to the beef mixture or include a dash of cayenne pepper when seasoning for extra heat.
Flour tortillas are ideal because they’re soft and roll easily without cracking. Medium-sized tortillas around 8 inches work great.
You can assemble the roll-ups earlier in the day and refrigerate them, then bake just before serving to maintain their crispy texture.
Print
Cheesy Beefy Roll-Ups Recipe
- Total Time: 25-28 minutes
- Yield: 4 1x
Description
Irresistible cheesy beefy roll-ups blend hearty beef and melted cheese in a delightful Mexican-inspired twist. Crispy edges, gooey centers, and bold flavors promise a satisfying meal you’ll crave again and again.
Ingredients
Main Ingredients:
- 1 lb ground beef
- 2 cups shredded cheddar cheese
- 4 large flour tortillas
Baking and Seasoning:
- 1 tsp salt
- 1/2 tsp black pepper
- 1 tbsp olive oil
- 1 tsp garlic powder
- 1/2 tsp chili powder
Toppings and Garnish:
- 1/4 cup chopped fresh parsley
- 1/2 cup sour cream
- 2 tbsp chopped green onions
Instructions
- Preheat the oven to 375°F and prepare a baking sheet with parchment paper for easy cleanup.
- Heat olive oil in a large skillet over medium-high heat, then brown the ground beef thoroughly, breaking it into small crumbles.
- Season the beef with salt, black pepper, garlic powder, and chili powder, stirring to distribute the spices evenly throughout the meat.
- Remove the skillet from heat and let the beef mixture cool slightly for 3-4 minutes to prevent tortilla soggy.
- Lay out flour tortillas and evenly distribute the seasoned beef across the center of each tortilla.
- Sprinkle shredded cheddar cheese generously over the beef, covering the entire surface.
- Carefully roll each tortilla tightly, tucking in the sides to create sealed roll-ups.
- Place the rolled tortillas seam-side down on the prepared baking sheet.
- Bake for 15-18 minutes until the tortillas turn golden brown and the cheese melts completely.
- Remove from oven and let rest for 2-3 minutes to allow filling to set.
- Slice each roll-up diagonally and garnish with fresh parsley and chopped green onions.
- Serve immediately with a dollop of sour cream on the side for dipping.
Notes
- Always brown beef thoroughly to ensure maximum flavor and prevent any raw meat texture.
- Cool meat mixture slightly before adding to tortillas to maintain crisp tortilla texture and prevent sogginess.
- Use room temperature tortillas for easier rolling and better seal to prevent filling from falling out during baking.
- Experiment with different cheese varieties like pepper jack or monterey jack for unique flavor profiles and added excitement.
- Prep Time: 10 minutes
- Cook Time: 15-18 minutes
- Category: Lunch, Appetizer, Snacks
- Method: Baking
- Cuisine: American
Nutrition
- Serving Size: 4
- Calories: 610
- Sugar: 3 g
- Sodium: 800 mg
- Fat: 38 g
- Saturated Fat: 17 g
- Unsaturated Fat: 19 g
- Trans Fat: 1 g
- Carbohydrates: 36 g
- Fiber: 2 g
- Protein: 32 g
- Cholesterol: 85 mg
Truc Tran (Kris)
Senior Food Editor
Expertise
Home Cooking, Meal Planning, Recipe Development, Baking and Pastry, Food Editor, Cooking-video Maker, Vietnamese Food Evaluation Expert
Education
Truc Tran (Kris), an experienced food writer and editor, is great at exploring and describing global cuisines, from simple street food to fancy dining. In her writing, she skillfully mixes different flavors, cooking methods, and culinary traditions, showing the unique character of various cultures through their food and drinks. On azcuisines.com, Kris highlights her knowledge, especially in Asian cuisine and worldwide traditional dishes.