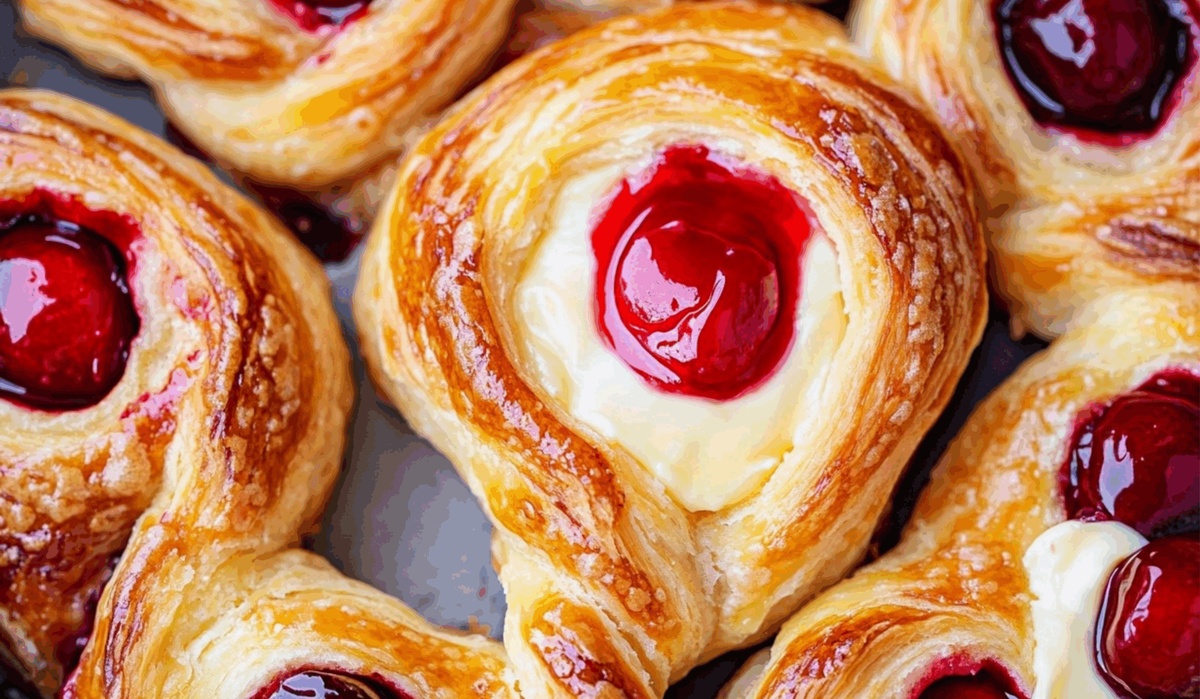
The Fluffiest Cherry Cheese Danish Recipe You’ll Ever Bake
Crafting a delectable cherry cheese danish brings pure morning magic to your kitchen.
Sweet pastry dreams start with simple ingredients and minimal effort.
Layers of buttery dough fold around creamy cheese and vibrant fruit filling.
Delicate pastry promises a breakfast experience that feels both elegant and comforting.
Professional bakers and home cooks alike can master this delightful treat with confidence.
Rich cream cheese melts into golden, flaky crust, creating irresistible texture and flavor.
One bite transports you to a charming European café, where every pastry tells a delicious story.
Jump into this recipe and surprise yourself with bakery-quality delights right from your own oven.
Why Cherry Cheese Danish Is a Bakery-Style Favorite
What Goes Into Cherry Cheese Danish
Pastry Base:Cream Cheese Filling:Cherry Topping:Glaze:How to Bake Cherry Cheese Danish at Home

Step 1: Prepare Baking Setup
Preheat the oven to 400°F. Line a baking sheet with parchment paper for easy cleanup and non-stick baking.
Step 2: Roll Out Pastry Dough
Sprinkle flour lightly on a clean surface. Gently roll out puff pastry sheets to create an even, smooth base for the danish. Ensure the pastry is flat and uniform.
Step 3: Create Creamy Cheese Filling
Whip the cream cheese until it becomes smooth and silky. Mix in:Blend until the mixture is perfectly creamy and well-combined.
Step 4: Cook Cherry Topping
In a saucepan, combine:Cook the mixture over medium heat, stirring constantly until it thickens and becomes glossy and rich.
Step 5: Shape Danish Bases
Cut each pastry sheet into 4 equal rectangular pieces, creating 8 individual danish foundations.
Step 6: Add Cream Cheese Layer
Spread a generous dollop of cream cheese mixture in the center of each pastry rectangle. Leave a small border around the edges to prevent overflow during baking.
Step 7: Top with Cherry Mixture
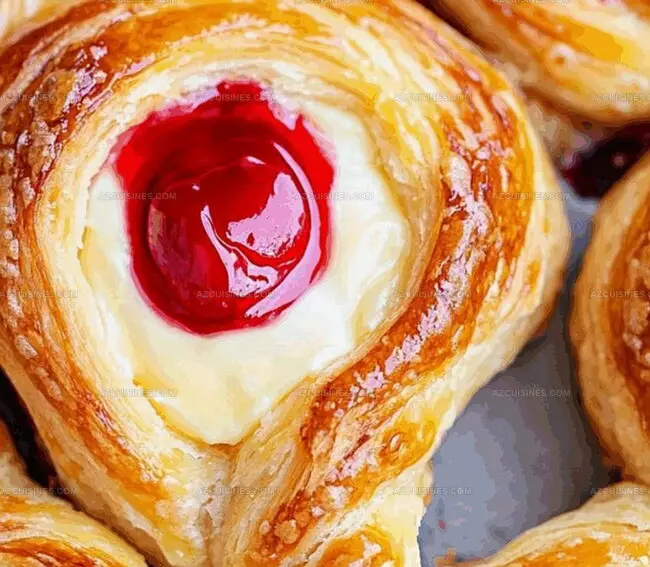
Spoon the warm cherry topping over the cream cheese, allowing some of the white filling to peek through for visual appeal.
Step 8: Create Rustic Edges
Gently fold the pastry edges slightly inward, forming a casual border that helps contain the delicious fillings.
Step 9: Bake to Golden Perfection
Place the danish in the preheated oven. Bake for 18-20 minutes until the pastry turns a beautiful golden brown and becomes wonderfully puffy.
Step 10: Cool Briefly
Remove the danish from the oven. Allow them to cool on the baking sheet for 10 minutes, letting the fillings set slightly.
Step 11: Prepare Sweet Glaze
Whisk together:Mix until the glaze becomes smooth and silky.
Step 12: Drizzle and Decorate
Pour the glaze generously over the warm danish, letting it cascade down the sides for a beautiful finish.
Step 13: Serve and Enjoy
Serve the danish immediately while still warm. Savor the delightful combination of flaky pastry, creamy filling, and sweet cherry topping.
Tips for the Perfect Cherry Cheese Danish Texture
Cherry Cheese Danish Variations You’ll Love
Best Pairings for Cherry Cheese Danish
Storage Tips for Cherry Cheese Danish
Questions About Cherry Cheese Danish? We’ve Got Answers
The cream cheese filling combines cream cheese, sugar, egg, vanilla, and salt, creating a smooth, rich, and slightly sweet base that perfectly complements the cherry topping.
Use cold puff pastry and don’t overfill the danish. Leave a small border around the edges and ensure the cherry mixture isn’t too wet to maintain the pastry’s crisp texture.
Yes, frozen cherries work well. Thaw and drain them completely before cooking to prevent excess moisture that could make the danish soggy. The cooking process with sugar and cornstarch will help create the perfect cherry topping.
Print
Cherry Cheese Danish Recipe
- Total Time: 38-40 minutes
- Yield: 8 1x
Description
Irresistible Cherry Cheese Danish brings European bakery charm straight to home kitchens with flaky pastry and creamy filling. Sweet cherries and rich cream cheese create a delightful breakfast or dessert you cannot resist.
Ingredients
Pastry Dough:
- 2 sheets puff pastry
- 1/4 cup all-purpose flour (for dusting)
Cheese Filling:
- 8 oz cream cheese, softened
- 1/4 cup granulated sugar
- 1 large egg
- 1 tsp vanilla extract
- 1/4 tsp salt
Fruit Topping:
- 2 cups fresh cherries, pitted
- 2 tbsp granulated sugar
- 1 tbsp lemon juice
- 1 tbsp cornstarch
Glaze:
- 1 cup powdered sugar
- 2–3 tbsp milk
- 1/2 tsp vanilla extract
Instructions
- Preheat the oven to 400°F and line a baking sheet with parchment paper.
- Roll out the puff pastry sheets on a lightly floured surface, creating a smooth, even base for the danish.
- Whip cream cheese with sugar until smooth and creamy, incorporating the egg, vanilla, and salt to create a rich filling.
- Prepare the cherry topping by combining pitted cherries, sugar, lemon juice, and cornstarch in a saucepan, cooking until slightly thickened and glossy.
- Cut each pastry sheet into 4 equal rectangles, creating 8 individual danish bases.
- Spread a generous dollop of cream cheese mixture in the center of each pastry rectangle, leaving a small border around the edges.
- Spoon the warm cherry mixture over the cream cheese, allowing some filling to peek through.
- Fold the pastry edges slightly inward, creating a rustic border that helps contain the filling.
- Bake for 18-20 minutes, or until the pastry turns golden brown and becomes beautifully puffed.
- Remove from the oven and let cool for 10 minutes on the baking sheet.
- Whisk powdered sugar, milk, and vanilla to create a smooth glaze.
- Drizzle the glaze generously over the warm danish, allowing it to cascade down the sides.
- Serve immediately while still warm and enjoy the delightful combination of flaky pastry, creamy filling, and sweet cherry topping.
Notes
- Ensure puff pastry is cold and firm for the flakiest, most delicate texture that will impress everyone.
- Drain cherries thoroughly to prevent excess liquid from making the pastry soggy and compromising the crisp base.
- Experiment with alternative fruit toppings like blueberries, apricots, or peaches for a personalized twist on this classic danish.
- For a gluten-free version, swap traditional puff pastry with gluten-free puff pastry available in many specialty grocery stores.
- Prep Time: 20 minutes
- Cook Time: 18-20 minutes
- Category: Breakfast, Snacks, Desserts
- Method: Baking
- Cuisine: Danish
Nutrition
- Serving Size: 8
- Calories: 300
- Sugar: 20 g
- Sodium: 200 mg
- Fat: 15 g
- Saturated Fat: 8 g
- Unsaturated Fat: 5 g
- Trans Fat: 0 g
- Carbohydrates: 38 g
- Fiber: 1 g
- Protein: 4 g
- Cholesterol: 30 mg
Truc Tran (Kris)
Senior Food Editor
Expertise
Home Cooking, Meal Planning, Recipe Development, Baking and Pastry, Food Editor, Cooking-video Maker, Vietnamese Food Evaluation Expert
Education
Truc Tran (Kris), an experienced food writer and editor, is great at exploring and describing global cuisines, from simple street food to fancy dining. In her writing, she skillfully mixes different flavors, cooking methods, and culinary traditions, showing the unique character of various cultures through their food and drinks. On azcuisines.com, Kris highlights her knowledge, especially in Asian cuisine and worldwide traditional dishes.