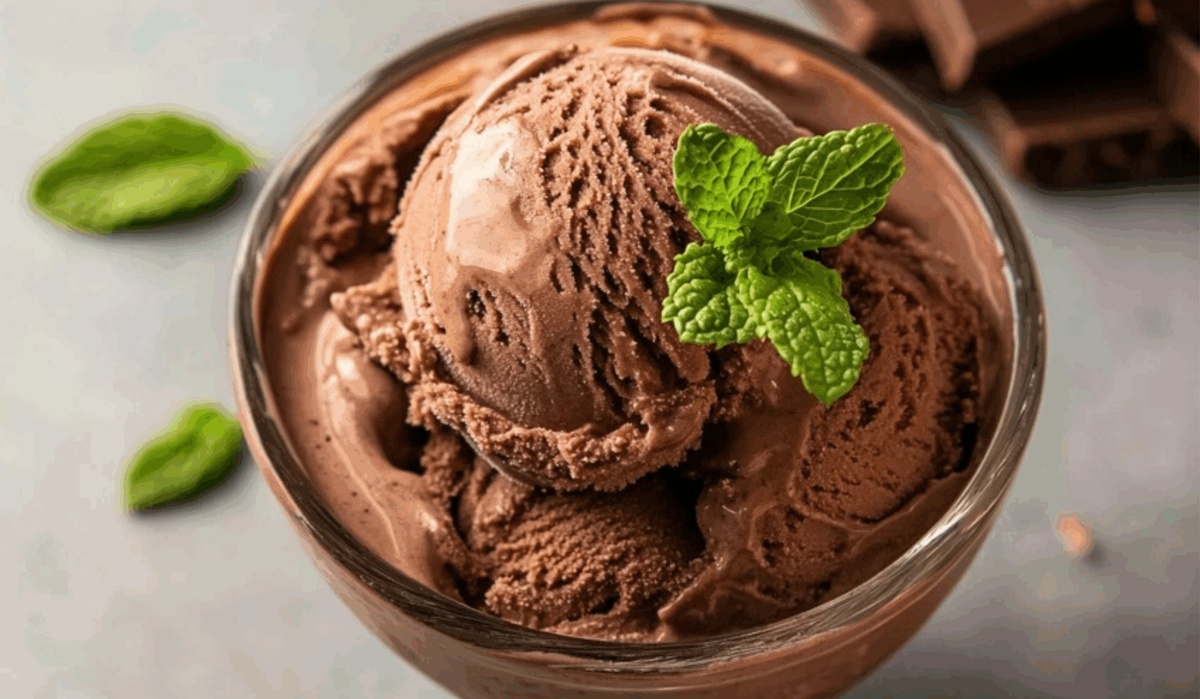
Creamy Chocolate Mint Ice Cream Recipe: Refreshingly Sweet Treat
Crafting a delectable chocolate mint ice cream sparks pure culinary joy for dessert enthusiasts.
Sweet memories dance through cool, creamy textures that refresh summer afternoons.
Nostalgic flavors blend rich chocolate with refreshing mint in a dreamy combination.
Smooth ingredients promise an indulgent experience that delights every palate.
Cool kitchen experiments can transform simple components into magical frozen treats.
Passionate home cooks understand the magic of creating something extraordinary from basic elements.
This recipe invites you to whip up a delightful dessert that will impress everyone at the table.
Why No-Churn Chocolate Mint Ice Cream Is So Easy and Fun
What You’ll Need for No-Churn Chocolate Mint Ice Cream
Chocolate Base Ingredients:Dairy and Egg Components:Flavor Enhancers:Steps to Make No-Churn Chocolate Mint Ice Cream Fast
Step 1: Melt Smooth Chocolate
Prepare a double boiler or set a heat-safe bowl over a pot of simmering water. Break dark chocolate into small pieces and melt it slowly, stirring until the chocolate becomes completely smooth and glossy.
In a large mixing bowl, whisk egg yolks with granulated sugar until the mixture transforms into a pale, creamy consistency that looks silky and light.
Step 2: Blend Warm Dairy
Gently pour warm heavy cream and whole milk into the egg mixture, whisking continuously to prevent any curdling or separation.
Step 3: Thicken Custard Base
Transfer the combined mixture back to the double boiler, stirring constantly until the mixture thickens and coats the back of a spoon, which takes about 5-7 minutes.
Step 4: Incorporate Chocolate Flavors
Remove from heat and immediately mix in the melted chocolate, unsweetened cocoa powder, and finely chopped mint leaves, blending until fully incorporated.
Step 5: Add Flavor Enhancers
Stir in peppermint extract, vanilla extract, and a pinch of salt, ensuring all ingredients are thoroughly combined and evenly distributed.
Step 6: Strain Mixture
Pour the mixture through a fine-mesh sieve to remove any potential lumps or mint leaf fragments, creating a smooth and silky texture.
Step 7: Chill Completely
Cover the mixture and refrigerate for 2-3 hours, or until the base is completely cold and well-chilled.
Step 8: Churn Ice Cream
Pour the chilled mixture into an ice cream maker and churn according to the manufacturer’s instructions, which typically takes 20-25 minutes.
Step 9: Freeze and Set
Transfer the churned ice cream to a freezer-safe container and freeze for 4-6 hours until it becomes firm and scoopable.
Step 10: Serve Perfectly
Allow the ice cream to sit at room temperature for 5 minutes before scooping to achieve the perfect creamy, soft consistency.
Tips for Creamy No-Churn Chocolate Mint Ice Cream
Yummy Variations on Chocolate Mint Ice Cream
Perfect Pairings for Chocolate Mint Ice Cream
Store No-Churn Chocolate Mint Ice Cream the Smart Way
Quick Answers About Chocolate Mint Ice Cream
Dark chocolate provides a deeper, richer flavor that complements the mint. Milk chocolate will make the ice cream sweeter and less intense, potentially altering the overall taste profile.
The egg yolks are tempered and heated during the cooking process, which kills potential bacteria and creates a safe, custard-like base for the ice cream.
An ice cream maker helps create a smoother texture, but you can manually churn the mixture every 30 minutes while freezing to break up ice crystals and achieve a similar consistency.
Print
Chocolate Mint Ice Cream Recipe
- Total Time: 6-8 hours
- Yield: 4 1x
Description
Indulgent chocolate mint ice cream brings creamy, refreshing flavors dancing together in perfect harmony. Cool mint and rich chocolate create a delightful dessert you’ll savor with pure culinary pleasure.
Ingredients
Dairy Base:
- 2 cups heavy cream
- 1 cup whole milk
- 4 egg yolks
Chocolate and Mint Components:
- 1/2 cup dark chocolate, chopped
- 1/4 cup unsweetened cocoa powder
- 2–3 tbsp fresh mint leaves, chopped
- 1 tsp peppermint extract
Sweeteners and Stabilizers:
- 3/4 cup granulated sugar
- 1/4 tsp salt
- 1 tsp vanilla extract
Instructions
- Prepare a double boiler or create a heat-safe bowl over a pot of simmering water to melt the dark chocolate until smooth and glossy.
- In a separate large mixing bowl, whisk egg yolks with granulated sugar until the mixture becomes pale and creamy.
- Gradually pour the warm heavy cream and whole milk into the egg mixture, whisking constantly to prevent curdling.
- Return the combined mixture to the double boiler, stirring continuously until it thickens and coats the back of a spoon, approximately 5-7 minutes.
- Remove from heat and immediately incorporate the melted chocolate, unsweetened cocoa powder, and chopped mint leaves.
- Stir in peppermint extract, vanilla extract, and salt, ensuring all ingredients are thoroughly blended.
- Strain the mixture through a fine-mesh sieve to remove any potential lumps and mint leaf fragments.
- Cover the mixture and refrigerate for 2-3 hours, or until completely chilled.
- Pour the chilled mixture into an ice cream maker and churn according to manufacturer’s instructions, typically 20-25 minutes.
- Transfer the churned ice cream to a freezer-safe container and freeze for 4-6 hours until firm.
- Let the ice cream sit at room temperature for 5 minutes before scooping to achieve the perfect creamy consistency.
Notes
- Use high-quality dark chocolate with at least 70% cocoa for richer, deeper chocolate flavor and smoother texture.
- Ensure egg yolks are at room temperature to create a more uniform custard base and prevent unexpected curdling.
- Chop mint leaves finely to distribute flavor evenly and prevent large leafy chunks in the final ice cream.
- For a dairy-free version, substitute heavy cream and whole milk with coconut milk or almond milk, which will add a subtle nutty undertone to the dessert.
- Prep Time: 15 minutes
- Cook Time: 30 minutes
- Category: Desserts, Snacks
- Method: Churning
- Cuisine: American
Nutrition
- Serving Size: 4
- Calories: 380
- Sugar: 26 g
- Sodium: 60 mg
- Fat: 27 g
- Saturated Fat: 16 g
- Unsaturated Fat: 10 g
- Trans Fat: 0 g
- Carbohydrates: 38 g
- Fiber: 1 g
- Protein: 4 g
- Cholesterol: 150 mg
Truc Tran (Kris)
Senior Food Editor
Expertise
Home Cooking, Meal Planning, Recipe Development, Baking and Pastry, Food Editor, Cooking-video Maker, Vietnamese Food Evaluation Expert
Education
Truc Tran (Kris), an experienced food writer and editor, is great at exploring and describing global cuisines, from simple street food to fancy dining. In her writing, she skillfully mixes different flavors, cooking methods, and culinary traditions, showing the unique character of various cultures through their food and drinks. On azcuisines.com, Kris highlights her knowledge, especially in Asian cuisine and worldwide traditional dishes.