Festive Christmas Red Velvet Poke Cake Recipe That Wows
Whipping up a magical christmas red velvet poke cake can transport you straight to festive wonderland.
Sweet memories flood back with each delectable slice of this dessert.
Crimson layers whisper holiday traditions and warmth.
Soft, moist textures invite gentle forks to dive deep into rich cocoa-infused goodness.
Creamy cream cheese frosting creates dreamy landscapes across vibrant red surfaces.
Unexpected pockets of sweet surprises wait inside each carefully crafted piece.
You’ll want to share this spectacular treat that promises to become an instant classic at your celebration table.
Why Christmas Red Velvet Poke Cake Is A Showstopper
Christmas Red Velvet Poke Cake Ingredients
Cake Base Ingredients:Wet Ingredients:Topping and Filling Ingredients:How To Make Christmas Red Velvet Poke Cake
Step 1: Prepare Baking Station
Grab a 9×13-inch baking pan and coat it thoroughly with cooking spray or butter to prevent sticking.
Step 2: Mix Dry Ingredients
Combine flour, cocoa powder, baking soda, and salt in a large mixing bowl. Sift together to remove any clumps and ensure smooth mixing.
Step 3: Blend Wet Ingredients
In a separate bowl, whisk together:Blend until the mixture becomes a vibrant, smooth red color.
Step 4: Combine Cake Batter
Gently fold dry ingredients into wet mixture, stirring carefully to maintain a light, tender texture. Mix until just combined.
Step 5: Bake Cake Base
Pour batter into prepared pan, spreading evenly with a spatula. Smooth the top to ensure uniform baking.
Step 6: Cook to Perfection
Bake in a preheated oven at 350°F for 25-30 minutes. Check doneness by inserting a toothpick into the center – it should come out clean.
Step 7: Create Poke Holes
Allow cake to cool for 10 minutes. Use a wooden spoon handle to create systematic holes across the entire cake surface.
Step 8: Add Moisture Layer
Pour sweetened condensed milk over the warm cake, ensuring it seeps into every hole.
Step 9: Add Fruity Touch
Drain crushed pineapple and sprinkle evenly over the milk-soaked cake.
Step 10: Chill First Stage
Refrigerate cake for 1 hour to allow complete absorption and cooling.
Step 11: Prepare Creamy Frosting
Beat cream cheese and butter until smooth and creamy.
Step 12: Finish Frosting
Gradually mix in powdered sugar and vanilla extract. Beat until light and fluffy.
Step 13: Frost and Decorate
Spread frosting generously over the chilled cake, covering the entire surface.
Step 14: Add Holiday Flair
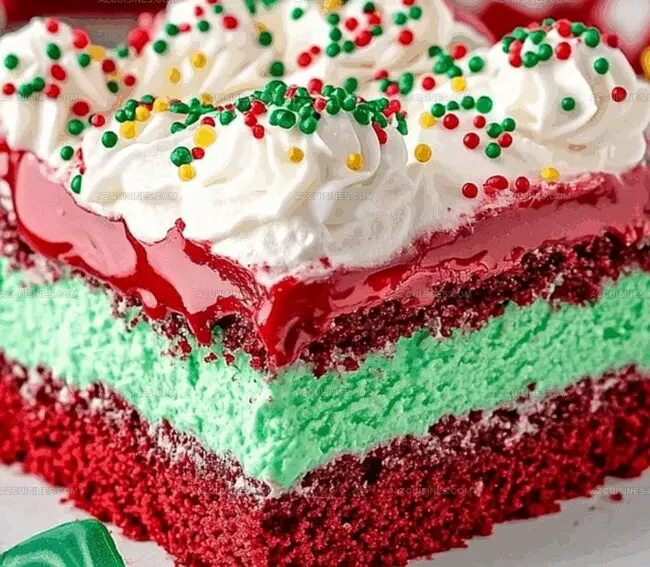
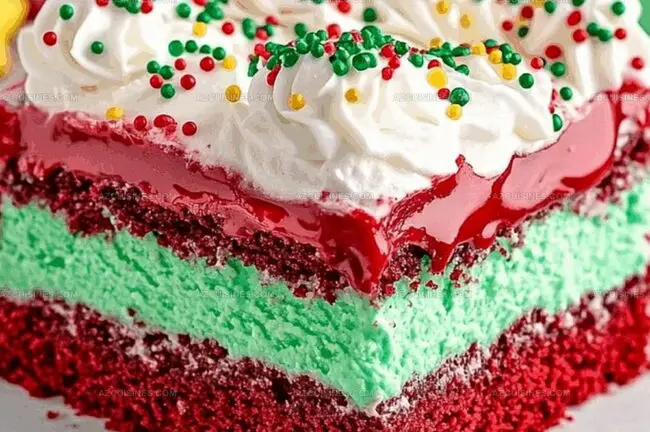
Sprinkle red and green decorative sprinkles for a festive holiday look.
Step 15: Final Chill
Refrigerate for an additional 30 minutes to set the frosting before serving.
Tips For Christmas Red Velvet Poke Cake Success
Switch-Ups For Christmas Red Velvet Poke Cake
What To Pair With Christmas Red Velvet Poke Cake
Saving Christmas Red Velvet Poke Cake The Right Way
FAQ For Christmas Red Velvet Poke Cake
This version is a poke cake, which means holes are created in the cake and filled with sweetened condensed milk and pineapple, making it extra moist and flavorful compared to standard red velvet cakes.
Yes, you can use natural alternatives like beetroot powder or concentrated pomegranate juice, but the color intensity might be less vibrant than traditional artificial food coloring.
Buttermilk is crucial as it adds tenderness and helps activate the baking soda, creating a softer cake texture. If unavailable, you can make a substitute by adding 1 tablespoon of vinegar to 1 cup of milk.
Print
Christmas Red Velvet Poke Cake Recipe
- Total Time: 2 hours 20 minutes
- Yield: 12 1x
Description
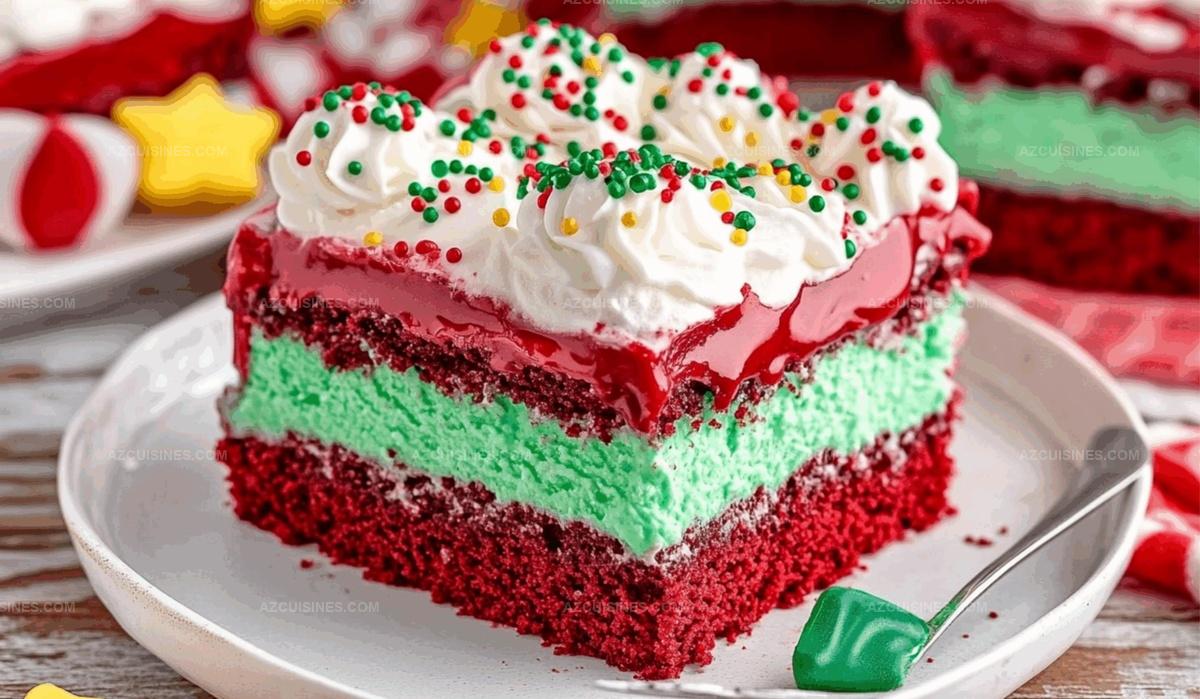
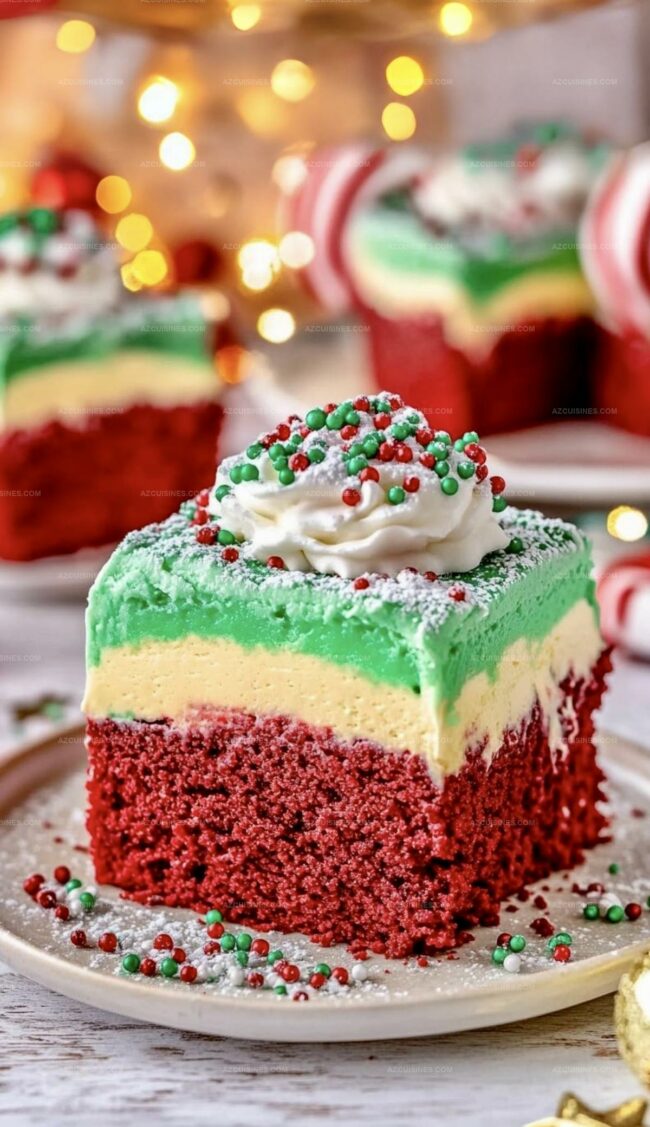
Festive Christmas red velvet poke cake brings holiday cheer with its rich crimson layers and creamy white frosting. Sweet cream cheese topping and delicate cocoa notes make this dessert perfect for winter gatherings where friends savor each delightful bite.
Ingredients
Main Cake Ingredients:
- 2 cups all-purpose flour
- 2 cups granulated sugar
- 1/4 cup unsweetened cocoa powder
- 1 tsp baking soda
- 1 tsp salt
- 2 large eggs
- 1 cup vegetable oil
- 1 cup buttermilk
- 2 tbsp red food coloring
- 1 tsp white vinegar
- 1 tsp vanilla extract
Topping Ingredients:
- 1 can (14 oz) sweetened condensed milk
- 1 can (8 oz) crushed pineapple, drained
Frosting Ingredients:
- 16 oz cream cheese, softened
- 1/2 cup unsalted butter, softened
- 4 cups powdered sugar
- 1 tsp vanilla extract
- Optional: red and green sprinkles for decoration
Instructions
- Preheat oven to 350°F and grease a 9×13-inch baking pan thoroughly to prevent sticking.
- Sift together flour, cocoa powder, baking soda, and salt in a large mixing bowl to eliminate any lumps and ensure even distribution of dry ingredients.
- In a separate bowl, whisk eggs, vegetable oil, buttermilk, red food coloring, vinegar, and vanilla extract until smooth and vibrant red.
- Gradually fold dry ingredients into wet mixture, stirring gently until just combined to maintain a tender cake texture.
- Pour batter into prepared pan, spreading evenly with a spatula and smoothing the top.
- Bake for 25-30 minutes, or until a toothpick inserted in the center comes out clean.
- Remove cake from oven and allow to cool for 10 minutes.
- Using the handle of a wooden spoon, create systematic holes across the entire cake surface.
- Pour sweetened condensed milk over the warm cake, ensuring it seeps into every hole.
- Drain crushed pineapple and sprinkle evenly over the milk-soaked cake.
- Refrigerate cake for 1 hour to allow complete absorption and cooling.
- Beat cream cheese and butter until creamy and smooth.
- Gradually incorporate powdered sugar and vanilla extract, mixing until frosting is light and fluffy.
- Spread frosting generously over the chilled cake, covering entire surface.
- Optionally, decorate with red and green sprinkles for festive holiday appearance.
- Chill for an additional 30 minutes before serving to set frosting.
Notes
- Prep Ahead Brilliance: Mix dry and wet ingredients separately to prevent overmixing, which can lead to a tough cake texture.
- Temperature Trick: Allow ingredients like eggs and buttermilk to reach room temperature for smoother batter integration and more even baking.
- Color Control: Use gel food coloring for more vibrant red without altering cake consistency compared to liquid food coloring.
- Moisture Magic: Wooden spoon holes create delightful pockets for condensed milk and pineapple, ensuring each bite is supremely moist and flavorful.
- Prep Time: 20 minutes
- Cook Time: 30 minutes
- Category: Desserts
- Method: Baking
- Cuisine: American
Nutrition
- Serving Size: 12
- Calories: 400
- Sugar: 40 g
- Sodium: 350 mg
- Fat: 20 g
- Saturated Fat: 8 g
- Unsaturated Fat: 10 g
- Trans Fat: 0 g
- Carbohydrates: 52 g
- Fiber: 1 g
- Protein: 4 g
- Cholesterol: 50 mg
Truc Tran (Kris)
Senior Food Editor
Expertise
Home Cooking, Meal Planning, Recipe Development, Baking and Pastry, Food Editor, Cooking-video Maker, Vietnamese Food Evaluation Expert
Education
Truc Tran (Kris), an experienced food writer and editor, is great at exploring and describing global cuisines, from simple street food to fancy dining. In her writing, she skillfully mixes different flavors, cooking methods, and culinary traditions, showing the unique character of various cultures through their food and drinks. On azcuisines.com, Kris highlights her knowledge, especially in Asian cuisine and worldwide traditional dishes.