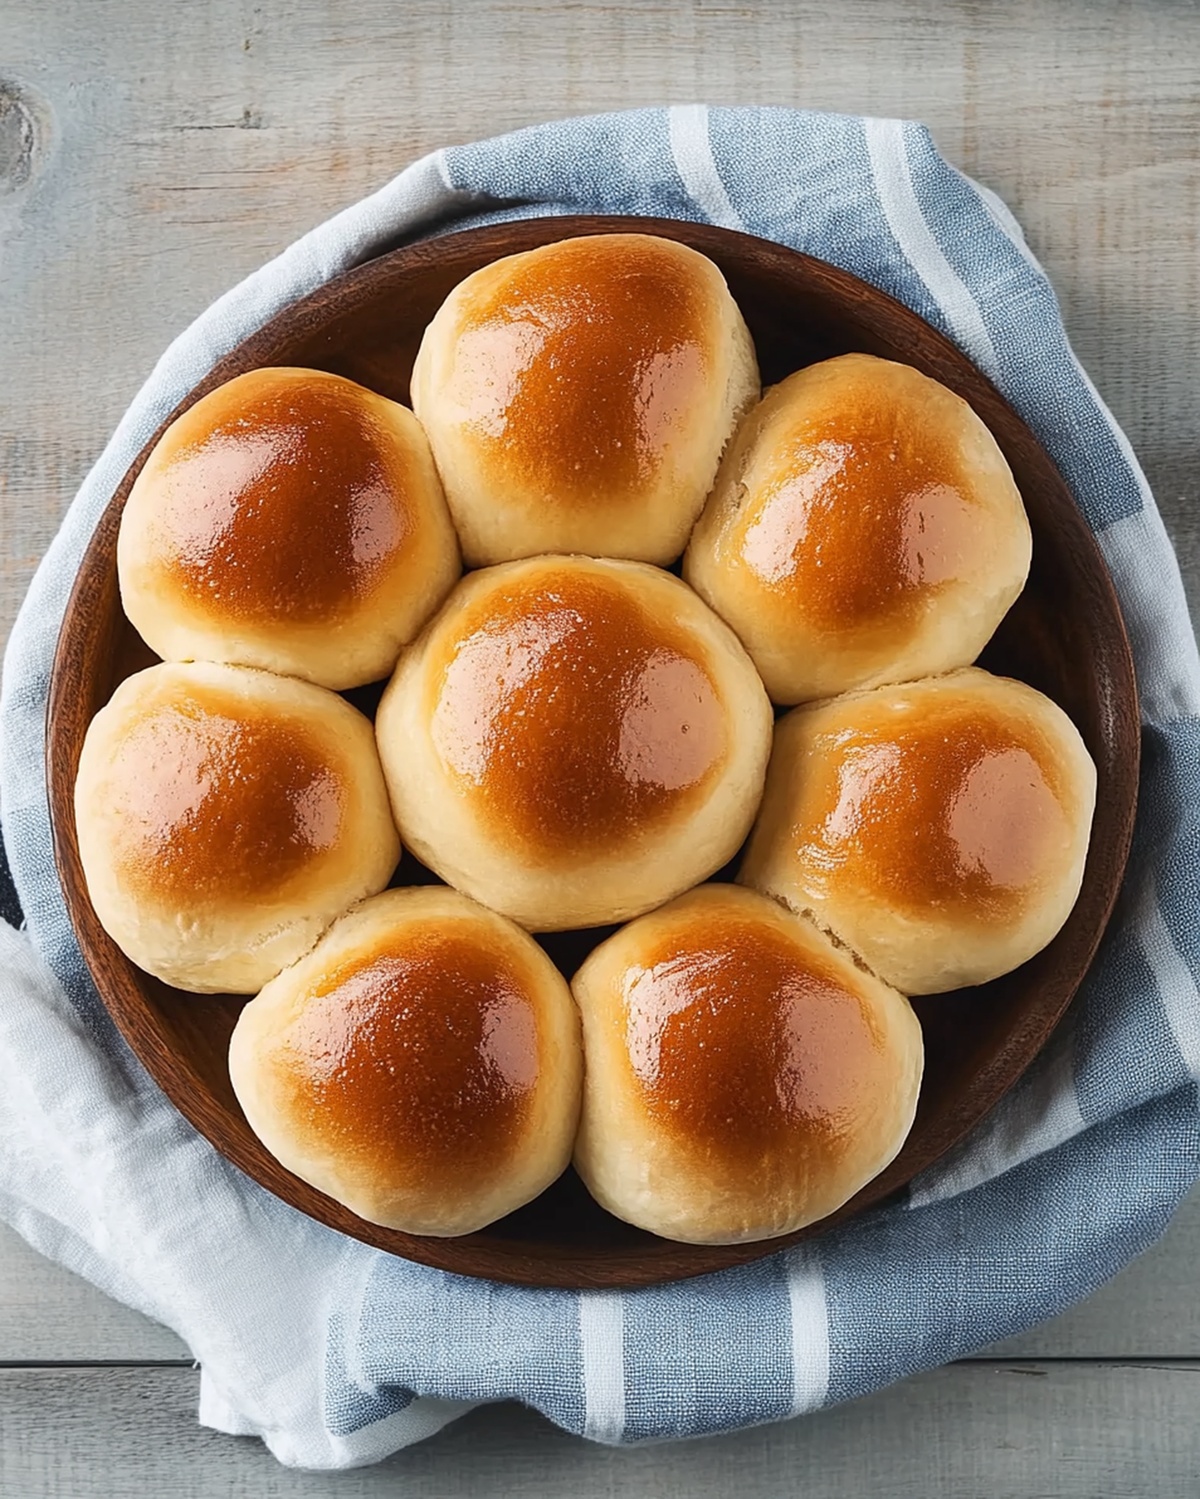
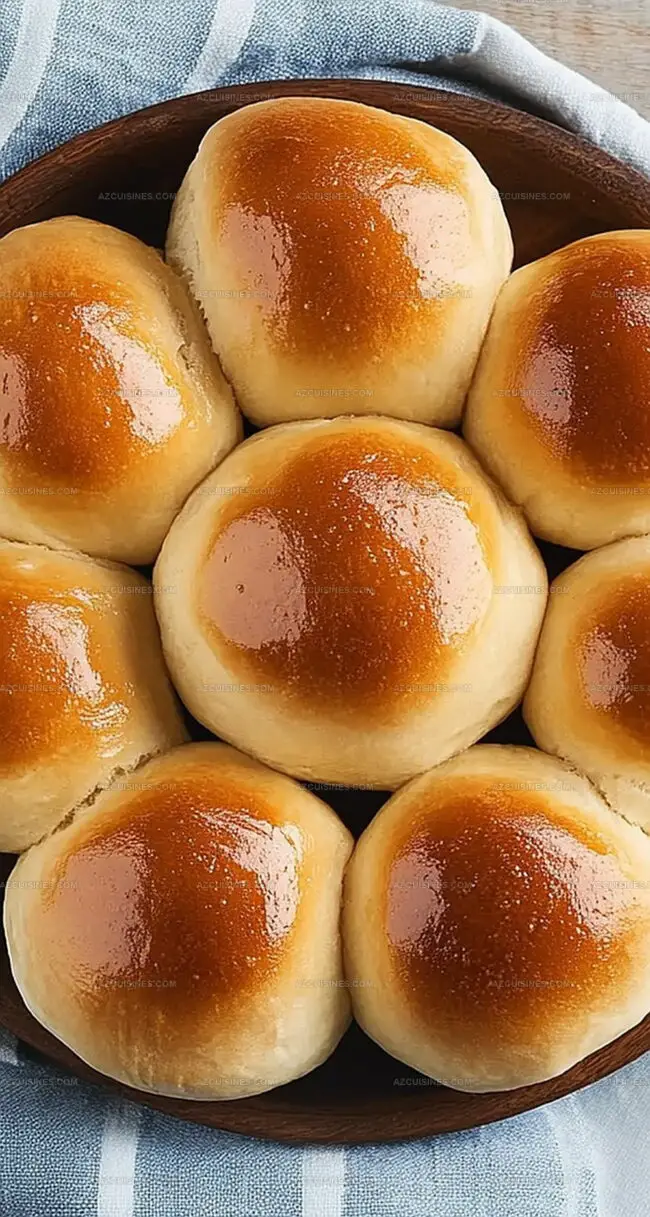
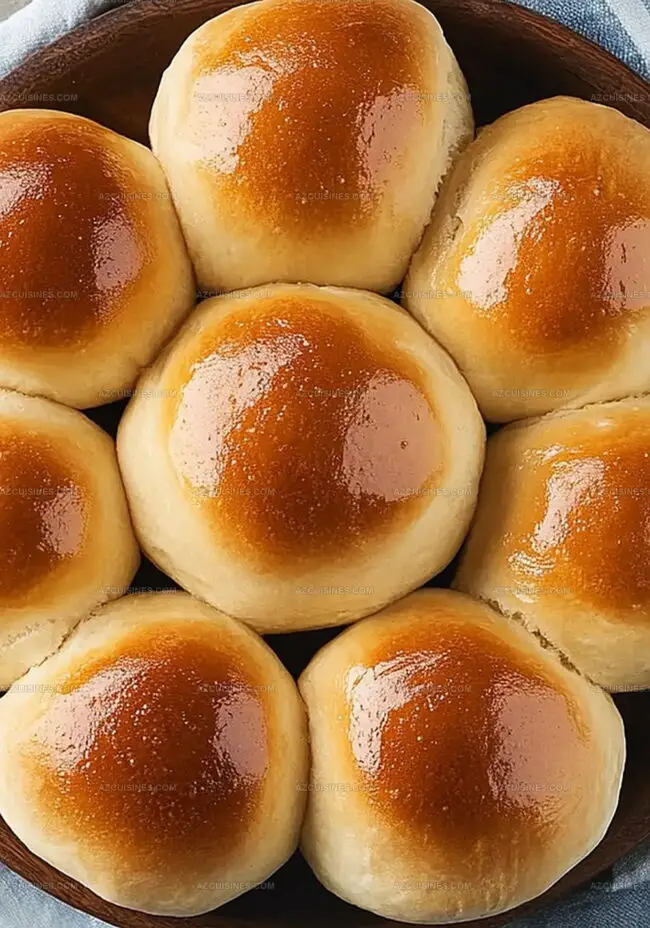
Fluffy Classic Dinner Rolls Recipe: Golden Homemade Goodness
Soft, pillowy classic dinner rolls dance between comfort and culinary tradition.
Warm kitchens fill with anticipation when fresh bread emerges from ovens.
Delicate aromas swirl through spaces, promising something magical and satisfying.
Generations have cherished these simple yet remarkable bread companions alongside meals.
Skilled bakers understand the subtle art of creating perfectly textured rolls.
Each bite connects us to memories of shared tables and delightful conversations.
You’ll want to roll up your sleeves and create these irresistible golden treasures right now.
Why Classic Dinner Rolls Are A Table Favorite
What You’ll Need For Classic Dinner Rolls
Liquid Ingredients:Dry Ingredients:Leavening Agent:Baking Steps For Classic Dinner Rolls
Step 1: Create Flavor Base
Whisk together warm water, warm milk, melted butter, egg, sugar, salt, and yeast in a spacious mixing bowl. Stir thoroughly until yeast completely dissolves and ingredients blend smoothly.
Step 2: Form Soft Dough
Gradually incorporate flour into the liquid mixture, stirring continuously until a soft, cohesive dough develops. The texture should feel slightly sticky but manageable.
Step 3: Knead the Dough
Transfer dough onto a lightly floured surface. Knead vigorously for 6-8 minutes, using the heel of your hand to stretch and fold.
Continue until the dough becomes smooth, elastic, and springy to the touch.
Step 4: First Rising Period
Place kneaded dough in a generously greased bowl.
Cover with a clean, damp kitchen towel. Allow dough to rest in a warm, draft-free area for approximately one hour, or until the volume doubles.
Step 5: Shape Dinner Rolls
Gently deflate the risen dough by punching it down. Divide the dough into 12 equal portions.
Roll each section into smooth, round balls using your palms.
Step 6: Second Rising Period
Arrange roll balls in a greased 9×13 inch baking dish.
Cover again with a damp towel. Let rolls rise for an additional 30-40 minutes until they expand and touch each other.
Step 7: Prepare for Baking
Preheat oven to 375°F. Ensure the rack is positioned in the center for even heating.
Step 8: Bake to Golden Perfection
Slide baking dish into the preheated oven. Bake rolls for 20-25 minutes, watching for a beautiful golden-brown color on top.
Rolls should sound hollow when tapped gently.
Helpful Tips For Classic Dinner Rolls
Fun Variations On Classic Dinner Rolls
What To Eat With Classic Dinner Rolls
Storage Tips For Classic Dinner Rolls
Questions About Classic Dinner Rolls
Yes, you can easily mix and knead the dough by hand using a wooden spoon and working the dough on a clean surface until it becomes smooth and elastic.
Dissolve yeast in warm water with a pinch of sugar. If it becomes foamy and bubbly within 5-10 minutes, the yeast is alive and ready to use.
Yes, you can freeze the baked rolls in an airtight container for up to 3 months. Thaw at room temperature and warm slightly before serving.
All-purpose flour is perfect for these dinner rolls, providing a soft and tender texture that’s ideal for a classic dinner roll recipe.
Print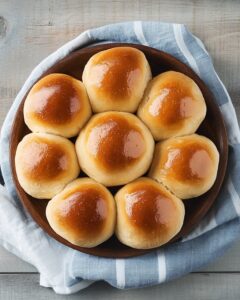
Classic Dinner Rolls Recipe
- Total Time: 1 hour 45 minutes
- Yield: 12 1x
Description
Warm, golden classic dinner rolls shine as a comforting staple of homemade bread magic. Pillowy and rich with buttery goodness, these simple rolls elevate any meal and invite you to savor each delightful, freshly baked bite.
Ingredients
Main Ingredients:
- 3 3/4 cups (470 grams) all-purpose flour
- 1 package (7 grams/0.25 ounces) active dry yeast
Liquid Ingredients:
- 1/2 cup (120 milliliters) warm water (110 degrees Fahrenheit/43 degrees Celsius)
- 1/2 cup (120 milliliters) warm milk
- 1/3 cup (80 milliliters) butter, melted
Sweeteners and Seasonings:
- 1/3 cup (67 grams) white sugar
- 1 teaspoon (5 grams) salt
- 1 egg
Instructions
- Whisk together warm water, milk, melted butter, egg, sugar, salt, and yeast in a spacious mixing bowl until yeast completely dissolves and mixture becomes uniform.
- Gradually incorporate flour into liquid mixture, stirring consistently until soft, slightly sticky dough develops.
- Transfer dough onto a lightly floured surface and knead methodically for 6-8 minutes, developing smooth and elastic texture.
- Relocate dough to a generously greased bowl, drape with a moistened kitchen towel, and permit rising in a draft-free, warm environment for approximately 1 hour until volume doubles.
- Deflate dough by pressing down gently, then partition into 12 equivalent portions using a sharp knife or dough scraper.
- Carefully shape each portion into rounded balls, ensuring smooth surface without cracks.
- Arrange dough balls in a greased 9×13 inch baking dish, maintaining slight spacing between rolls.
- Cover rolls with a damp cloth and allow secondary proofing for 30-40 minutes until they visibly expand.
- Preheat oven to 375°F (190°C) during final rising period.
- Bake rolls for 20-25 minutes, rotating pan midway to ensure even golden-brown coloration across surface.
Notes
- Temperature matters significantly: Ensure water and milk are warm (not hot) to activate yeast without killing it.
- Kneading technique impacts texture: Stretch and fold dough consistently to develop gluten structure for softer rolls.
- Rising environment affects volume: Place dough in draft-free, warm spot around 80-85°F for optimal proofing.
- Customization options enhance versatility: Experiment with herbs like rosemary or brush with garlic butter for different flavor profiles.
- Prep Time: 15 minutes
- Cook Time: 20-25 minutes
- Category: Dinner, Snacks
- Method: Baking
- Cuisine: American
Nutrition
- Serving Size: 12
- Calories: 152
- Sugar: 5 g
- Sodium: 115 mg
- Fat: 6 g
- Saturated Fat: 3.5 g
- Unsaturated Fat: 2.5 g
- Trans Fat: 0 g
- Carbohydrates: 22 g
- Fiber: 1 g
- Protein: 4 g
- Cholesterol: 18 mg
Truc Tran (Kris)
Senior Food Editor
Expertise
Home Cooking, Meal Planning, Recipe Development, Baking and Pastry, Food Editor, Cooking-video Maker, Vietnamese Food Evaluation Expert
Education
Truc Tran (Kris), an experienced food writer and editor, is great at exploring and describing global cuisines, from simple street food to fancy dining. In her writing, she skillfully mixes different flavors, cooking methods, and culinary traditions, showing the unique character of various cultures through their food and drinks. On azcuisines.com, Kris highlights her knowledge, especially in Asian cuisine and worldwide traditional dishes.