Sizzling Crispy Katsu Chicken Recipe: A Bite of Golden Joy
Crafting the perfect crispy katsu chicken brings joy to any home kitchen adventure.
Flour, eggs, and panko breadcrumbs create a magical coating that locks in flavor and crunch.
Japanese comfort food doesn’t get more satisfying than this crispy delight.
Tender chicken transforms into a golden-brown masterpiece with just a few simple techniques.
Each bite promises a delightful crackle that makes taste buds dance with excitement.
Weeknight dinners will never be the same once you master this incredible dish.
You’ll want to share this crowd-pleasing recipe with everyone who loves a seriously delicious meal.
Why Crispy Katsu Chicken Is a Must-Try Meal
Ingredients to Make the Crunchiest Katsu Chicken
Main Protein:Seasoning Blend:Breading Ingredients:Cooking Ingredients:Garnish:How to Cook Katsu Chicken That’s Crispy and Juicy
Step 1: Prepare the Chicken
Grab your chicken breasts and give them a gentle pat down with paper towels. This helps remove extra moisture and sets the stage for an incredibly crispy exterior. Make sure each piece is nice and dry.
Step 2: Season with Flavor
Sprinkle salt, black pepper, garlic powder, and paprika all over the chicken. Use your hands to massage those spices deep into the meat, creating a flavor-packed foundation for your katsu.
Step 3: Create Breading Stations
Set up three shallow dishes for your breading adventure:Step 4: First Dredge
Coat each chicken piece in seasoned flour, giving it a gentle shake to remove any excess. This creates the first layer of your crispy armor.
Step 5: Egg Bath
Dip the floured chicken into the whisked egg and soy sauce mixture. Let any extra liquid drip off, creating a perfect sticky surface for the next layer.
Step 6: Panko Coating
Roll the chicken in panko breadcrumbs, pressing gently to ensure a thick, even coating. Make sure every inch is covered for maximum crunchiness.
Step 7: Heat the Oil
Pour vegetable oil into a large skillet and heat to 350°F. You want the oil hot enough to create an instant sizzle but not so hot that it burns the coating.
Step 8: Fry to Golden Perfection
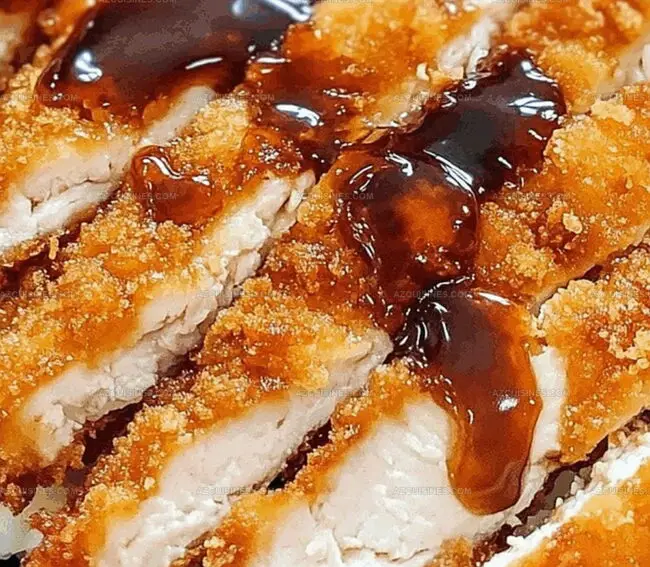
Carefully lower the breaded chicken into the hot oil. Cook for 4-5 minutes on each side until it turns a beautiful golden brown. The internal temperature should reach 165°F to ensure it’s fully cooked.
Step 9: Drain and Rest
Transfer the fried chicken to a wire rack or paper towel-lined plate. This helps drain excess oil and keeps the coating super crisp. Let it rest for 3-4 minutes to allow the juices to settle.
Step 10: Serve and Garnish
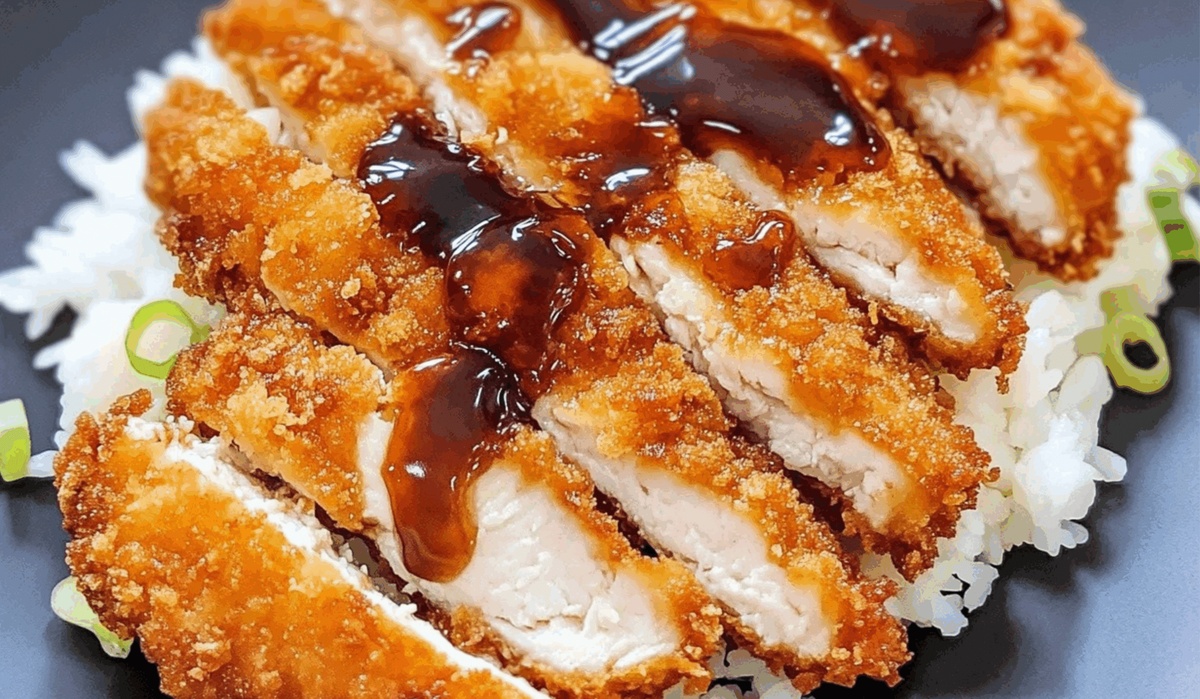
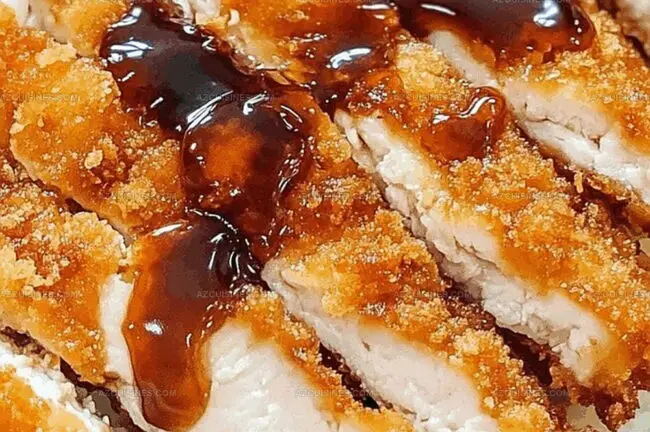
Slice the chicken diagonally and sprinkle with chopped green onions. Add fresh lemon wedges on the side for a bright, zesty finish. Enjoy your homemade katsu chicken!
Smart Tips to Perfect Your Katsu Coating
Bold Flavor Combos for Katsu Chicken
What Sides and Sauces Go Great with Katsu Chicken
How to Store Crispy Katsu Chicken and Keep It Crunchy
Katsu Chicken FAQs Every Home Cook Should Read
Panko creates a lighter, crispier coating with more texture. They absorb less oil and result in a crunchier exterior compared to traditional breadcrumbs.
Ensure chicken is completely dry before breading, press panko firmly onto the meat, and maintain consistent oil temperature around 350°F. Pat chicken dry with paper towels and follow the breading station steps carefully.
Yes, preheat oven to 400°F, place breaded chicken on a wire rack over a baking sheet, spray with cooking spray, and bake for 20-25 minutes, flipping halfway. However, the texture won’t be as crispy as deep-frying.
Print
Crispy Katsu Chicken Recipe
- Total Time: 25 minutes
- Yield: 4 1x
Description
Crispy katsu chicken delivers Japanese comfort food perfection with golden-brown panko-crusted chicken that sings with delicate crunch. Succulent meat and irresistible texture invite you to savor each delightful bite of this classic dish.
Ingredients
Protein:
- 4 chicken breasts
- 2 large eggs
Breading:
- 2 cups panko breadcrumbs
- 1 cup all-purpose flour
Seasoning and Liquid:
- 2 tsp salt
- 1 tsp black pepper
- 1 tsp garlic powder
- 1/2 tsp paprika
- 2 tbsp soy sauce
- 1/4 cup vegetable oil (for frying)
Garnish:
- 2 green onions, chopped
- 1 lemon, cut into wedges
Instructions
- Pat chicken breasts dry with paper towels to remove excess moisture, ensuring a crisp coating.
- Season chicken thoroughly with salt, black pepper, garlic powder, and paprika, massaging spices into the meat.
- Create a breading station: place flour in one shallow dish, whisk eggs with soy sauce in another, and spread panko breadcrumbs in a third dish.
- Dredge each chicken breast first in seasoned flour, shaking off excess, then dip completely into egg mixture, allowing surplus to drip off.
- Carefully coat chicken in panko breadcrumbs, pressing gently to ensure an even, thick layer of breading adheres completely.
- Heat vegetable oil in a large skillet to 350°F, maintaining consistent temperature for even browning.
- Gently place breaded chicken into hot oil, cooking 4-5 minutes per side until golden brown and internal temperature reaches 165°F.
- Transfer fried chicken to a wire rack or paper towel-lined plate to drain excess oil and maintain crispiness.
- Let chicken rest for 3-4 minutes to allow juices to redistribute and coating to set.
- Slice chicken diagonally and garnish with chopped green onions and fresh lemon wedges for serving.
Notes
- Ensure chicken breasts are uniformly thick by gently pounding them to create even cooking and prevent dry edges.
- Use a meat thermometer to accurately check internal temperature, guaranteeing perfectly cooked chicken without overcooking.
- Allow breaded chicken to rest for 10-15 minutes before frying to help breading adhere better and create a crunchier exterior.
- For gluten-free version, substitute all-purpose flour with rice flour or gluten-free breadcrumbs and use tamari instead of soy sauce.
- Prep Time: 15 minutes
- Cook Time: 10 minutes
- Category: Dinner, Lunch, Appetizer
- Method: Frying
- Cuisine: Japanese
Nutrition
- Serving Size: 4
- Calories: 550
- Sugar: 1 g
- Sodium: 800 mg
- Fat: 25 g
- Saturated Fat: 3 g
- Unsaturated Fat: 22 g
- Trans Fat: 0 g
- Carbohydrates: 50 g
- Fiber: 2 g
- Protein: 30 g
- Cholesterol: 150 mg
Truc Tran (Kris)
Senior Food Editor
Expertise
Home Cooking, Meal Planning, Recipe Development, Baking and Pastry, Food Editor, Cooking-video Maker, Vietnamese Food Evaluation Expert
Education
Truc Tran (Kris), an experienced food writer and editor, is great at exploring and describing global cuisines, from simple street food to fancy dining. In her writing, she skillfully mixes different flavors, cooking methods, and culinary traditions, showing the unique character of various cultures through their food and drinks. On azcuisines.com, Kris highlights her knowledge, especially in Asian cuisine and worldwide traditional dishes.