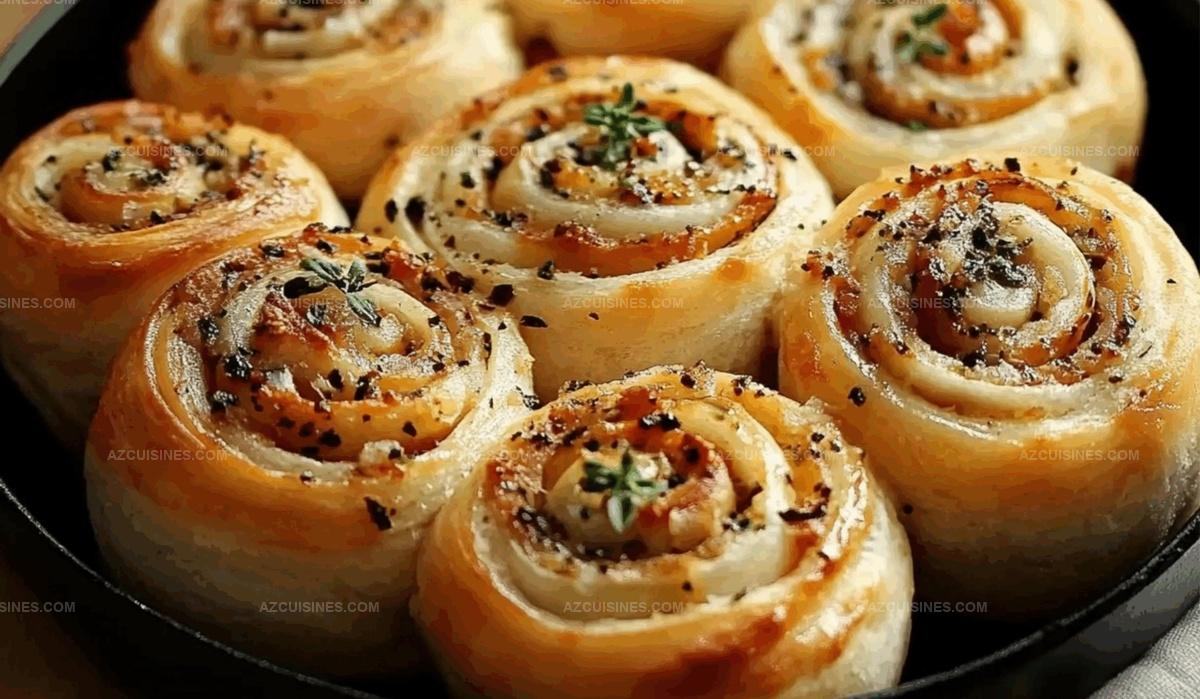
Homemade Garlic Swirl Rolls Recipe: Fluffy Golden Goodness
Soft, pillowy garlic swirl rolls dance with aromatic promise straight from your kitchen.
Buttery layers unfold like delicate whispers of comfort.
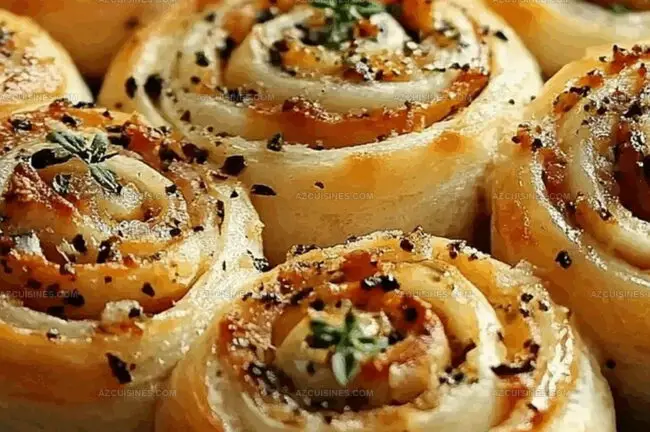
Fragrant herbs mingle with melted butter, creating magic in every spiral.
Crisp edges promise golden-brown perfection waiting to tempt your senses.
Warm bread signals an irresistible journey of flavor and texture.
Delicate swirls packed with rich garlic will make meals memorable.
Bread lovers should grab their aprons and start kneading magic.
Why Garlic Swirl Rolls Will Be Your Next Bread Obsession

What You’ll Need for Buttery Garlic Swirl Rolls
Dough Base:Butter and Salt:Garlic Filling:Topping and Garnish:How to Roll Up Garlic Swirl Rolls from Scratch
Step 1: Awaken the Yeast
Combine warm milk and sugar in a large mixing bowl. Stir gently until the mixture becomes frothy and releases a sweet, yeasty aroma. Let it sit and develop for about 5-7 minutes.
Step 2: Create the Dough Base
Crack eggs into the activated yeast mixture. Whisk thoroughly to combine. Gradually add:Mix until the ingredients are fully incorporated and smooth.
Step 3: Knead the Dough
Gradually fold flour into the wet ingredients. Knead the mixture on a clean surface until it transforms into a smooth, elastic dough. Continue kneading for 8-10 minutes to develop gluten and create a perfect texture.
Step 4: First Rise
Cover the dough with a clean kitchen towel. Place in a warm, draft-free area and allow it to rise until it doubles in size. This typically takes about an hour.
Step 5: Prepare Garlic Filling
Create a flavorful filling by blending together:Mix until all ingredients are well combined and fragrant.
Step 6: Roll Out the Dough
Punch down the risen dough to release air bubbles. Roll it out on a floured surface into a large rectangular shape.
Step 7: Spread the Filling
Evenly distribute the garlic mixture across the dough, leaving a small border around the edges to prevent spillage.
Step 8: Create the Spiral
Tightly roll the dough from the long side, creating a beautiful spiral log. This technique ensures even distribution of the filling.
Step 9: Shape the Rolls
Slice the log into 12 equal rounds. Carefully place the rolls in a greased baking dish.
Step 10: Second Rise
Allow the rolls to proof at room temperature for an additional 30 minutes. This helps them become light and fluffy.
Step 11: Bake to Perfection
Preheat the oven to 375°F. Bake the rolls for 18-22 minutes until they turn a beautiful golden brown color.
Step 12: Add Final Touches
Immediately brush the hot rolls with a mixture of:Step 13: Serve and Enjoy
Sprinkle fresh chopped chives over the rolls. Serve warm and watch them disappear quickly!
Tips for the Fluffiest Garlic Swirl Rolls
Garlic Swirl Rolls With a Twist—Fun Flavors to Try
What to Pair with Garlic Swirl Rolls
How to Keep Garlic Swirl Rolls Fresh
Garlic Swirl Rolls FAQs
The garlic filling combines softened butter, minced garlic, chopped parsley, parmesan cheese, and dried oregano, creating a rich and aromatic spread that infuses the rolls with intense flavor.
The yeast is correctly activated when it becomes foamy and fragrant after 5-7 minutes in warm milk with sugar. This indicates the yeast is alive and ready to help the dough rise.
Kneading the dough for 8-10 minutes develops gluten, which creates a smooth, elastic consistency. Allowing proper rising time and not overworking the dough ensures soft, pillowy rolls.
Print
Garlic Swirl Rolls Recipe
- Total Time: 1 hour 52 minutes – 1 hour 54 minutes
- Yield: 12 1x
Description
Homemade garlic swirl rolls dance with rich, buttery layers of aromatic herbs and golden cheese. Warm comfort meets culinary creativity, promising delightful moments shared around your table.
Ingredients
Dough Ingredients:
- 3 cups all-purpose flour
- 1 packet active dry yeast
- 1/4 cup sugar
- 1/2 cup milk
- 1/4 cup butter
- 2 large eggs
- 1 tsp salt
Garlic Filling:
- 1/2 cup butter, softened
- 6 cloves garlic, minced
- 2 tbsp fresh parsley, chopped
- 1/4 cup grated parmesan cheese
- 1 tsp dried oregano
Topping:
- 2 tbsp melted butter
- 1 tsp garlic powder
- 1/4 tsp salt
- 2 tbsp fresh chives, chopped
Instructions
- Activate yeast in warm milk, combining with sugar until foamy and fragrant, approximately 5-7 minutes.
- Whisk eggs into the yeast mixture, then gradually incorporate softened butter and salt.
- Fold flour into liquid ingredients, kneading until a smooth, elastic dough forms, about 8-10 minutes.
- Cover dough and let rise in a warm environment until doubled in size, roughly 1 hour.
- Meanwhile, prepare garlic filling by blending softened butter with minced garlic, chopped parsley, parmesan cheese, and dried oregano.
- Punch down risen dough and roll into a large rectangular shape on a floured surface.
- Spread garlic mixture evenly across the dough, leaving a small border around edges.
- Tightly roll the dough from the long side, creating a spiral log.
- Slice log into 12 equal rounds and place in a greased baking dish.
- Allow rolls to proof for an additional 30 minutes at room temperature.
- Preheat oven to 375°F and bake rolls for 18-22 minutes until golden brown.
- Brush immediately with melted butter mixed with garlic powder and salt.
- Garnish with fresh chopped chives before serving warm.
Notes
- Enhance yeast activation by ensuring milk temperature is precisely between 100-110°F to guarantee proper fermentation without killing the yeast.
- Knead dough on a lightly floured surface using a gentle pushing and folding technique to develop gluten structure without overworking the dough.
- For a gluten-free version, substitute all-purpose flour with a cup-for-cup gluten-free blend and add xanthan gum for better texture and binding.
- Customize filling by experimenting with alternative herbs like basil or thyme, or add roasted red pepper flakes for a spicy kick that elevates the garlic flavor profile.
- Prep Time: 1 hour 30 minutes
- Cook Time: 18-22 minutes
- Category: Snacks, Dinner
- Method: Baking
- Cuisine: American
Nutrition
- Serving Size: 12
- Calories: 220
- Sugar: 5 g
- Sodium: 300 mg
- Fat: 10 g
- Saturated Fat: 6 g
- Unsaturated Fat: 4 g
- Trans Fat: 0 g
- Carbohydrates: 28 g
- Fiber: 1 g
- Protein: 5 g
- Cholesterol: 50 mg
Truc Tran (Kris)
Senior Food Editor
Expertise
Home Cooking, Meal Planning, Recipe Development, Baking and Pastry, Food Editor, Cooking-video Maker, Vietnamese Food Evaluation Expert
Education
Truc Tran (Kris), an experienced food writer and editor, is great at exploring and describing global cuisines, from simple street food to fancy dining. In her writing, she skillfully mixes different flavors, cooking methods, and culinary traditions, showing the unique character of various cultures through their food and drinks. On azcuisines.com, Kris highlights her knowledge, especially in Asian cuisine and worldwide traditional dishes.