Fluffy Homemade Pita Pockets Recipe: Bread Magic at Home
Crafting delectable homemade pita pockets sparks culinary excitement in my kitchen.
Soft, pillowy bread envelops fresh ingredients with irresistible charm.
Mediterranean traditions dance through each carefully folded pocket, creating magical meals.
Families adore these versatile handheld delights that blend convenience and flavor.
Minimal ingredients and straightforward techniques make this recipe accessible for cooks of all skill levels.
Surprisingly simple techniques unlock restaurant-quality results right in your own cooking space.
Each bite promises a delightful journey of texture and taste that will have everyone asking for seconds.
Why Homemade Pita Pockets Are A Total Win
What You’ll Use For Homemade Pita Pockets
Bread Components:Flavor Enhancers:Homemade Pita Pockets—Let’s Get Rolling
Step 1: Activate the Yeast Magic
Grab a large mixing bowl and combine warm water with yeast and a touch of sugar. Let the mixture sit for a few minutes until it becomes frothy and alive.
Sprinkle in salt and vegetable oil to create a flavorful base for your dough.
Step 2: Create the Perfect Dough
Gradually add flour to the yeast mixture.
Knead the dough with your hands, working it until it becomes smooth and elastic. This process takes about 10 minutes and will develop the gluten that gives pita its amazing texture.
Step 3: Let the Dough Rest and Develop
Cover the dough and let it sit in a warm spot for an hour. Every 20 minutes, gently fold the dough to help develop its structure.
This process allows the flavors to develop and the dough to become more complex.
Step 4: Prepare Pita Portions
Divide the dough into 10 equal pieces.
Gently shape each piece into a smooth ball. Place the balls in an oiled container and refrigerate overnight.
This slow fermentation will enhance the flavor and make the dough easier to work with.
Step 5: Preheat for Perfection
Set your oven to 482°F with a baking sheet or pizza stone inside.
The intense heat is crucial for creating those beautiful pita pockets.
Step 6: Roll and Shape
Take out the chilled dough balls and roll them into thin circles, about 3-4 mm thick.
Aim for a smooth, even surface that will help create the signature pocket.
Step 7: Bake to Puffy Goodness
Carefully transfer the rolled dough onto the hot baking sheet.
Bake in small batches for 3-4 minutes. Watch in wonder as the pitas puff up like magic balloons.
Step 8: Keep Them Soft
Immediately after baking, place the hot pitas in a covered container. This traps the steam and keeps them soft and pliable.
Step 9: Serve and Enjoy
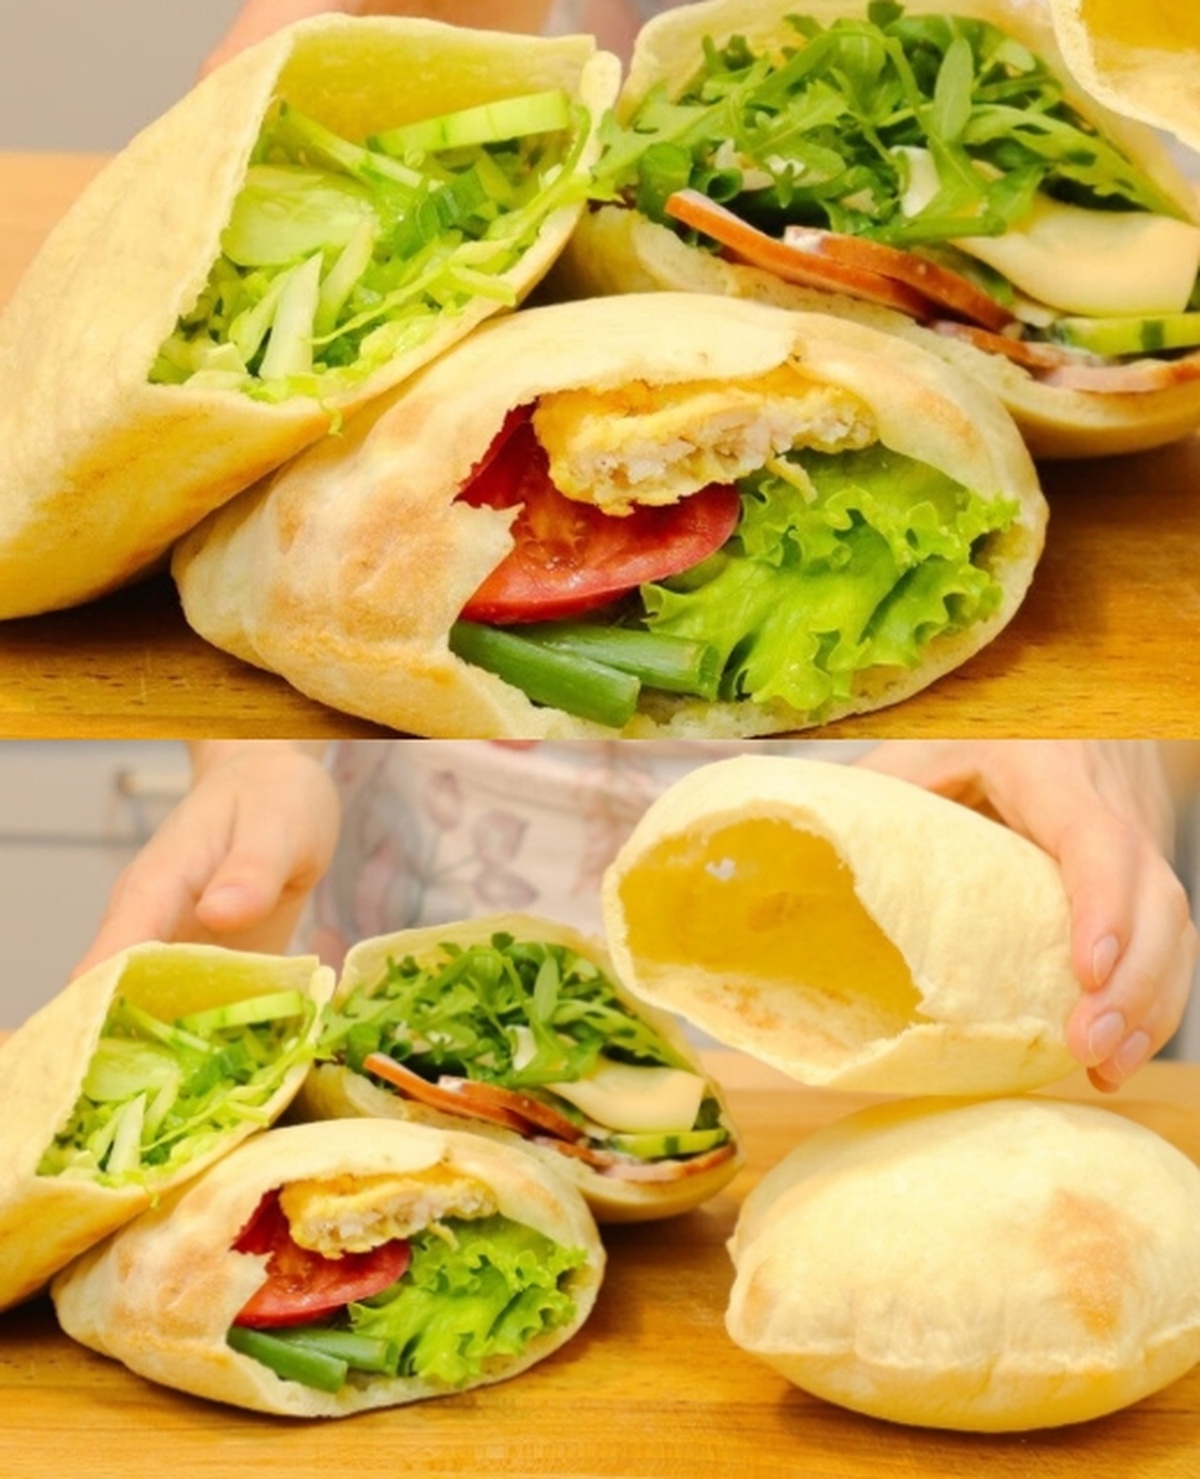
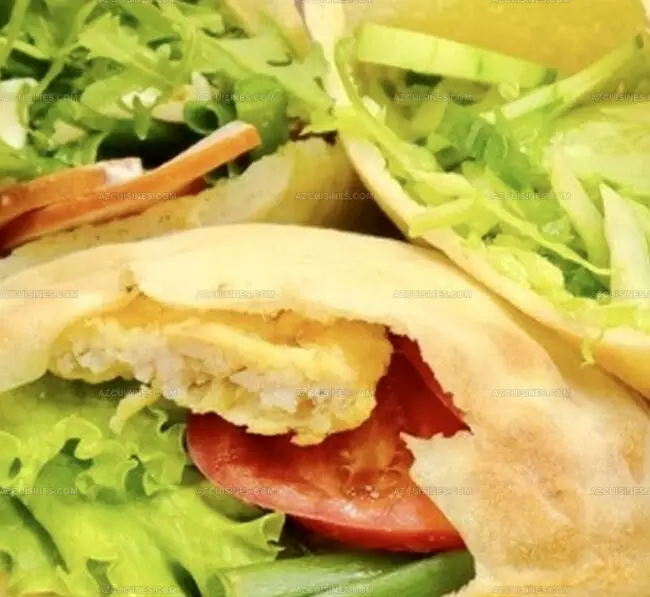
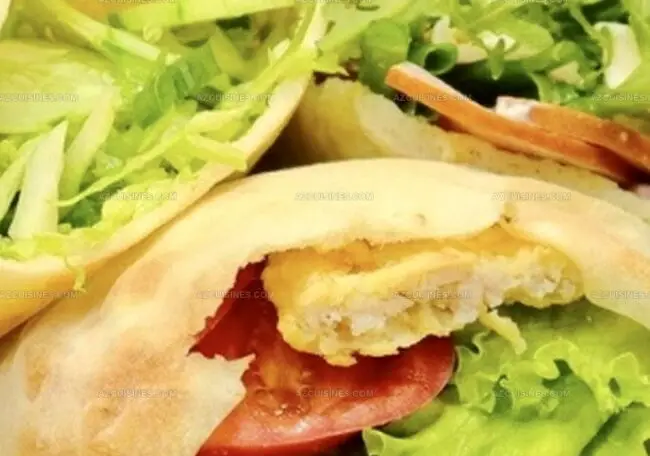
Once cooled, slice the pitas open and fill with your favorite ingredients. These can be stored at room temperature for a few days or frozen for longer preservation.
Tips For Fluffy Homemade Pita Pockets
Fun Fills And Twists For Homemade Pita Pockets
Best Things To Pair With Homemade Pita Pockets
How To Keep Homemade Pita Pockets Just Right
Homemade Pita Pockets—Answers To Your FAQs
Folding helps develop gluten, redistribute temperature, and incorporate air, which makes the pita bread more elastic and creates a better texture and rise.
Yes, you can use an inverted baking sheet preheated in the oven. The key is to have a very hot surface that helps the pita puff up quickly.
Mix yeast with warm water and sugar. If it becomes foamy and bubbly within 5-10 minutes, your yeast is alive and ready to use. If nothing happens, the yeast might be old or inactive.
Cold fermentation allows slow flavor development, improves gluten structure, and makes the dough easier to handle.
Print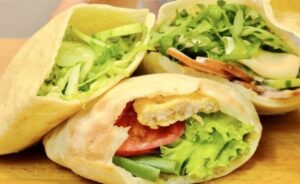
Homemade Pita Pockets Recipe
- Total Time: 1 hour 30 minutes plus resting time
- Yield: 4 1x
Description
Delightful Homemade Pita Pockets bring Mediterranean charm to your kitchen, offering a perfect balance of crisp exterior and pillowy interior. Stuffed with fresh ingredients and baked to golden perfection, these pockets promise a delicious journey through authentic flavors you’ll crave again and again.
Ingredients
Main Ingredients:
- 400 grams (14.11 ounces) flour
- 220 milliliters (7.44 fluid ounces) water
- 20 grams (0.71 ounces) vegetable oil
Leavening and Seasoning:
- 6 grams (0.21 ounces) pressed yeast (or 2 grams (0.07 ounces) dry yeast)
- 20 grams (0.71 ounces) sugar
- 7 grams (0.25 ounces) salt
Filling Ingredients:
- Mixed vegetables (lettuce, tomato, cucumber)
- Fresh herbs (parsley, mint)
- Grilled chicken or beef strips
- Shredded cheese
- Sauce or mayonnaise
Instructions
- Activate yeast mixture by combining warm water, yeast, sugar, salt, and vegetable oil in a spacious mixing bowl, ensuring uniform blending.
- Incorporate flour gradually, kneading the dough persistently for 8-10 minutes until achieving a silky, elastic consistency with smooth texture.
- Let dough rest and ferment for 60 minutes, performing gentle folding techniques every 20 minutes to enhance gluten development and texture.
- Partition dough into precise 10 uniform portions, carefully rounding each piece and placing them in a lightly oiled container for overnight refrigeration.
- Position oven rack with baking stone or heavy sheet at highest setting, preheating to intense 482°F (250°C) for optimal heat distribution.
- Extract dough portions, rolling each into thin circular shapes approximately 3-4 mm thick, ensuring consistent diameter and even surface.
- Transfer rolled dough carefully onto preheated baking surface, cooking in small batches of 3 for approximately 3-4 minutes until dramatically puffed and golden brown.
- Immediately transfer baked pitas into covered container, preserving moisture and softness, allowing gentle steaming to maintain tender texture.
- Store freshly prepared pita pockets at room temperature or freeze for extended preservation, ready to slice and fill with desired ingredients.
Notes
- Chill the dough overnight to enhance flavor and make rolling easier, developing deeper yeast complexity and improving texture.
- Use a hot baking stone or preheated sheet to create rapid steam, ensuring dramatic puffing and perfect pocket formation.
- For gluten-free adaptation, substitute all-purpose flour with a blend of rice and almond flour, adding xanthan gum for structural support.
- Store pitas in an airtight container with a slightly damp paper towel to maintain softness and prevent quick drying.
- Prep Time: 1 hour 20 minutes
- Cook Time: 4 minutes per batch
- Category: Lunch, Dinner, Appetizer, Snacks
- Method: Baking
- Cuisine: Middle Eastern
Nutrition
- Serving Size: 4
- Calories: 220
- Sugar: 5 g
- Sodium: 1.5 g
- Fat: 3.5 g
- Saturated Fat: 0.5 g
- Unsaturated Fat: 2 g
- Trans Fat: 0 g
- Carbohydrates: 42 g
- Fiber: 2 g
- Protein: 6 g
- Cholesterol: 0 mg
Truc Tran (Kris)
Senior Food Editor
Expertise
Home Cooking, Meal Planning, Recipe Development, Baking and Pastry, Food Editor, Cooking-video Maker, Vietnamese Food Evaluation Expert
Education
Truc Tran (Kris), an experienced food writer and editor, is great at exploring and describing global cuisines, from simple street food to fancy dining. In her writing, she skillfully mixes different flavors, cooking methods, and culinary traditions, showing the unique character of various cultures through their food and drinks. On azcuisines.com, Kris highlights her knowledge, especially in Asian cuisine and worldwide traditional dishes.