The Zesty Homemade Lemon Curd Recipe Everyone Adores
Whipping up a delightful lemon curd always brings sunshine to my kitchen.
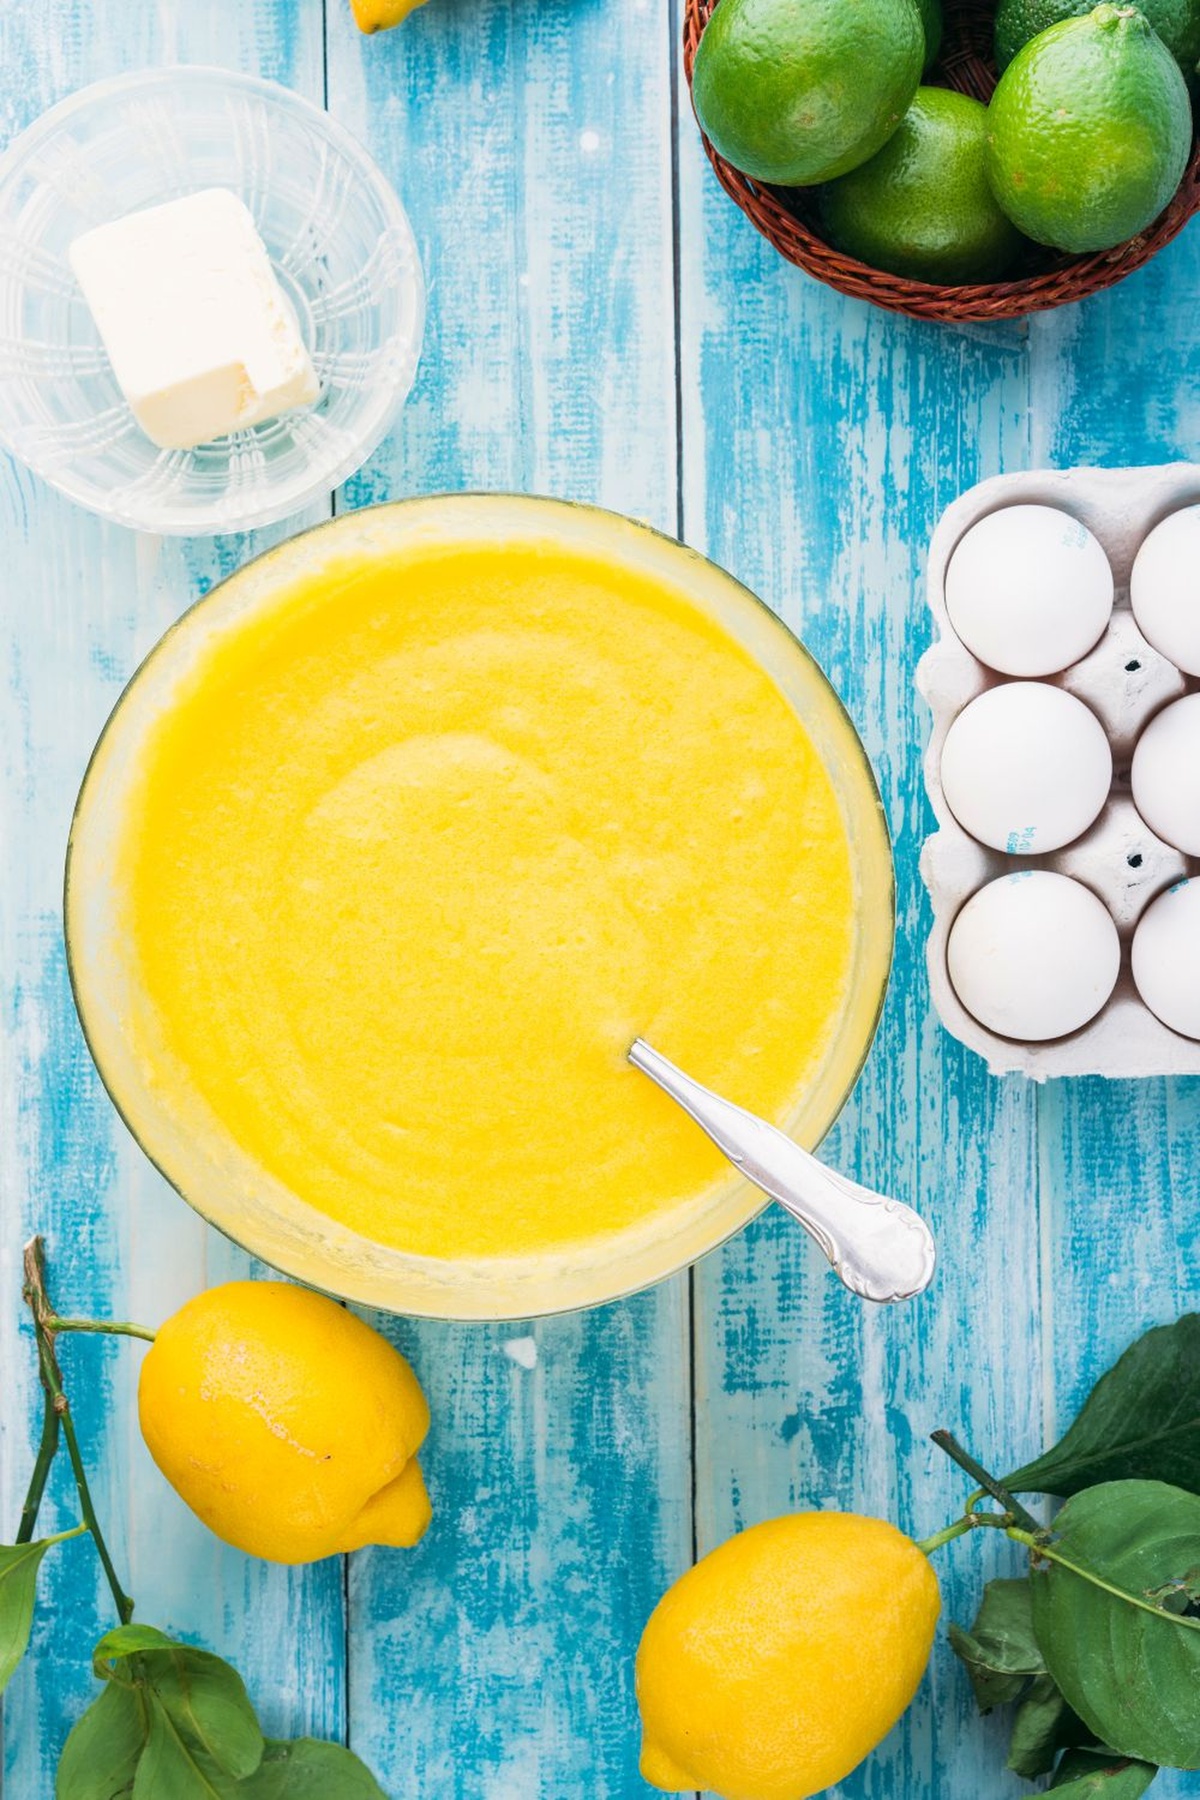
Bright citrus notes dance across the surface of this creamy, velvety spread.
My grandmother’s secret recipe transforms simple ingredients into pure magic.
Silky smooth textures mingle with sharp, tangy flavors that wake up your taste buds.
Fresh lemons create a vibrant canvas for this classic dessert companion.
Rich and luxurious, each spoonful promises pure culinary joy.
You’ll want to slather this incredible curd on everything from scones to morning toast.
Why Delia Smith Lemon Curd Is So Popular
What To Use For Delia Smith Lemon Curd
Eggs and Base Ingredients:Sweeteners and Thickeners:Fat and Enriching Ingredient:Simple Guide To Delia Smith Lemon Curd
Step 1: Crack and Whisk Eggs
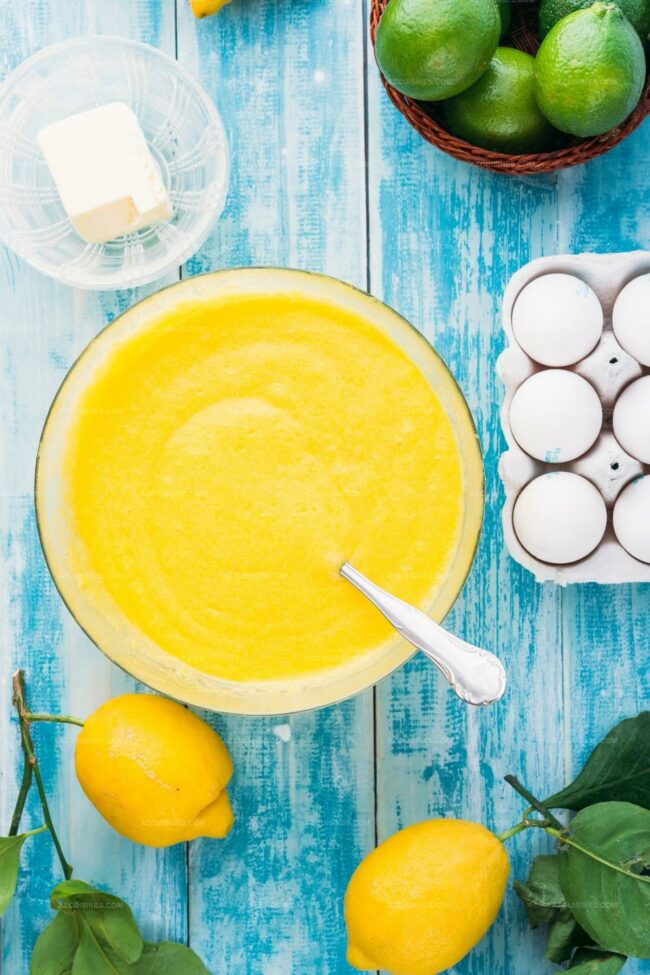
Crack fresh eggs directly into a medium saucepan. Use a wire whisk to beat the eggs until they are smooth and fully combined, creating a uniform yellow base for your lemon curd.
Step 2: Combine Flavor Ingredients
Add the following ingredients to the whisked eggs:Step 3: Heat and Stir Continuously
Place the saucepan on the stovetop over medium-low heat. Begin whisking the mixture constantly and steadily. Continue stirring for approximately 7-8 minutes until the mixture starts to thicken and develop a smooth, creamy consistency.
Step 4: Simmer and Develop Texture
Reduce the heat to low and continue stirring. Let the lemon curd simmer for an additional minute, which helps develop a rich, velvety texture and ensures all ingredients are fully incorporated.
Step 5: Transfer and Preserve
Remove the saucepan from the heat. Carefully pour the hot lemon curd into sterilized glass jars. Seal the jars immediately while the curd is still hot to maintain freshness and prevent contamination.
Tips That Help With Delia Smith Lemon Curd
Different Ways To Enjoy Delia Smith Lemon Curd

What Goes Great With Delia Smith Lemon Curd
Best Way To Store Delia Smith Lemon Curd
FAQs For Delia Smith Lemon Curd Fans
You’ll need a medium saucepan, whisk, zester, measuring cups, and sterilized glass jars for storing the curd.
When stored in a sealed jar in the refrigerator, it typically lasts 1-2 weeks. Always check for any signs of spoilage before consuming.
Fresh lemon juice is recommended for the best flavor and brightest taste. Bottled juice can work in a pinch but may lack the same vibrant citrus notes.
Not at all! With careful attention and constant whisking, anyone can make smooth, creamy lemon curd. The key is maintaining a steady medium-low heat and stirring continuously.
Print
Lemon Curd Recipe
- Total Time: 84 mins
- Yield: 6 1x
Description
Silky smooth lemon curd brings sunshine to your dessert table with its tangy, rich flavor. Creamy and versatile, this classic spread elevates pastries, toast, and baked goods, offering you a delightful taste of culinary magic.
Ingredients
Main Ingredients:
- 4 large eggs
- 350 grams (12.35 ounces) golden caster sugar
- 225 grams (7.94 ounces) unsalted butter, room temperature
Citrus Components:
- Zest of 4 large lemons
- Juice of 4 large lemons
Thickening Agent:
- 1 level dessertspoon cornflour (cornstarch)
Instructions
- Crack eggs into a medium saucepan, whisking thoroughly to create a smooth base for the lemon curd.
- Incorporate lemon zest, freshly squeezed lemon juice, granulated sugar, unsalted butter, and cornflour into the egg mixture, stirring until ingredients are fully blended.
- Position the saucepan over medium-low heat, continuously whisking the mixture to prevent scorching and ensure even cooking for approximately 7-8 minutes until the consistency begins to thicken.
- Adjust the heat to low, allowing the mixture to gently simmer while maintaining constant stirring for an additional minute to develop a rich, velvety texture.
- Carefully remove the saucepan from the heat source, immediately transferring the hot lemon curd into sterilized glass jars.
- Seal the jars while the curd is still piping hot to create an airtight environment, which helps preserve the vibrant flavor and smooth consistency.
Notes
- Prevent curdling by maintaining low, steady heat and whisking continuously during cooking process.
- Use fresh, room-temperature eggs for smoother texture and even thickening.
- Strain the curd through a fine-mesh sieve for ultra-silky, lump-free consistency.
- Store in sealed glass jars in refrigerator for up to two weeks, allowing flavors to develop and intensify.
- Prep Time: 5 mins
- Cook Time: 79 mins
- Category: Desserts, Breakfast
- Method: Simmering
- Cuisine: British
Nutrition
- Serving Size: 6
- Calories: 357
- Sugar: 40g
- Sodium: 20mg
- Fat: 23g
- Saturated Fat: 14g
- Unsaturated Fat: 8g
- Trans Fat: 0g
- Carbohydrates: 41g
- Fiber: 1g
- Protein: 3g
- Cholesterol: 110mg
Truc Tran (Kris)
Senior Food Editor
Expertise
Home Cooking, Meal Planning, Recipe Development, Baking and Pastry, Food Editor, Cooking-video Maker, Vietnamese Food Evaluation Expert
Education
Truc Tran (Kris), an experienced food writer and editor, is great at exploring and describing global cuisines, from simple street food to fancy dining. In her writing, she skillfully mixes different flavors, cooking methods, and culinary traditions, showing the unique character of various cultures through their food and drinks. On azcuisines.com, Kris highlights her knowledge, especially in Asian cuisine and worldwide traditional dishes.