Magical Milk Bar Cake Recipe: Sweet Dreams in Every Slice
Sweet memories collide with classic milk bar cake magic in this delightful dessert adventure.
Every baker dreams about recreating christina tosi’s legendary confection with precision and love.
Layers of nostalgia combine unexpected textures that dance across your palate.
Soft, tender crumbs promise a delectable journey through comfort and creativity.
Simplicity meets sophistication in this iconic recipe that breaks traditional dessert boundaries.
Unique techniques will transform your kitchen into a professional pastry playground.
You can totally nail this stunning centerpiece that sparks conversation and delights everyone around the table.
Why Milk Bar Cake Is The Dessert Everyone Talks About
Must-Have Ingredients For The Famous Milk Bar Cake
Cake Base Ingredients:Wet Ingredients:Frosting Ingredients:Decoration:How To Bake Milk Bar Cake That Wows
Step 1: Prepare Baking Space
Grab a 9×13-inch baking pan and line it with parchment paper. Ensure the entire surface is covered and lightly greased to prevent sticking.
Step 2: Mix Dry Ingredients
In a large mixing bowl, combine:Whisk these ingredients thoroughly to eliminate any potential lumps and create a uniform mixture.
Step 3: Blend Wet Components
Create a small well in the center of dry ingredients and add:Use an electric mixer to blend ingredients until the batter becomes smooth and fully incorporated, with no visible streaks.
Step 4: Pour and Smooth Batter
Transfer cake batter into the prepared pan, using a spatula to spread evenly and create a level surface for consistent baking.
Step 5: Bake the Cake
Place the pan in a preheated oven at 350°F. Bake for 25-30 minutes, checking doneness by inserting a toothpick into the center – it should emerge clean with minimal crumbs.
Step 6: Cool Completely
Remove cake from oven and let it cool on a wire rack for 45-60 minutes. Allowing complete cooling prevents frosting from melting.
Step 7: Craft Creamy Frosting
In a stand mixer, cream softened butter until light and fluffy. Gradually add:Beat until achieving a smooth, spreadable consistency.
Step 8: Frost the Cake
Using an offset spatula, generously spread frosting across the entire cake surface, creating an even, luxurious layer.
Step 9: Add Playful Decoration
Sprinkle decorative elements like:Gently press decorations into the frosting to ensure they stick.
Step 10: Chill and Serve
Refrigerate the cake for at least 30 minutes, allowing frosting to set and flavors to develop. Slice and serve chilled for maximum enjoyment.
Tips That Take Milk Bar Cake To The Next Level
Creative Twists For The Milk Bar Cake You’ll Love
Best Pairings For The Milk Bar Cake Experience
How To Keep Milk Bar Cake Fresh And Tasty
Got Milk Bar Cake Questions? We’ve Got Answers
Yes, simply substitute the all-purpose flour with a gluten-free flour blend. Use a 1:1 replacement ratio and ensure all other ingredients are gluten-free.
Always grease the pan thoroughly and line it with parchment paper. This creates a non-stick surface and makes cake removal much easier.
The batter should look smooth and have no visible dry ingredient lumps. When you lift the mixer, the batter should fall in a steady, ribbon-like stream.
For thick frosting, add more powdered sugar. If it’s too thin, incorporate more softened butter or chill it briefly to help it set and become more spreadable.
Print
Milk Bar Cake Recipe
- Total Time: 1 hour 20 minutes
- Yield: 12 1x
Description
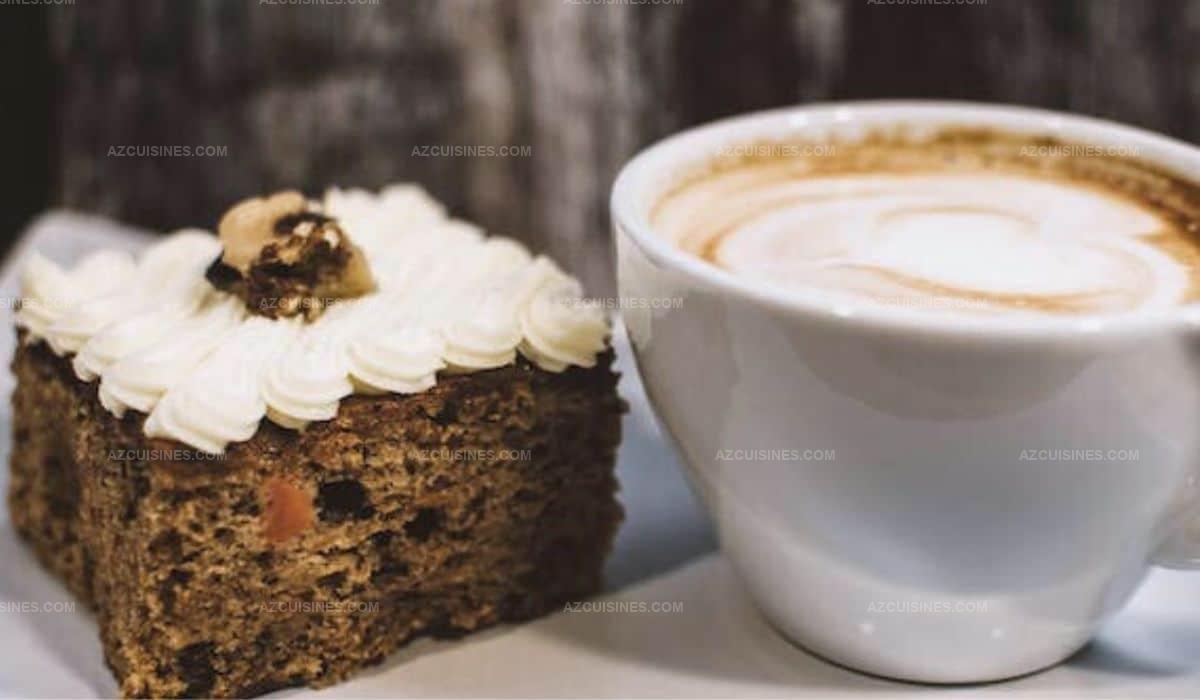
Milk Bar cake brings nostalgia and sweetness to dessert tables with its playful layers of childhood memories. Creamy, textured, and irresistibly indulgent, this iconic treat invites you to savor each delightful bite of pure comfort.
Ingredients
Cake Base:
- 2 cups all-purpose flour
- 1 1/2 cups granulated sugar
- 1/2 cup milk powder
- 1 tbsp baking powder
- 1/2 tsp salt
Wet Ingredients:
- 3 large eggs
- 1 cup whole milk
- 1/2 cup vegetable oil
- 2 tsp vanilla extract
Frosting and Topping:
- 1 cup unsalted butter, softened
- 2 cups powdered sugar
- 1/4 cup milk
- 1 tsp vanilla extract
- 1/2 cup sprinkles or crumbled cake pieces for decoration
Instructions
- Preheat the oven to 350°F and prepare a 9×13-inch baking pan by greasing and lining with parchment paper.
- In a large mixing bowl, combine all dry cake ingredients, whisking thoroughly to eliminate any lumps and create a uniform mixture.
- Create a well in the center of the dry ingredients and pour in the wet ingredients, mixing with an electric mixer until the batter becomes smooth and fully incorporated.
- Transfer the cake batter into the prepared pan, ensuring even distribution and smoothing the top with a spatula.
- Bake for 25-30 minutes, checking doneness by inserting a toothpick into the center – it should come out clean with minimal crumbs.
- Remove the cake from the oven and allow it to cool completely on a wire rack for approximately 45-60 minutes.
- For the frosting, cream the softened butter in a stand mixer until light and fluffy, gradually adding powdered sugar and mixing until smooth.
- Incorporate milk and vanilla extract into the frosting, beating until achieving a creamy, spreadable consistency.
- Once the cake has cooled, generously spread the frosting across the entire surface, creating an even layer.
- Decorate the frosted cake with sprinkles or crumbled cake pieces, pressing them gently into the frosting to ensure they adhere.
- Refrigerate the cake for at least 30 minutes before serving to allow the frosting to set and flavors to meld together.
Notes
- Prevent cake dryness by using room temperature ingredients, which blend more smoothly and create a more consistent texture.
- Experiment with alternative milk options like almond or oat milk for dairy-free variations without compromising the cake’s rich flavor profile.
- Enhance moisture by adding a simple syrup brush over the cooled cake layers before frosting, creating a more decadent and tender crumb.
- Maximize flavor complexity by toasting sprinkles or cake crumbs briefly in a pan before decorating, which intensifies their nutty undertones and adds depth to the overall dessert.
- Prep Time: 20 minutes
- Cook Time: 30 minutes
- Category: Desserts
- Method: Baking
- Cuisine: American
Nutrition
- Serving Size: 12
- Calories: 360
- Sugar: 30 g
- Sodium: 150 mg
- Fat: 20 g
- Saturated Fat: 8 g
- Unsaturated Fat: 10 g
- Trans Fat: 0 g
- Carbohydrates: 44 g
- Fiber: 1 g
- Protein: 4 g
- Cholesterol: 60 mg
Truc Tran (Kris)
Senior Food Editor
Expertise
Home Cooking, Meal Planning, Recipe Development, Baking and Pastry, Food Editor, Cooking-video Maker, Vietnamese Food Evaluation Expert
Education
Truc Tran (Kris), an experienced food writer and editor, is great at exploring and describing global cuisines, from simple street food to fancy dining. In her writing, she skillfully mixes different flavors, cooking methods, and culinary traditions, showing the unique character of various cultures through their food and drinks. On azcuisines.com, Kris highlights her knowledge, especially in Asian cuisine and worldwide traditional dishes.