Zesty Lemon Bar Cookie Cups Recipe: Sweet Sunshine Bites
Whipping up a batch of delectable lemon bar cookie cups brings pure sunshine to your kitchen.
Tangy citrus notes dance alongside buttery, crumbly cookie bases that melt effortlessly.
Sweet and zesty flavors collide in these adorable handheld treats.
Crisp edges and silky centers create a perfect textural balance every time.
Minimal ingredients and simple steps make this recipe approachable for bakers of all skill levels.
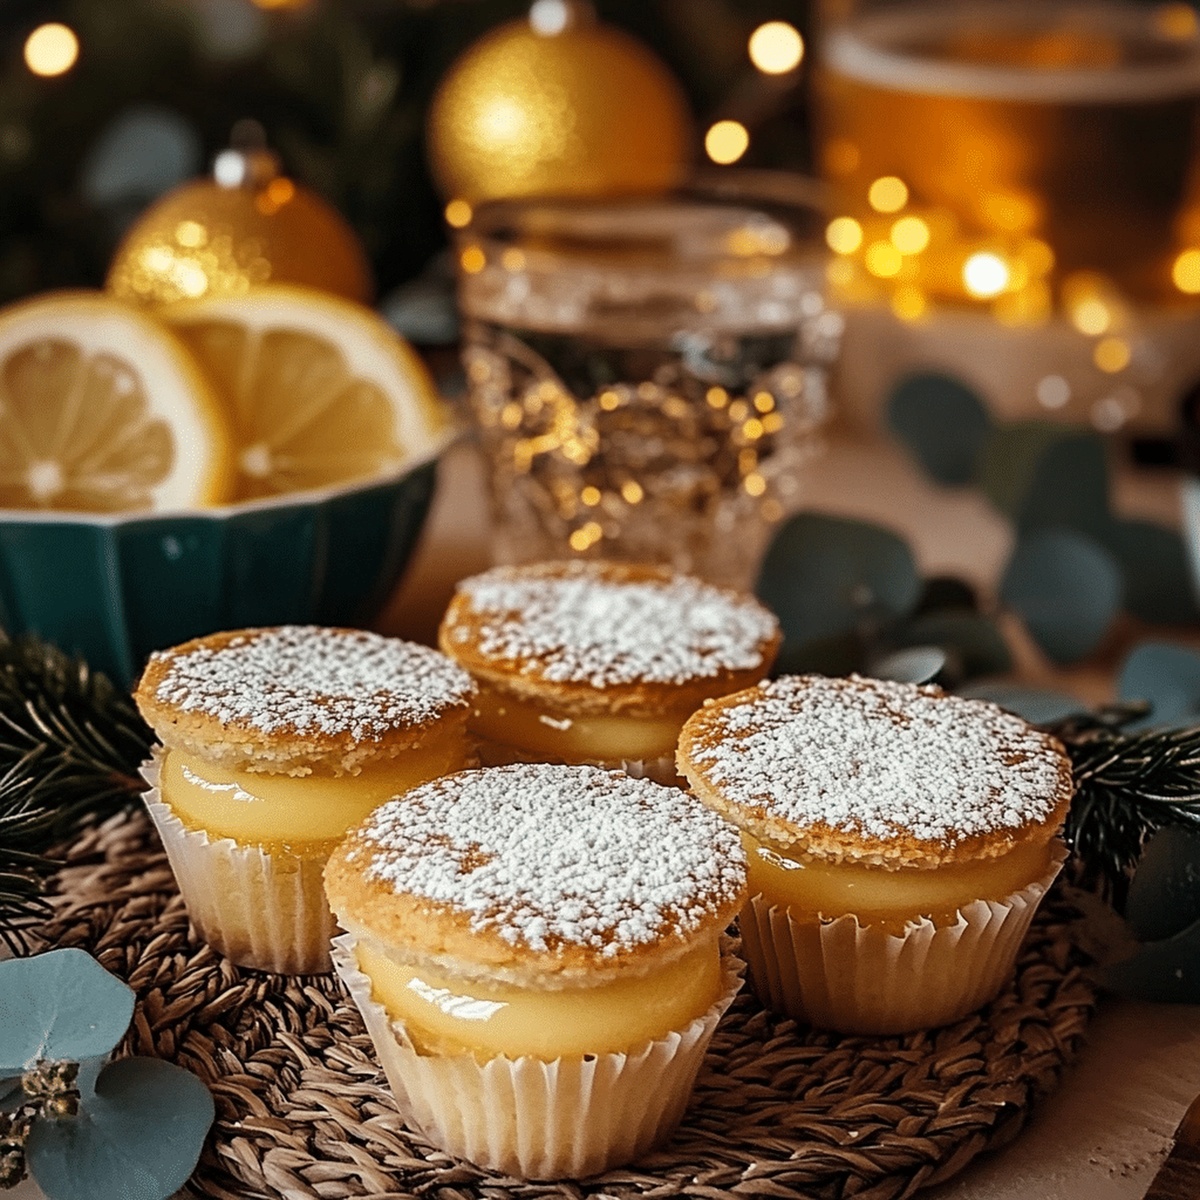
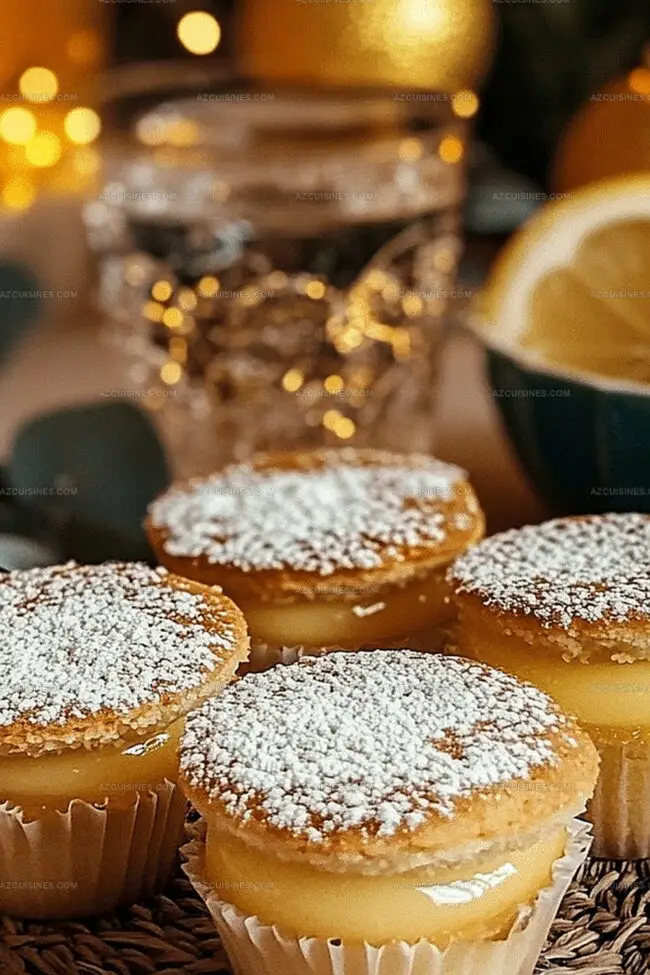
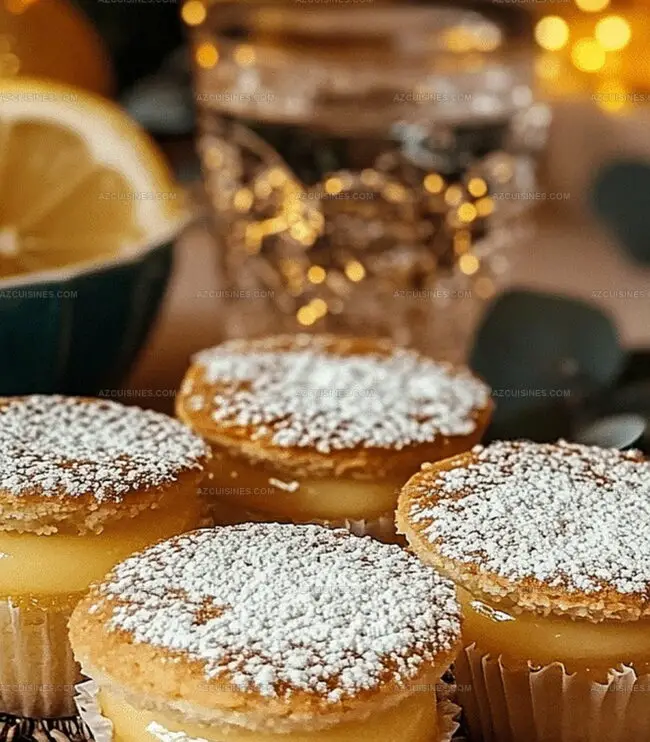
Creamy lemon filling nestled inside crisp cookie shells promises a delightful dessert experience.
You’ll want to savor every single bite of these irresistible miniature delights.
What’s To Love About Mouthwatering Lemon Bar Cookie Cups
Ingredients List For Mouthwatering Lemon Bar Cookie Cups
For the Base:For the Filling:For the Finishing Touches:How To Make Mouthwatering Lemon Bar Cookie Cups
Step 1: Prepare Oven and Baking Tin
Warm up the oven to 350°F. Generously coat a 24-cup mini muffin tin with cooking spray or butter to prevent sticking.
Step 2: Create Cookie Base Dough
In a mixing bowl, blend:Mix until the mixture becomes crumbly and starts to hold together.
Step 3: Shape Cookie Bases
Delicately press small amounts of dough into each muffin cavity. Create a thin, even bottom with slightly raised edges.
Step 4: Initial Cookie Baking
Slide the muffin tin into the oven. Bake for 10-12 minutes until edges turn a light golden color. Remove and let cool briefly.
Step 5: Prepare Lemon Filling
In a separate bowl, whisk together:Blend until the mixture becomes smooth and fully combined.
Step 6: Fill Cookie Cups
Pour the lemon filling into the partially baked cookie bases. Fill each cup almost to the top.
Step 7: Final Baking
Return the muffin tin to the oven. Bake for 15-18 minutes until the filling sets but remains slightly wobbly in the center.
Step 8: Cool and Rest
Remove from the oven. Allow the cookie cups to cool completely inside the tin to maintain their delicate shape.
Step 9: Remove from Tin
Run a small knife around the edges of each cookie cup. Carefully transfer to a serving platter.
Step 10: Finishing Touches
Dust the tops generously with powdered sugar. Add a splash of vanilla extract for extra flavor depth.
Step 11: Final Flavor Enhancement
Sprinkle a tiny pinch of salt over the cookie cups to balance sweetness and highlight the bright lemon notes.
Tips For Sweet Mouthwatering Lemon Bar Cookie Cups
Tasty Combos For Mouthwatering Lemon Bar Cookie Cups
Perfect Pairings For Mouthwatering Lemon Bar Cookie Cups
Best Storage For Mouthwatering Lemon Bar Cookie Cups
Common Questions About Mouthwatering Lemon Bar Cookie Cups
Not at all! They’re beginner-friendly and require basic baking skills. The process is straightforward with simple steps and minimal ingredients.
Fresh lemon juice is recommended for the best flavor. Bottled juice works in a pinch but might lack the vibrant, zesty taste of freshly squeezed lemons.
Careful pressing ensures an even cookie base with thin, consistent walls. This technique helps create perfect, bite-sized cookie cups with a uniform shape and texture.
Print
Mouthwatering Lemon Bar Cookie Cups Recipe
- Total Time: 40-45 minutes
- Yield: 12 1x
Description
Zesty lemon bar cookie cups deliver a tangy twist on classic desserts, blending buttery shortbread with silky citrus filling. Sweet and sharp flavors dance together, inviting you to savor each delightful bite of this irresistible homemade treat.
Ingredients
Base:
- 2 cups all-purpose flour
- 1/2 cup powdered sugar
- 1 cup unsalted butter
Filling:
- 3 large eggs
- 1 cup granulated sugar
- 1/4 cup fresh lemon juice
- 2 tbsp lemon zest
- 2 tbsp cornstarch
Topping:
- 1/4 cup powdered sugar
- 1 tsp vanilla extract
- 1 pinch salt
Instructions
- Preheat the oven to 350°F and thoroughly grease a 24-cup mini muffin tin to ensure easy cookie cup removal.
- Combine flour and powdered sugar in a mixing bowl, then incorporate softened butter until a crumbly, cohesive dough forms.
- Gently press small portions of the dough into each muffin cavity, creating a thin, even base and slightly raised edges.
- Bake the cookie bases for 10-12 minutes until edges turn light golden, then remove and allow to cool slightly.
- Whisk eggs, granulated sugar, lemon juice, lemon zest, and cornstarch in a separate bowl until smooth and well-integrated.
- Carefully pour the lemon filling into the partially baked cookie cups, filling each nearly to the top.
- Return the filled muffin tin to the oven and bake for an additional 15-18 minutes, or until the filling sets and appears slightly jiggly in the center.
- Remove from oven and let the cookie cups cool completely in the tin to maintain their delicate structure.
- Gently run a small knife around the edges to loosen, then carefully transfer to a serving platter.
- Dust the tops generously with powdered sugar, adding a touch of vanilla extract for enhanced flavor complexity.
- Sprinkle a tiny pinch of salt to balance the sweetness and brighten the lemon notes before serving.
Notes
- Use room temperature ingredients to ensure smooth, even mixing and optimal texture in both cookie base and lemon filling.
- Zest lemons before juicing to maximize flavor extraction and enhance citrusy brightness in the recipe.
- Experiment with alternative flour options like almond or gluten-free blends for dietary adaptations without compromising taste.
- Chill the cookie cups briefly before serving to help filling set and create a more refined, slice-like presentation.
- Prep Time: 15 minutes
- Cook Time: 25-30 minutes
- Category: Desserts, Snacks
- Method: Baking
- Cuisine: American
Nutrition
- Serving Size: 12
- Calories: 300
- Sugar: 20 g
- Sodium: 50 mg
- Fat: 18 g
- Saturated Fat: 11 g
- Unsaturated Fat: 7 g
- Trans Fat: 0 g
- Carbohydrates: 34 g
- Fiber: 1 g
- Protein: 3 g
- Cholesterol: 70 mg
Truc Tran (Kris)
Senior Food Editor
Expertise
Home Cooking, Meal Planning, Recipe Development, Baking and Pastry, Food Editor, Cooking-video Maker, Vietnamese Food Evaluation Expert
Education
Truc Tran (Kris), an experienced food writer and editor, is great at exploring and describing global cuisines, from simple street food to fancy dining. In her writing, she skillfully mixes different flavors, cooking methods, and culinary traditions, showing the unique character of various cultures through their food and drinks. On azcuisines.com, Kris highlights her knowledge, especially in Asian cuisine and worldwide traditional dishes.