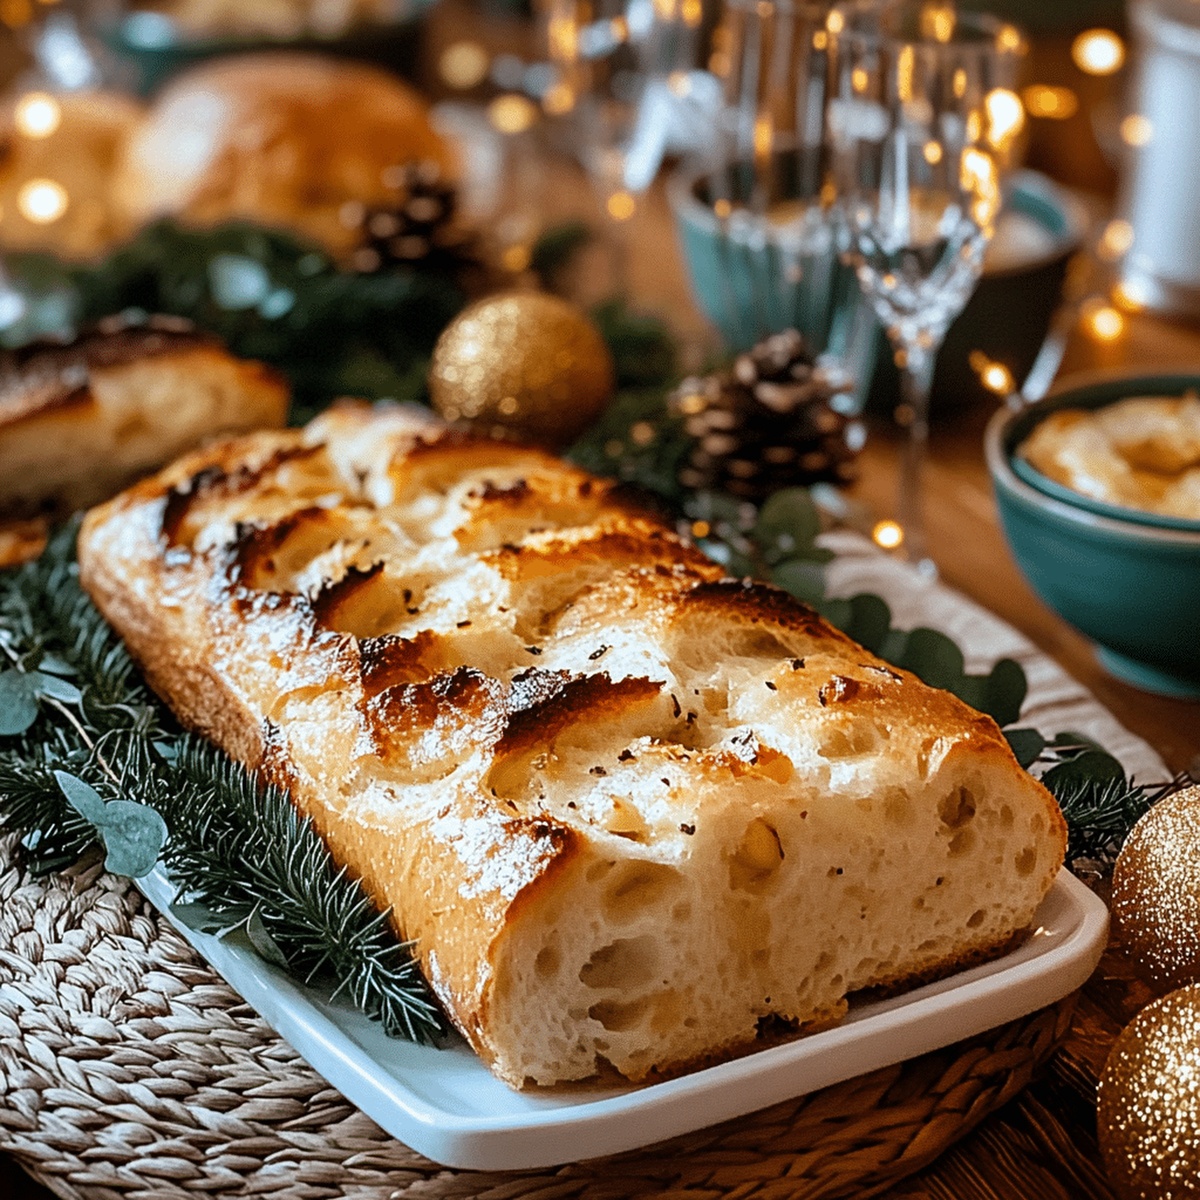
The Perfect No Knead Roasted Garlic Bread Recipe for Beginners
Crafting a perfect roasted garlic bread with no knead technique opens up a world of delicious possibilities.
Aromatic cloves caramelize into golden, sweet morsels that infuse every soft crumb.
Minimal effort delivers maximum flavor in this foolproof recipe.
Simple ingredients combine to create something extraordinary without complicated steps.
Each slice promises a rich, savory experience that feels like a warm culinary hug.
Bread enthusiasts and novice bakers alike will delight in this straightforward approach.
You can easily master this technique and impress everyone at the table.
Prepare to transform ordinary ingredients into an extraordinary loaf that sparks pure joy.
Why No Knead Roasted Garlic Bread Is So Simple And Tasty

What You’ll Need For No Knead Roasted Garlic Bread
For the Base Ingredients:For the Flavor Enhancers:For the Seasoning and Finishing Ingredients:How To Make No Knead Roasted Garlic Bread
Step 1: Warm Up The Oven
Crank the oven to a toasty 400°F. Take a whole garlic head and slice off its top. Drizzle with olive oil and wrap snugly in aluminum foil.
Step 2: Roast The Garlic
Roast the garlic bundle for 35-40 minutes until it turns golden and becomes super tender. After cooling, squeeze out the soft cloves and mash them into a silky smooth paste.
Step 3: Mix Dry Ingredients
Grab a large mixing bowl and toss in:Whisk everything together so ingredients are evenly distributed.
Step 4: Create Dough Base
Pour water into the dry ingredients. Add the roasted garlic paste, dried rosemary, and black pepper. Stir with a wooden spoon until a shaggy, sticky dough emerges.
Step 5: Let Dough Ferment
Cover the bowl with plastic wrap. Allow the dough to rest at room temperature for 12-14 hours. This slow fermentation develops incredible depth of flavor.
Step 6: Prepare Work Surface
Generously dust a clean surface with flour. Gently transfer the sticky dough and fold it a few times to create surface tension.
Step 7: Shape The Loaf
Form the dough into a round loaf. Sprinkle cornmeal on parchment paper and place the dough on top.
Step 8: Second Rise
Cover the dough with a clean kitchen towel. Let it rise for 1-2 hours until puffy and slightly larger.
Step 9: Prepare Baking Vessel
Heat a Dutch oven with its lid in the oven at 450°F for 30 minutes before baking.
Step 10: Transfer And Score
Carefully move the dough with parchment paper into the hot Dutch oven. Use a sharp knife to score the top, allowing steam to escape.
Step 11: Bake The Bread
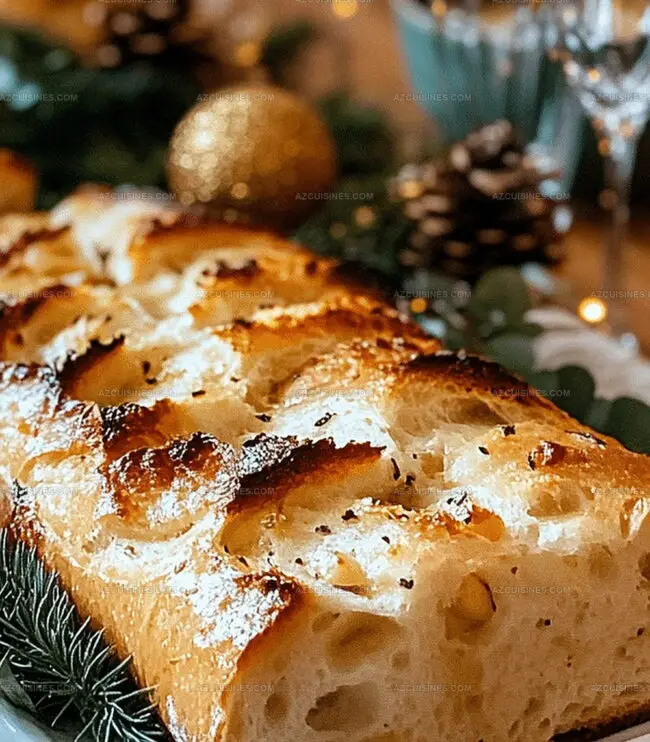
Bake covered for 30 minutes. Remove the lid and continue baking for 15-20 minutes until the crust turns a deep golden brown.
Step 12: Cool And Finish
Pull the bread from the oven. Brush with extra virgin olive oil. Let it cool on a wire rack for at least 1 hour before slicing.
Tips For Perfect No Knead Roasted Garlic Bread
Yummy Twists On No Knead Roasted Garlic Bread
Great Pairings With No Knead Roasted Garlic Bread
How To Store No Knead Roasted Garlic Bread Right
Questions Answered About No Knead Roasted Garlic Bread
Roasting garlic transforms its sharp flavor into a sweet, mellow, and caramelized taste that infuses the entire bread with a rich, complex flavor profile.
Long fermentation allows wild yeast and bacteria to develop, creating deeper flavors, improving bread texture, and making the bread more digestible by breaking down gluten.
A Dutch oven is crucial because its heavy lid and enclosed environment create steam, which helps develop a crispy, golden crust and promotes even baking with a professional artisan bread result.
Print
No Knead Roasted Garlic Bread Recipe
- Total Time: 13-15 hours
- Yield: 4 1x
Description
Roasted garlic bread delivers rustic comfort with minimal effort, combining simple ingredients into a sensational homemade loaf. Crusty exterior and pillowy interior promise delightful moments of pure culinary pleasure you’ll savor slice after slice.
Ingredients
Bread Ingredients:
- 3 cups all-purpose flour
- 1.5 tsp salt
- 0.25 tsp active dry yeast
- 1.5 cups water
Roasted Garlic and Flavor Enhancers:
- 1 whole head of garlic
- 2 tbsp olive oil
- 1 tsp dried rosemary
- 0.5 tsp black pepper
Optional Toppings:
- 2 tbsp cornmeal (for dusting)
- 1 tbsp extra virgin olive oil (for brushing)
Instructions
- Preheat the oven to 400°F. Slice the top off the whole garlic head, drizzle with olive oil, and wrap in aluminum foil for roasting.
- Roast the garlic for 35-40 minutes until golden and tender. Once cooled, squeeze the soft cloves from their skins and mash into a smooth paste.
- In a large mixing bowl, combine flour, salt, and yeast. Whisk together to distribute ingredients evenly.
- Pour water into the dry ingredients, adding the roasted garlic paste, dried rosemary, and black pepper. Mix with a wooden spoon until a shaggy, sticky dough forms.
- Cover the bowl with plastic wrap and let the dough rest at room temperature for 12-14 hours, allowing slow fermentation and flavor development.
- After resting, generously dust a clean surface with flour. Gently transfer the sticky dough and fold it a few times to create surface tension.
- Shape the dough into a round loaf, and sprinkle cornmeal on a piece of parchment paper. Place the dough on the cornmeal-dusted surface.
- Cover the dough with a clean kitchen towel and let it rise for an additional 1-2 hours until puffy and slightly increased in size.
- Preheat a Dutch oven with its lid in the oven at 450°F for 30 minutes before baking.
- Carefully transfer the dough with the parchment paper into the hot Dutch oven. Score the top with a sharp knife to allow steam escape.
- Bake covered for 30 minutes, then remove the lid and bake for an additional 15-20 minutes until the crust is deep golden brown.
- Remove from oven, brush with extra virgin olive oil, and let cool on a wire rack for at least 1 hour before slicing.
Notes
- Roast garlic slowly and patiently to develop deep, mellow flavors without burning, ensuring a smooth, caramelized paste.
- Allow extended fermentation time to enhance bread’s complexity, developing rich tangy notes and improving digestibility.
- Use high-quality extra virgin olive oil for brushing to add subtle fruity undertones and create a glossy, appetizing crust.
- Consider gluten-free alternatives by substituting all-purpose flour with a blend of gluten-free flours like almond, rice, and tapioca for dietary restrictions.
- Prep Time: 12-14 hours
- Cook Time: 1 hour
- Category: Appetizer, Snacks
- Method: Baking
- Cuisine: Italian
Nutrition
- Serving Size: 4
- Calories: 250
- Sugar: 0.5 g
- Sodium: 370 mg
- Fat: 7 g
- Saturated Fat: 1 g
- Unsaturated Fat: 6 g
- Trans Fat: 0 g
- Carbohydrates: 47 g
- Fiber: 2 g
- Protein: 8 g
- Cholesterol: 0 mg
Truc Tran (Kris)
Senior Food Editor
Expertise
Home Cooking, Meal Planning, Recipe Development, Baking and Pastry, Food Editor, Cooking-video Maker, Vietnamese Food Evaluation Expert
Education
Truc Tran (Kris), an experienced food writer and editor, is great at exploring and describing global cuisines, from simple street food to fancy dining. In her writing, she skillfully mixes different flavors, cooking methods, and culinary traditions, showing the unique character of various cultures through their food and drinks. On azcuisines.com, Kris highlights her knowledge, especially in Asian cuisine and worldwide traditional dishes.