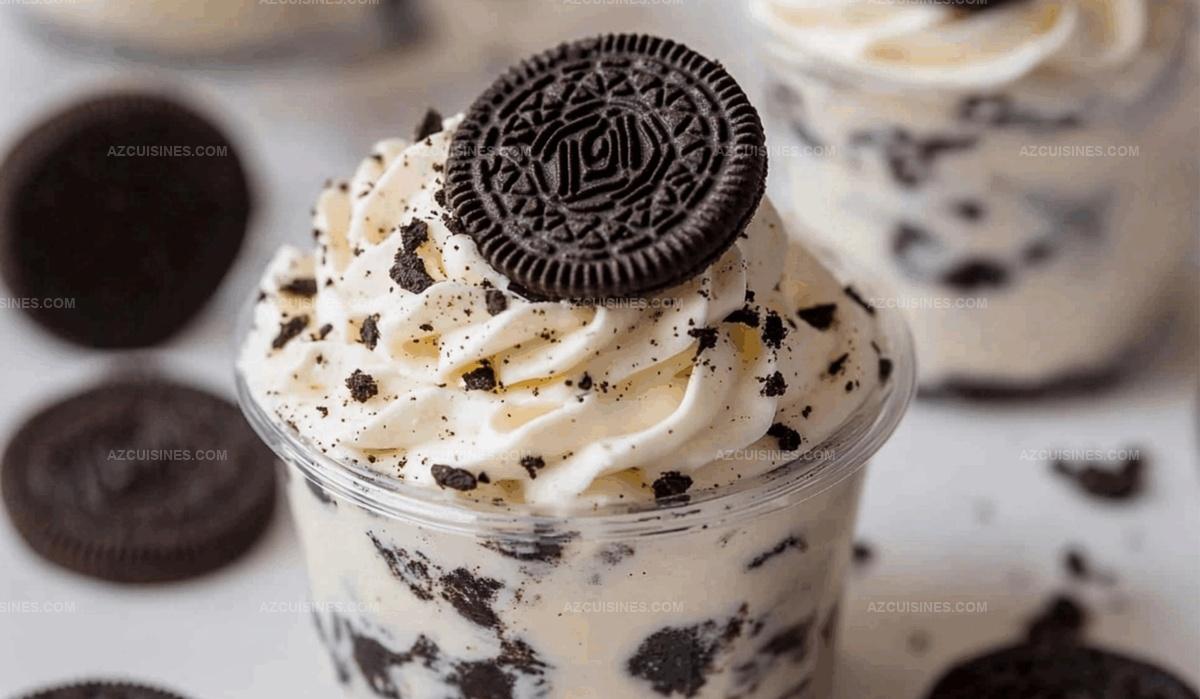
Dreamy Oreo No-Bake Cheesecake Cups Recipe for Sweet Moments
Creamy, decadent oreo no-bake cheesecake cups bring pure dessert magic right to your plate.
Crushing those classic chocolate cookies creates an irresistible base for a silky smooth filling.
Rich cream cheese blends perfectly with sweet vanilla notes.
Chilled and ready in minutes, these dreamy cups eliminate complicated baking steps.
Cool whipped textures mingle with crunchy cookie crumbles for incredible contrast.
Each spoonful promises pure indulgence without turning on your oven.
You’ll want to savor every single delightful bite of this simple, impressive treat.
What’s So Great About Oreo No-Bake Cheesecake Cups
What You’ll Need for Oreo No-Bake Cheesecake Cups
Base Ingredients:Filling Ingredients:Garnish Ingredients:How to Make Oreo No-Bake Cheesecake Cups
Step 1: Crush Oreo Cookies into Crumbly Goodness
Toss Oreo cookies into a food processor or place them in a sealed plastic bag. Crush the cookies using a rolling pin or processor blade until they transform into fine, even crumbs with no large chunks remaining.
Step 2: Build a Buttery Cookie Base
Melt butter and blend it thoroughly with the cookie crumbs. Mix until the crumbs become a uniform, slightly moist mixture that holds together when pressed.
Step 3: Pack the Cookie Foundation
Take individual serving cups or glasses and press the crumb mixture firmly into the bottom. Create a compact, even layer that will serve as the delicious foundation for your cheesecake cups.
Step 4: Whip Cream Cheese to Silky Perfection
In a large mixing bowl, whip the cream cheese until it becomes smooth and creamy. Use an electric mixer to eliminate any potential lumps, creating a velvety texture.
Step 5: Sweeten and Flavor the Mixture
Gradually add:Blend these ingredients into the cream cheese until fully integrated, creating a silky-smooth filling.
Step 6: Fold in Creamy Extras
Gently incorporate:Fold these ingredients carefully to maintain a light, airy texture without deflating the mixture.
Step 7: Layer the Cheesecake Filling
Carefully spoon the cream cheese mixture over the Oreo cookie base in each cup. Distribute evenly and smooth the top to create a perfectly leveled surface.
Step 8: Chill and Set
Refrigerate the cheesecake cups for a minimum of 4 hours or overnight. This allows the dessert to set completely and lets the flavors develop and meld together.
Step 9: Prepare Crunchy Oreo Topping
Crush additional Oreo cookies into coarse pieces, creating a delightful garnish for your cheesecake cups.
Step 10: Finish with Fabulous Toppings
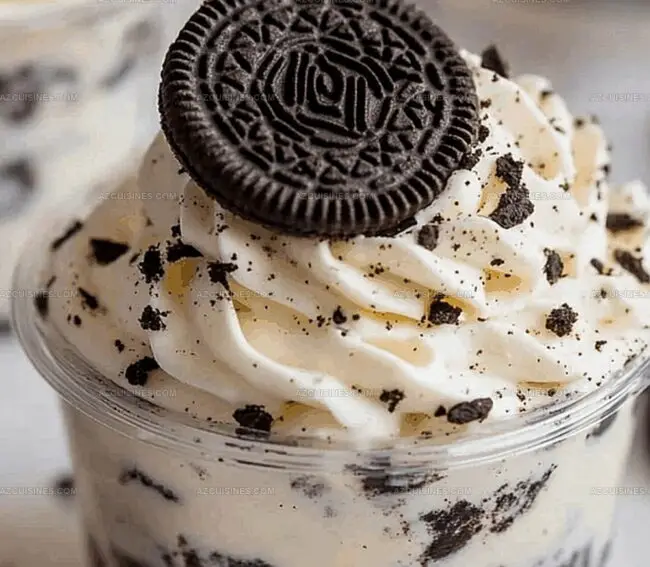
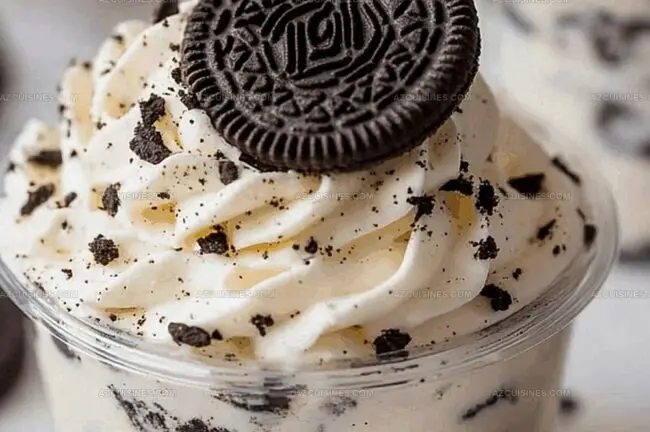
Just before serving, sprinkle the crushed Oreo pieces on top of each cheesecake cup. Add a dollop of whipped cream if desired for extra indulgence.
Step 11: Serve and Enjoy
Serve the cheesecake cups directly from the refrigerator, ensuring they remain chilled for the best taste and texture. Watch as your guests devour these irresistible treats!
Handy Tips for Oreo No-Bake Cheesecake Cups
Oreo No-Bake Cheesecake Cups: Flavor Options to Explore
Best Matches for Oreo No-Bake Cheesecake Cups
How to Store Oreo No-Bake Cheesecake Cups Like a Pro
Oreo No-Bake Cheesecake Cups FAQs Unwrapped
Yes, graham crackers or chocolate cookies work well as alternative bases for the cheesecake cups.
No, you can use a rolling pin or ziplock bag to crush cookies if you don’t have a food processor.
Absolutely! These cheesecake cups can be prepared up to 2-3 days in advance and stored in the refrigerator.
Ensure cream cheese is at room temperature and whip it thoroughly before adding other ingredients to create a smooth texture.
Print
Oreo No-Bake Cheesecake Cups Recipe
- Total Time: 4 hours 30 minutes
- Yield: 6 1x
Description
Creamy Oreo no-bake cheesecake cups deliver pure dessert bliss with minimal kitchen effort. Rich chocolate cookie crumbs and smooth cream cheese create an irresistible treat you can quickly whip up for instant sweet satisfaction.
Ingredients
Main Ingredients:
- 20 Oreo cookies
- 16 oz cream cheese
- 1/2 cup heavy cream
- 1/4 cup powdered sugar
Binding/Creamy Ingredients:
- 2 tbsp butter
- 1 tsp vanilla extract
- 1/4 cup sour cream
Topping Ingredients:
- 4 additional Oreo cookies (for garnish)
- Whipped cream (optional)
Instructions
- Crush Oreo cookies into fine, even crumbs using a food processor or rolling pin, ensuring no large chunks remain.
- Melt butter and mix thoroughly with cookie crumbs, creating a uniform base mixture for the cheesecake cups.
- Press crumb mixture firmly into the bottom of individual serving cups or glasses, creating a compact and even layer.
- Whip cream cheese in a large mixing bowl until smooth and creamy, eliminating any potential lumps.
- Gradually incorporate powdered sugar and vanilla extract into the cream cheese, blending until fully integrated and silky.
- Fold in sour cream and heavy cream, gently mixing to maintain a light, airy texture without deflating the mixture.
- Carefully spoon the cream cheese mixture over the Oreo cookie base in each cup, distributing evenly and smoothing the top.
- Refrigerate cheesecake cups for minimum 4 hours or overnight to allow complete setting and flavor development.
- Before serving, crush additional Oreo cookies into coarse pieces for garnish.
- Top each cheesecake cup with crushed Oreo cookies and optional whipped cream just prior to presentation.
- Serve chilled directly from the refrigerator for optimal taste and texture.
Notes
- Ensure Oreo cookies are finely ground to create a smooth, even base without chunky textures that might disrupt the creamy dessert.
- Use room temperature cream cheese to prevent lumps and achieve a silky, perfectly blended filling that spreads effortlessly.
- Chill the mixing bowl and whisk before whipping cream for a more stable and voluminous texture that holds its shape beautifully.
- Experiment with alternative cookie bases like graham crackers or chocolate wafers for diverse flavor profiles that complement the creamy cheesecake filling.
- Prep Time: 30 minutes
- Cook Time: 0 minutes
- Category: Desserts, Snacks
- Method: No-Bake
- Cuisine: American
Nutrition
- Serving Size: 6
- Calories: 410
- Sugar: 24 g
- Sodium: 300 mg
- Fat: 27 g
- Saturated Fat: 15 g
- Unsaturated Fat: 10 g
- Trans Fat: 0 g
- Carbohydrates: 39 g
- Fiber: 1 g
- Protein: 5 g
- Cholesterol: 70 mg
Truc Tran (Kris)
Senior Food Editor
Expertise
Home Cooking, Meal Planning, Recipe Development, Baking and Pastry, Food Editor, Cooking-video Maker, Vietnamese Food Evaluation Expert
Education
Truc Tran (Kris), an experienced food writer and editor, is great at exploring and describing global cuisines, from simple street food to fancy dining. In her writing, she skillfully mixes different flavors, cooking methods, and culinary traditions, showing the unique character of various cultures through their food and drinks. On azcuisines.com, Kris highlights her knowledge, especially in Asian cuisine and worldwide traditional dishes.