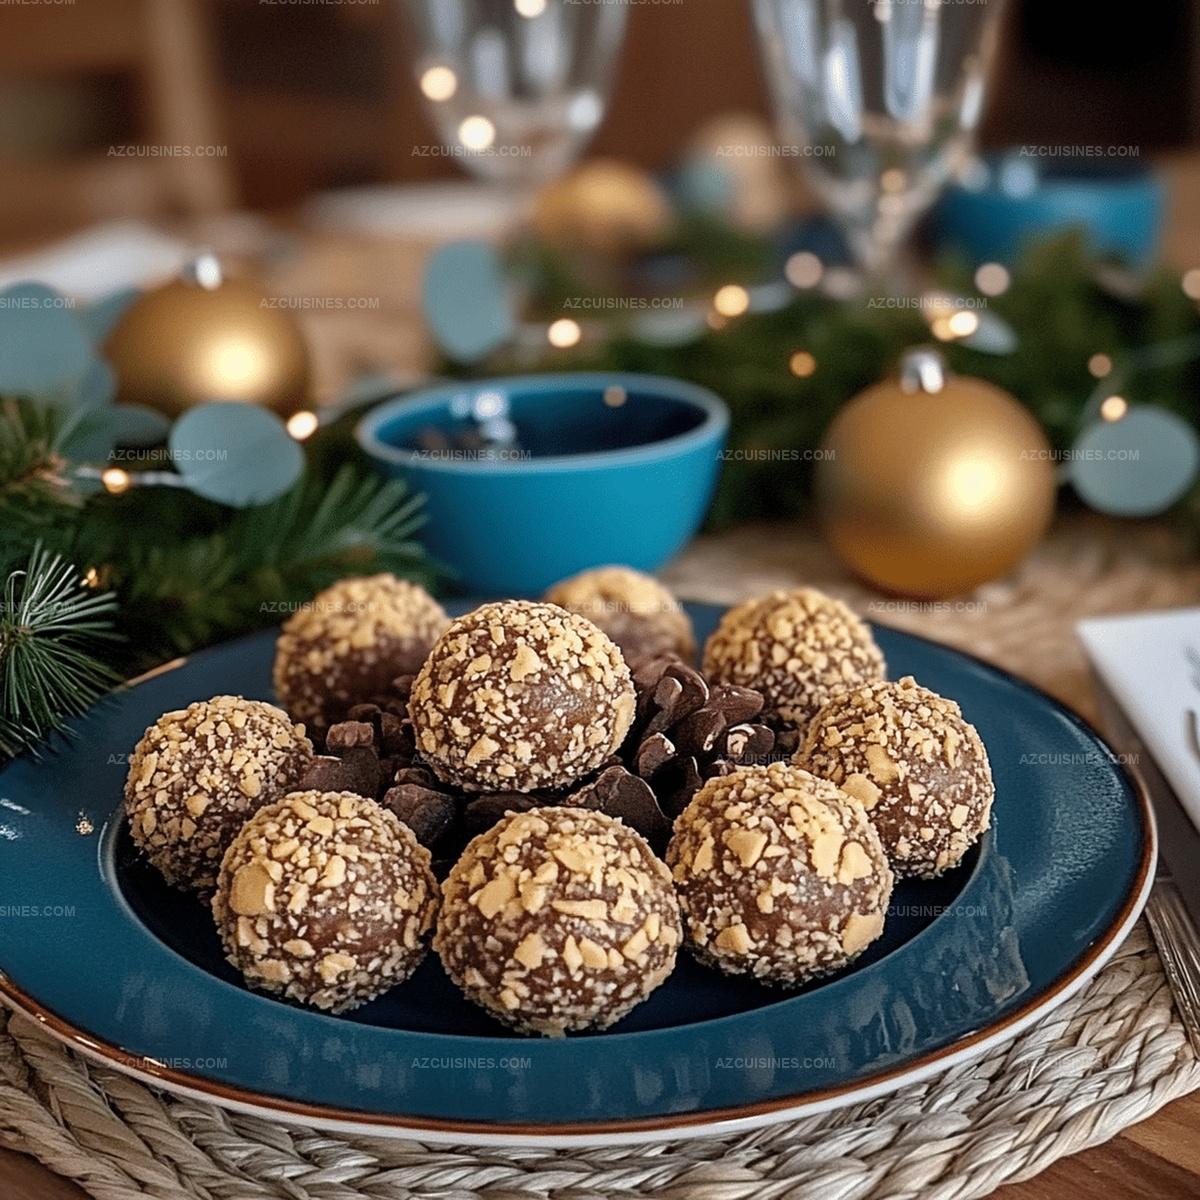
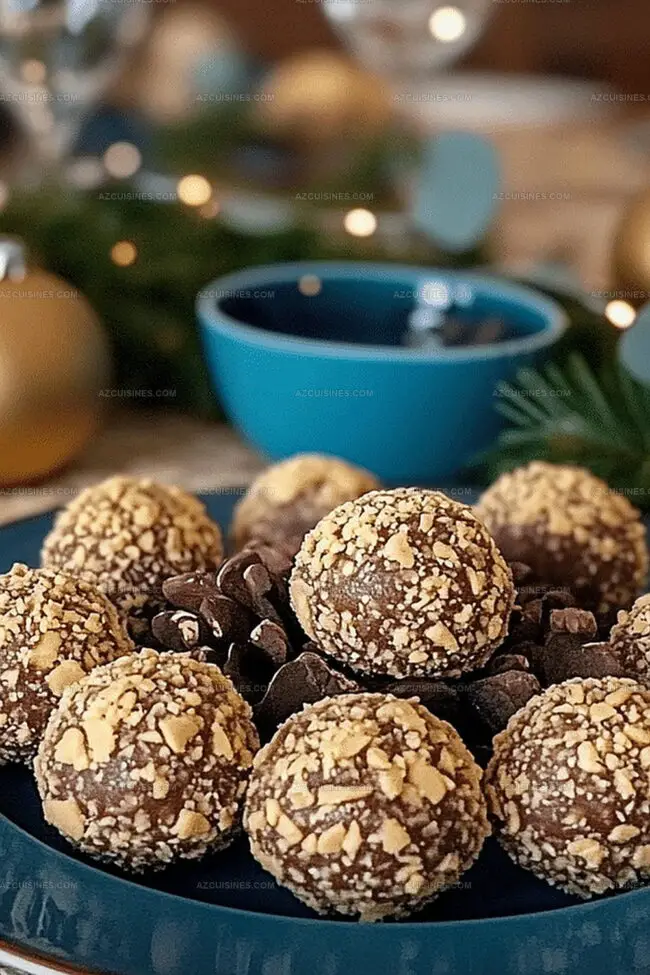
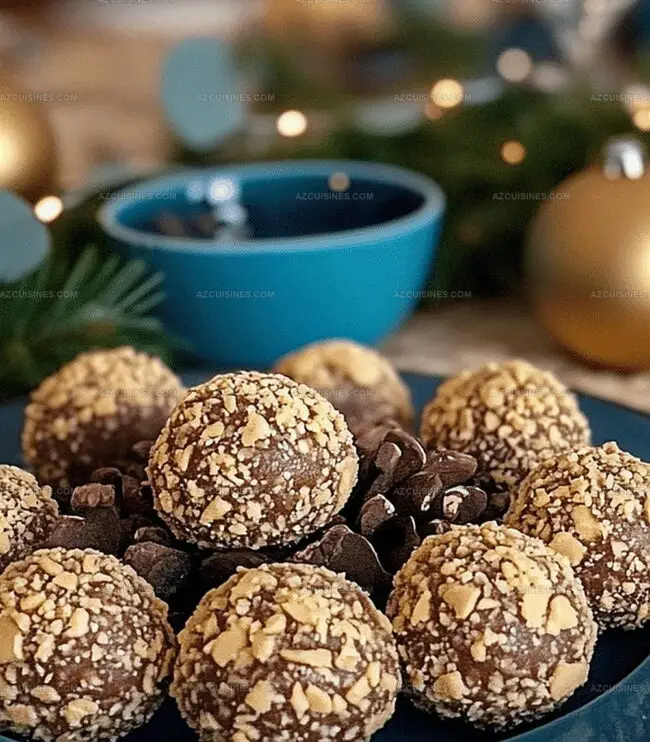
The Best Peanut Butter Balls Recipe Ever: Sweet & Irresistible
Crafting irresistible peanut butter balls brings pure delight to any sweet craving.
Chocolate-coated morsels melt in your mouth with creamy richness.
Childhood memories dance across taste buds when you bite into these classic treats.
Simple ingredients combine magically to create addictive little spheres of happiness.
No baking required means instant gratification awaits you.
Quick preparation makes these confections perfect for spontaneous dessert moments.
These delectable bites will have everyone begging for more, so roll up your sleeves and start mixing!
Why Peanut Butter Balls Are Always A Hit
What You’ll Need For Peanut Butter Balls
For the Base:For the Flavor Enhancers:For the Coating:How To Make Peanut Butter Balls Quickly
Step 1: Create Smooth Butter Base
Grab a large mixing bowl and combine softened butter and peanut butter. Blend them together until the mixture becomes super smooth and creamy, with no lumps remaining.
Step 2: Mix in Sweet and Flavorful Ingredients
Add these ingredients to your butter mixture:Stir everything until the mixture transforms into a dense, moldable dough that holds together perfectly.
Step 3: Chill and Firm Up the Mixture
Pop the mixture into the refrigerator for 15-20 minutes. This cooling time will make the dough easier to handle and shape into delightful little balls.
Step 4: Shape Perfectly Uniform Balls
Take the chilled mixture and roll it into compact, consistent balls about 1 inch in size. Place these cute little spheres on a parchment-lined baking sheet.
Step 5: Pre-Chill the Formed Balls
Return the shaped balls to the refrigerator for another 30 minutes. This extra chilling helps them maintain their perfect round shape during the chocolate dipping process.
Step 6: Melt Chocolate for Coating
Prepare the chocolate coating using a double boiler or microwave. Melt semisweet chocolate chips, stirring constantly to prevent burning and ensure a smooth, glossy finish.
Step 7: Dip and Coat with Chocolate
Using a fork or special dipping tool, carefully submerge each peanut butter ball into the melted chocolate. Ensure every inch gets a complete, even chocolate embrace.
Step 8: Remove Excess Chocolate
Gently tap off any extra chocolate and place the coated balls back on the parchment-lined sheet. Let them start setting at room temperature.
Step 9: Set the Chocolate
Refrigerate the chocolate-covered balls for 10-15 minutes until the chocolate sets completely and becomes firm to the touch.
Step 10: Store and Enjoy
Transfer the finished peanut butter balls to an airtight container. Keep them refrigerated and enjoy within one week. They’re best enjoyed straight from the fridge for that perfect, cool texture.
Tips To Improve Peanut Butter Balls
Tasty Twists For Peanut Butter Balls
What To Serve With Peanut Butter Balls
Best Way To Keep Peanut Butter Balls Fresh
Simple Answers To Peanut Butter Balls FAQs
This recipe is beginner-friendly with simple steps and minimal cooking skills required. Even novice bakers can successfully create these delicious peanut butter balls with basic kitchen tools and patience.
Use creamy, smooth peanut butter without added oils or sugar for the most consistent texture. Natural or traditional brands like Jif or Skippy work perfectly for this recipe.
Yes, you can substitute semisweet chocolate chips with milk chocolate, dark chocolate, or white chocolate based on your preference. Each type will create a unique flavor profile for the peanut butter balls.
Print
Peanut Butter Balls Recipe
- Total Time: 55-65 minutes
- Yield: 24 1x
Description
Sweet nostalgia meets creamy indulgence in these classic Peanut Butter Balls, a no-bake treat that dances between chocolate and nutty perfection. Quick to prepare and irresistibly delicious, you’ll find these bite-sized delights impossible to resist.
Ingredients
Main Ingredients:
- 2 cups peanut butter
- 1/2 cup butter
- 3 cups powdered sugar
Coating:
- 2 cups semisweet chocolate chips
Binding/Additional Ingredients:
- 1 tsp vanilla extract
- 1/4 tsp salt
Instructions
- In a spacious mixing bowl, thoroughly blend softened butter and peanut butter until achieving a smooth, creamy consistency.
- Gradually incorporate powdered sugar, vanilla extract, and salt into the mixture, stirring until a dense, moldable dough forms.
- Refrigerate the mixture for 15-20 minutes to firm up, making it easier to handle and shape.
- Roll the chilled mixture into compact, uniform balls approximately 1-inch in diameter, placing them on a parchment-lined baking sheet.
- Chill the formed balls in the refrigerator for an additional 30 minutes to ensure they maintain their shape.
- Melt semisweet chocolate chips using a double boiler or microwave, stirring frequently to prevent burning.
- Using a fork or dipping tool, carefully submerge each peanut butter ball into the melted chocolate, ensuring complete and even coating.
- Gently tap off excess chocolate and return the coated balls to the parchment-lined sheet.
- Refrigerate the chocolate-covered balls for 10-15 minutes or until the chocolate sets completely.
- Store the finished peanut butter balls in an airtight container in the refrigerator for up to one week, enjoying them chilled for optimal texture.
Notes
- Prep Ahead Strategy: Chill the peanut butter mixture thoroughly before shaping to prevent sticky, messy hands and ensure perfectly round balls.
- Chocolate Coating Hack: Use room temperature chocolate for smoother, more even coating and prevent chocolate from cracking when chilled.
- Dietary Modification: Swap traditional butter with coconut oil for a dairy-free version, and use dark chocolate for a vegan-friendly alternative.
- Storage Pro Tip: Place wax paper between layers when storing to prevent the balls from sticking together and maintain their pristine chocolate coating.
- Prep Time: 15-20 minutes
- Cook Time: 10-15 minutes
- Category: Snacks, Desserts
- Method: Blending
- Cuisine: American
Nutrition
- Serving Size: 24
- Calories: 169
- Sugar: 14 g
- Sodium: 18 mg
- Fat: 10 g
- Saturated Fat: 4 g
- Unsaturated Fat: 6 g
- Trans Fat: 0 g
- Carbohydrates: 19 g
- Fiber: 1 g
- Protein: 3 g
- Cholesterol: 3 mg
Truc Tran (Kris)
Senior Food Editor
Expertise
Home Cooking, Meal Planning, Recipe Development, Baking and Pastry, Food Editor, Cooking-video Maker, Vietnamese Food Evaluation Expert
Education
Truc Tran (Kris), an experienced food writer and editor, is great at exploring and describing global cuisines, from simple street food to fancy dining. In her writing, she skillfully mixes different flavors, cooking methods, and culinary traditions, showing the unique character of various cultures through their food and drinks. On azcuisines.com, Kris highlights her knowledge, especially in Asian cuisine and worldwide traditional dishes.