Fluffy Red Velvet Marble Waffles Recipe: Breakfast Magic
Whipping up delectable red velvet marble waffles brings a splash of creativity to your breakfast routine.
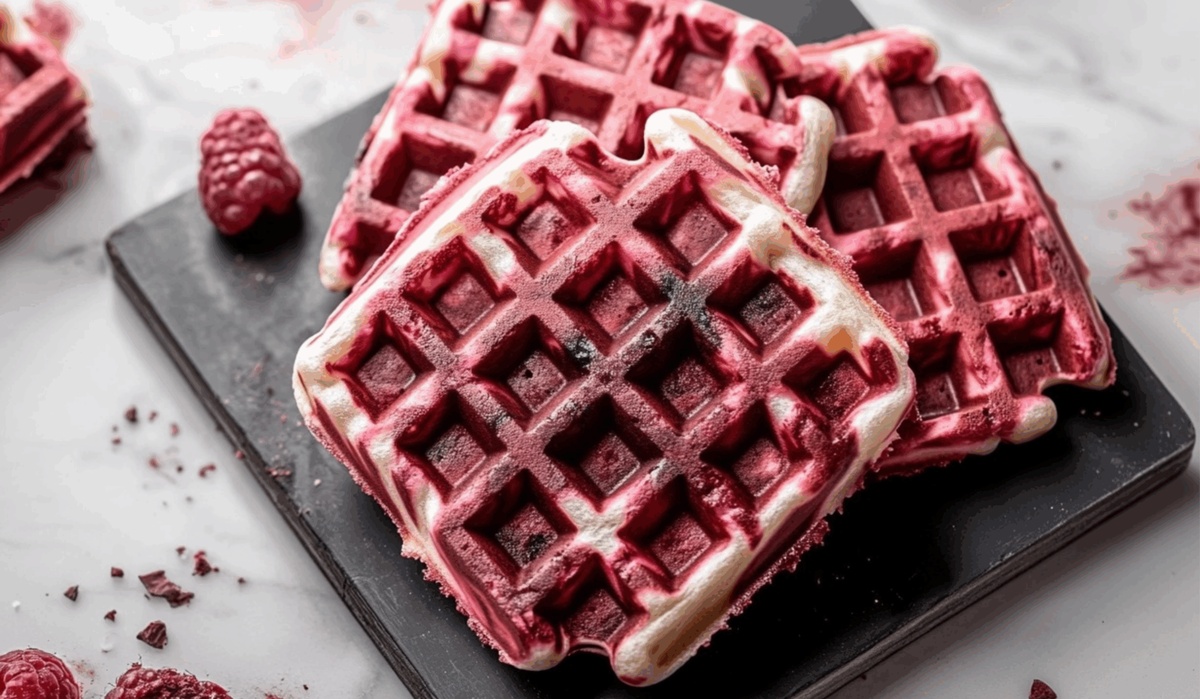
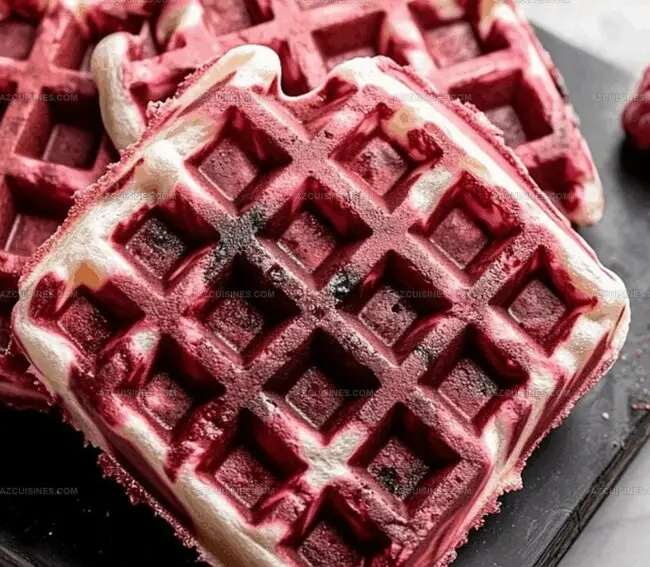
Swirls of crimson and vanilla dance across each golden square, creating a visual masterpiece.
Crisp edges and soft interiors promise a delightful morning surprise.
Chocolate undertones complement the rich red velvet flavor, making each bite an indulgent experience.
Mixing techniques reveal an artistic approach to classic waffle making.
Breakfast becomes a canvas where culinary imagination runs wild.
You’ll want to savor every decadent morsel of this delightful morning treat.
Why Red Velvet Marble Waffles Are A Brunch Favorite
What Goes Into Red Velvet Marble Waffles
Main Ingredients:
Wet Ingredients:Dry Ingredients:Flavor and Color Ingredients:How To Whip Up Red Velvet Marble Waffles Easily
Step 1: Blend Wet Ingredients
Whisk together eggs, buttermilk, vegetable oil, vanilla extract, and sour cream in a large mixing bowl until the mixture becomes smooth and fully combined. Ensure all ingredients are thoroughly integrated for a consistent texture.
Step 2: Prepare Dry Ingredient Base
Sift flour, cocoa powder, baking powder, baking soda, and salt into a separate bowl. This process eliminates potential lumps and ensures a silky-smooth waffle batter.
Step 3: Combine Wet and Dry Mixtures
Gently fold the dry ingredients into the wet mixture, stirring carefully to create a uniform batter. Be cautious not to overmix, as this can make the waffles tough.
Step 4: Incorporate Sugars and Flavor Enhancers
Add granulated sugar, brown sugar, white vinegar, and cream of tartar to the batter. Mix until the sugars dissolve completely, creating a rich and complex flavor profile.
Step 5: Create Vibrant Red Color
Pour red food coloring into the batter, stirring until the mixture achieves a consistent and vibrant red hue. Ensure the color is evenly distributed throughout the batter.
Step 6: Prepare Waffle Iron
Preheat the waffle iron to medium-high heat (approximately 375°F). Lightly grease the cooking surfaces with non-stick spray to prevent sticking and ensure easy removal.
Step 7: Design Marbled Masterpiece
Create a stunning marbled effect by:Step 8: Cook to Perfection
Cook each waffle for 3-4 minutes, watching for:Step 9: Rest and Set
Remove waffles carefully from the iron and let them rest on a wire rack for 1-2 minutes. This helps maintain their crisp exterior and allows them to set properly.
Step 10: Serve and Indulge
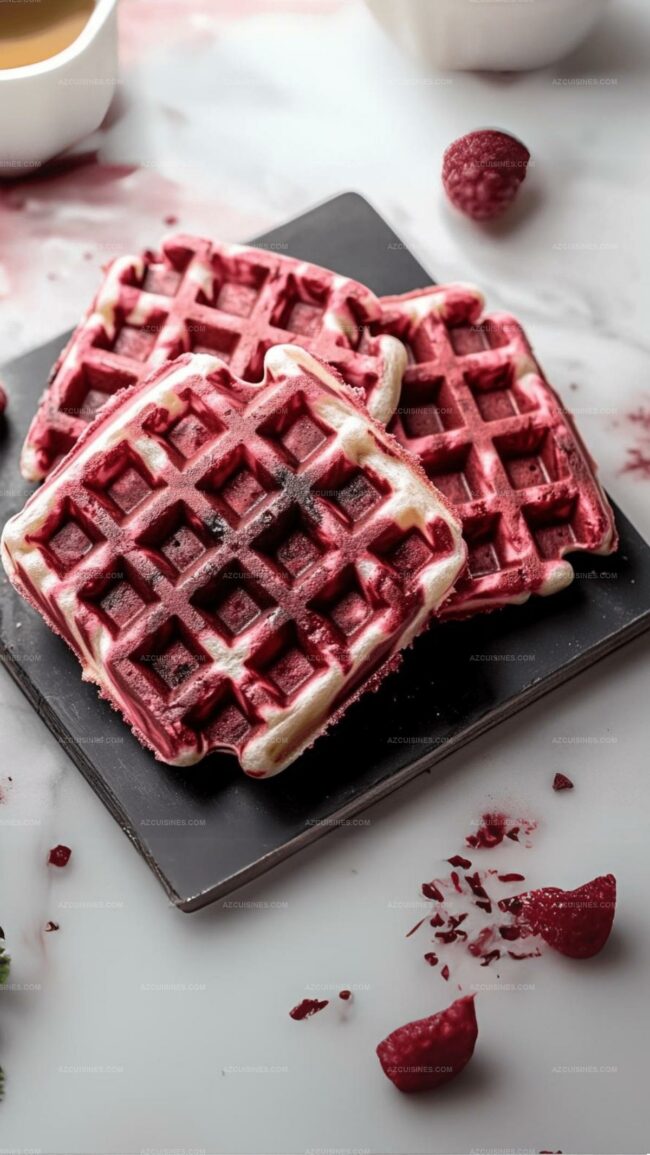
Serve warm with delectable toppings such as:Helpful Tips For Red Velvet Marble Waffles Perfection
Fun Ways To Remix Red Velvet Marble Waffles
Top Pairings With Red Velvet Marble Waffles
How To Store Red Velvet Marble Waffles The Smart Way
Red Velvet Marble Waffles FAQ Time
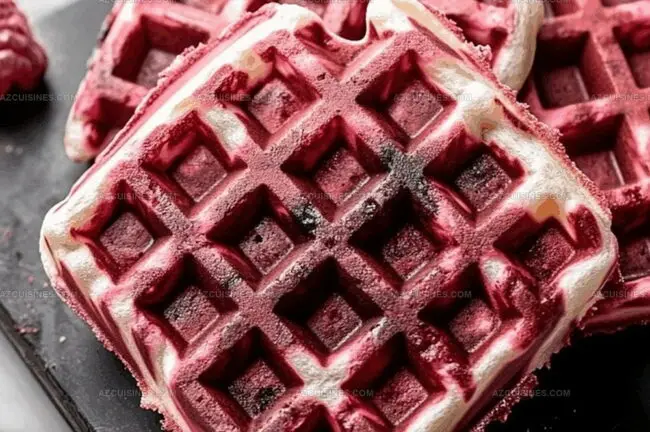
Pour alternating white and red batters into the waffle iron, then use a skewer or fork to gently swirl the colors together, creating beautiful marbled patterns without overmixing.
These ingredients help activate the baking soda, creating a lighter, fluffier texture and providing a subtle tangy flavor that enhances the red velvet taste.
Yes, you can prepare the batter the night before and store it in the refrigerator. Just give it a gentle stir before cooking to ensure even consistency.
Preheat the waffle iron to medium-high heat and cook for 3-4 minutes.
Print
Red Velvet Marble Waffles Recipe
- Total Time: 35 minutes
- Yield: 4 1x
Description
Indulgent red velvet marble waffles bring Southern charm to breakfast with their swirled crimson and vanilla patterns. Chocolate-kissed batter creates a luxurious morning treat you’ll savor with each delightful, silky bite.
Ingredients
Wet Ingredients:
- 2 large eggs
- 1/2 cup buttermilk
- 1/4 cup vegetable oil
- 1 tsp vanilla extract
- 1/4 cup sour cream
Dry Ingredients:
- 1 1/2 cups all-purpose flour
- 1/4 cup cocoa powder
- 2 tbsp red food coloring
- 1 tsp baking powder
- 1/2 tsp baking soda
- 1/4 tsp salt
Sweeteners and Flavor Enhancers:
- 1/3 cup granulated sugar
- 2 tbsp brown sugar
- 1 tsp white vinegar
- 1/2 tsp cream of tartar
Instructions
- Whisk eggs, buttermilk, vegetable oil, vanilla extract, and sour cream in a large mixing bowl until smooth and fully incorporated.
- In a separate bowl, sift together flour, cocoa powder, baking powder, baking soda, and salt to eliminate any potential lumps.
- Gradually fold the dry ingredients into the wet mixture, stirring gently to create a uniform batter without overmixing.
- Add granulated sugar, brown sugar, white vinegar, and cream of tartar, mixing until the sugars dissolve completely.
- Pour red food coloring into the batter, stirring until the mixture achieves a consistent vibrant red hue.
- Preheat the waffle iron to medium-high heat (around 375°F) and lightly grease the cooking surfaces with non-stick spray.
- For marbled effect, alternate pouring white and red batter sections into the waffle iron, using a skewer or fork to create swirling patterns.
- Cook each waffle for 3-4 minutes or until edges are crisp and golden brown, with a slightly soft center.
- Remove carefully from the waffle iron and let rest on a wire rack for 1-2 minutes to maintain crispness.
- Serve warm with cream cheese frosting, whipped cream, or maple syrup as desired.
Notes
- Achieve a silky-smooth batter by whisking wet ingredients thoroughly and sifting dry ingredients to prevent lumps.
- Avoid overmixing the batter, which can lead to tough, dense waffles with a less tender texture.
- Create picture-perfect marbling by using a skewer or toothpick to gently swirl white and red batters without fully blending them.
- Adapt the recipe for dietary needs by substituting gluten-free flour, using dairy-free alternatives, or replacing eggs with flax eggs for a more inclusive breakfast treat.
- Prep Time: 15 minutes
- Cook Time: 20 minutes
- Category: Breakfast, Snacks, Desserts
- Method: Grilling
- Cuisine: American
Nutrition
- Serving Size: 4
- Calories: 290
- Sugar: 20 g
- Sodium: 200 mg
- Fat: 12 g
- Saturated Fat: 2 g
- Unsaturated Fat: 10 g
- Trans Fat: 0 g
- Carbohydrates: 42 g
- Fiber: 1 g
- Protein: 5 g
- Cholesterol: 55 mg
Truc Tran (Kris)
Senior Food Editor
Expertise
Home Cooking, Meal Planning, Recipe Development, Baking and Pastry, Food Editor, Cooking-video Maker, Vietnamese Food Evaluation Expert
Education
Truc Tran (Kris), an experienced food writer and editor, is great at exploring and describing global cuisines, from simple street food to fancy dining. In her writing, she skillfully mixes different flavors, cooking methods, and culinary traditions, showing the unique character of various cultures through their food and drinks. On azcuisines.com, Kris highlights her knowledge, especially in Asian cuisine and worldwide traditional dishes.