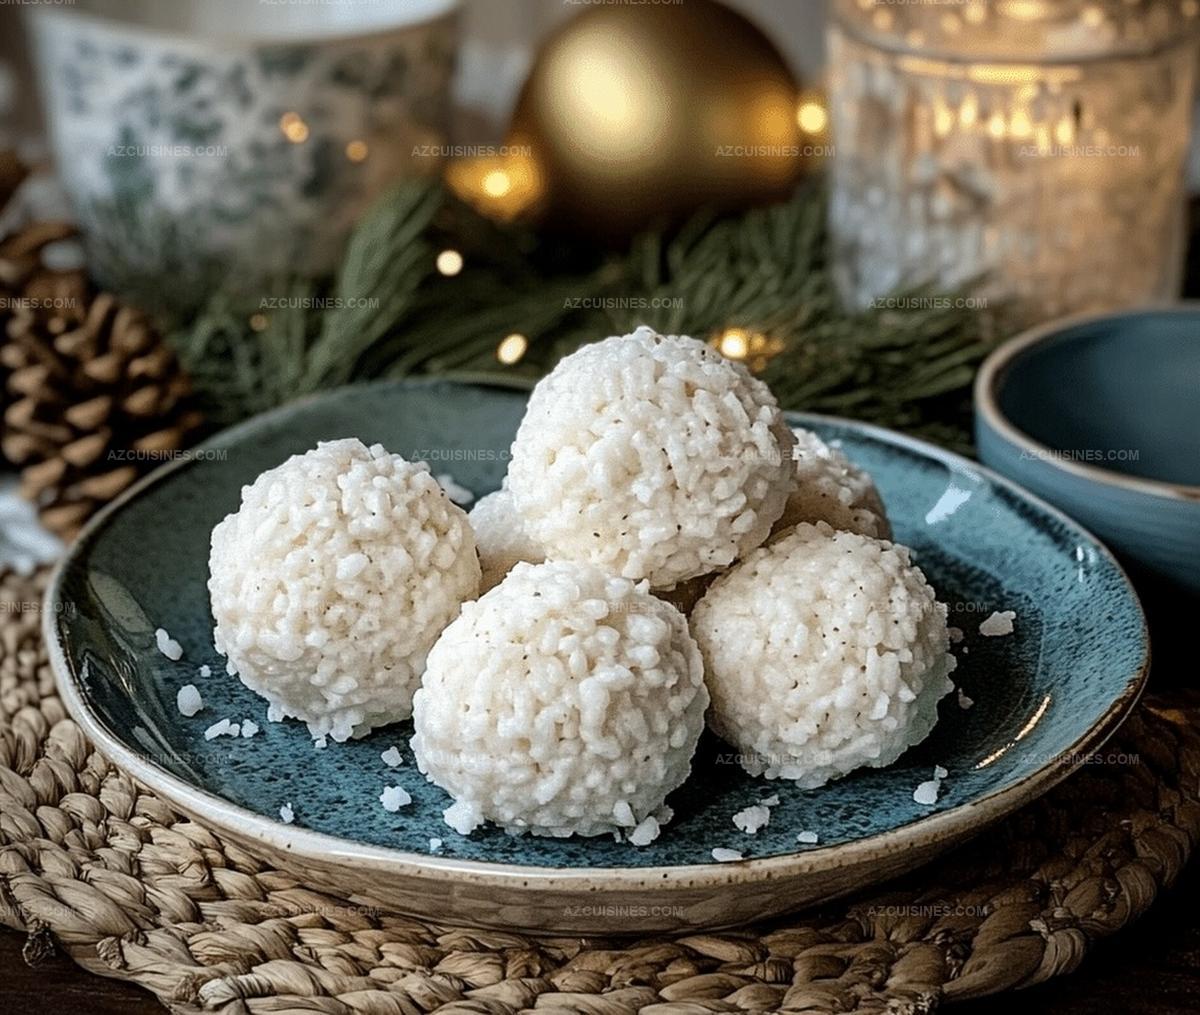
Magical Rice Krispie Snowballs Recipe: Winter’s Sweet Delight
Whipping up delightful rice krispie snowballs can transport you to a winter wonderland of sweet nostalgia.
Childhood memories dance through every sugary bite of these magical treats.
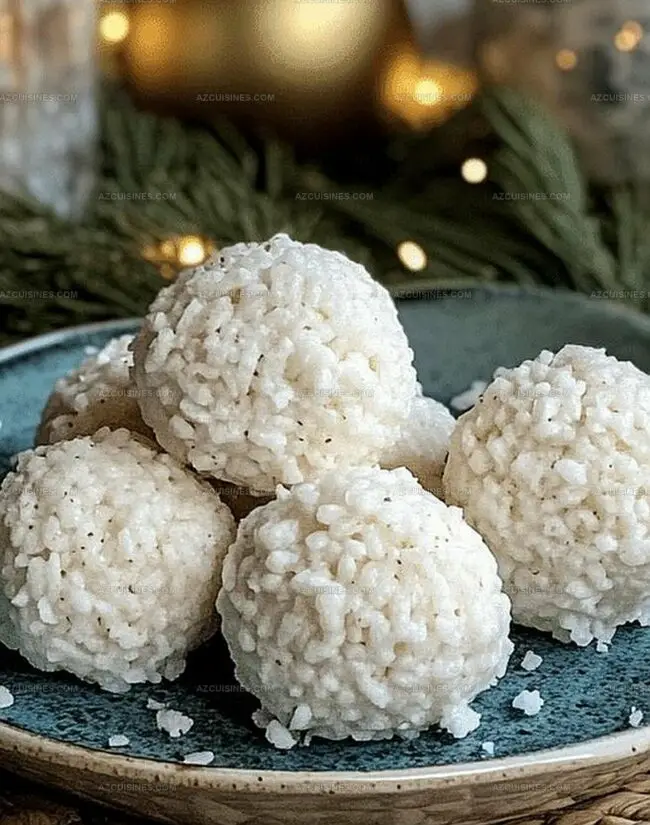
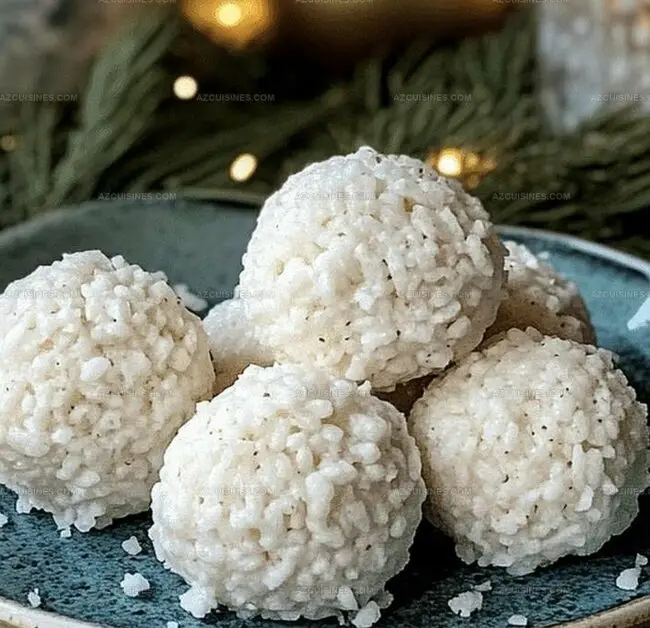
Marshmallow and crispy rice blend into perfect spheres that sparkle like freshly fallen snow.
Playful desserts often carry unexpected joy, capturing imagination with simple ingredients.
Cold days call for warm kitchen moments filled with laughter and creativity.
Each snowball promises a delectable escape from ordinary snacks.
Crafting these treats becomes an adventure you’ll savor with every delicious, powdery bite.
Why Rice Krispie Snowballs Are A Sweet Winter Treat
What You’ll Need For Rice Krispie Snowballs
For the Base:For the Flavor Enhancers:For the Coating:How To Make Rice Krispie Snowballs Step By Step
Step 1: Melt Butter Gently
Grab a spacious saucepan and let butter transform into a silky liquid pool over low heat. Watch carefully to prevent any browning, keeping the butter pure and smooth.
Step 2: Create Marshmallow Magic
Drop marshmallows into the melted butter, stirring constantly until they dissolve completely. The mixture should become a glossy, creamy wonderland that looks absolutely irresistible.
Step 3: Enhance With Flavor Boosters
Pull the pan off the heat and quickly introduce:Stir these flavor enhancers into the marshmallow mixture, ensuring perfect distribution.
Step 4: Fold In Crispy Cereal
Pour rice krispies into the marshmallow base. Use a silicone spatula to gently fold the cereal, coating every single piece without crushing the delicate crunch.
Step 5: Cool Down Mixture
Let the mixture rest for 2-3 minutes, allowing it to become manageable and cool enough to handle safely.
Step 6: Shape Delightful Balls
With lightly greased hands, roll the mixture into perfect round balls. Aim for bite-sized wonders about an inch in diameter.
Step 7: Create Coconut Sugar Coating
Mix together in a shallow bowl:Step 8: Roll And Coat Snowballs
Gently tumble each rice krispie ball in the sugar-coconut mixture. Ensure complete and even coverage for a stunning finish.
Step 9: Let Snowballs Set
Place coated treats on a parchment-lined baking sheet. Allow them to firm up at room temperature for 15-20 minutes.
Step 10: Serve And Store
Arrange snowballs on a beautiful serving platter. Store in an airtight container at room temperature, enjoying within 3 days for maximum deliciousness.
Helpful Tips For Rice Krispie Snowballs
Tasty Twists On Rice Krispie Snowballs
Perfect Pairings For Rice Krispie Snowballs
How To Store Rice Krispie Snowballs Right
FAQs About Rice Krispie Snowballs
You’ll need marshmallows, butter, rice krispies cereal, vanilla extract, salt, powdered sugar, and shredded coconut.
Yes, you can prepare them up to 2 days in advance and store them in an airtight container at room temperature.
Absolutely! Kids will love helping roll the balls and coating them in the sugar-coconut mixture, but adult supervision is recommended for the marshmallow melting step.
Lightly grease your hands with butter or cooking spray before rolling the balls to prevent sticking and make shaping easier.
Print
Rice Krispie Snowballs Recipe
- Total Time: 30 minutes
- Yield: 12 1x
Description
Winter magic meets sweet nostalgia in these delightful rice krispie snowballs, where marshmallow-coated treats roll into festive spheres of pure childhood joy. Snow-dusted and irresistibly charming, you’ll love these whimsical bites that sparkle with delicious memories.
Ingredients
Marshmallow Base:
- 4 cups marshmallows
- 1/4 cup butter
Rice Krispie Mixture:
- 6 cups rice krispies cereal
Coating and Decoration:
- 2 cups powdered sugar
- 1/2 cup shredded coconut
- 1 tsp vanilla extract
- 1/4 tsp salt
Instructions
- Prepare a large mixing bowl and line a baking sheet with parchment paper for easy cleanup and cooling.
- In a spacious saucepan, melt butter over low heat until it becomes smooth and liquid, avoiding any browning.
- Add marshmallows to the melted butter, stirring continuously until they completely dissolve and create a smooth, glossy mixture.
- Remove the marshmallow mixture from heat and quickly incorporate vanilla extract and salt, mixing thoroughly.
- Immediately pour rice krispies cereal into the marshmallow base, gently folding with a silicone spatula to ensure even coating without crushing the cereal.
- Allow the mixture to cool slightly for 2-3 minutes to make handling easier and prevent burning your hands.
- Using lightly greased hands, roll the mixture into uniform round balls, approximately 1-inch in diameter.
- Create a separate coating station with powdered sugar and shredded coconut mixed together in a shallow bowl.
- Gently roll each rice krispie ball in the sugar-coconut mixture, ensuring complete and even coverage.
- Place coated snowballs on the prepared parchment-lined baking sheet, allowing them to set and firm up at room temperature for about 15-20 minutes.
- Once set, arrange the snowballs on a serving platter, creating an appealing presentation.
- Store in an airtight container at room temperature for up to 3 days to maintain freshness and texture.
Notes
- Prevent sticky hands by lightly greasing palms with cooking spray or butter before shaping snowballs, ensuring smooth and effortless rolling.
- Customize the recipe by experimenting with different coatings like crushed graham crackers, colored sprinkles, or finely chopped nuts for unique texture and flavor variations.
- Maintain perfect marshmallow consistency by melting slowly over low heat and stirring constantly to prevent burning or uneven texture.
- Transform this classic treat into a gluten-free option by using certified gluten-free rice cereal and checking all ingredient labels carefully.
- Prep Time: 10 minutes
- Cook Time: 10 minutes
- Category: Snacks, Desserts
- Method: None
- Cuisine: American
Nutrition
- Serving Size: 12
- Calories: 201
- Sugar: 18 g
- Sodium: 55 mg
- Fat: 6 g
- Saturated Fat: 4 g
- Unsaturated Fat: 2 g
- Trans Fat: 0 g
- Carbohydrates: 36 g
- Fiber: 0 g
- Protein: 1 g
- Cholesterol: 15 mg
Truc Tran (Kris)
Senior Food Editor
Expertise
Home Cooking, Meal Planning, Recipe Development, Baking and Pastry, Food Editor, Cooking-video Maker, Vietnamese Food Evaluation Expert
Education
Truc Tran (Kris), an experienced food writer and editor, is great at exploring and describing global cuisines, from simple street food to fancy dining. In her writing, she skillfully mixes different flavors, cooking methods, and culinary traditions, showing the unique character of various cultures through their food and drinks. On azcuisines.com, Kris highlights her knowledge, especially in Asian cuisine and worldwide traditional dishes.