
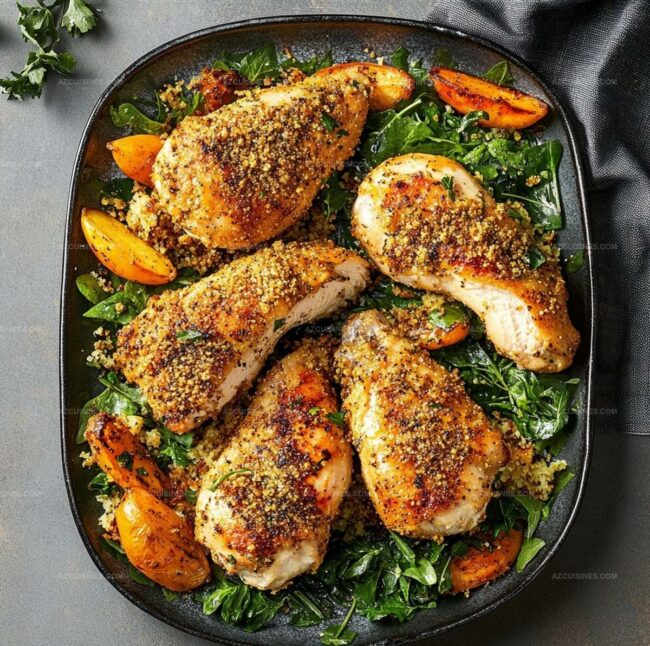
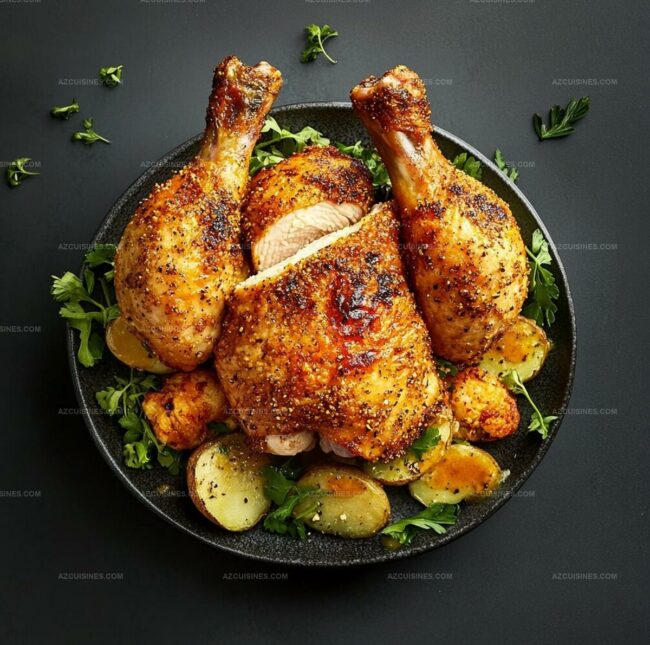
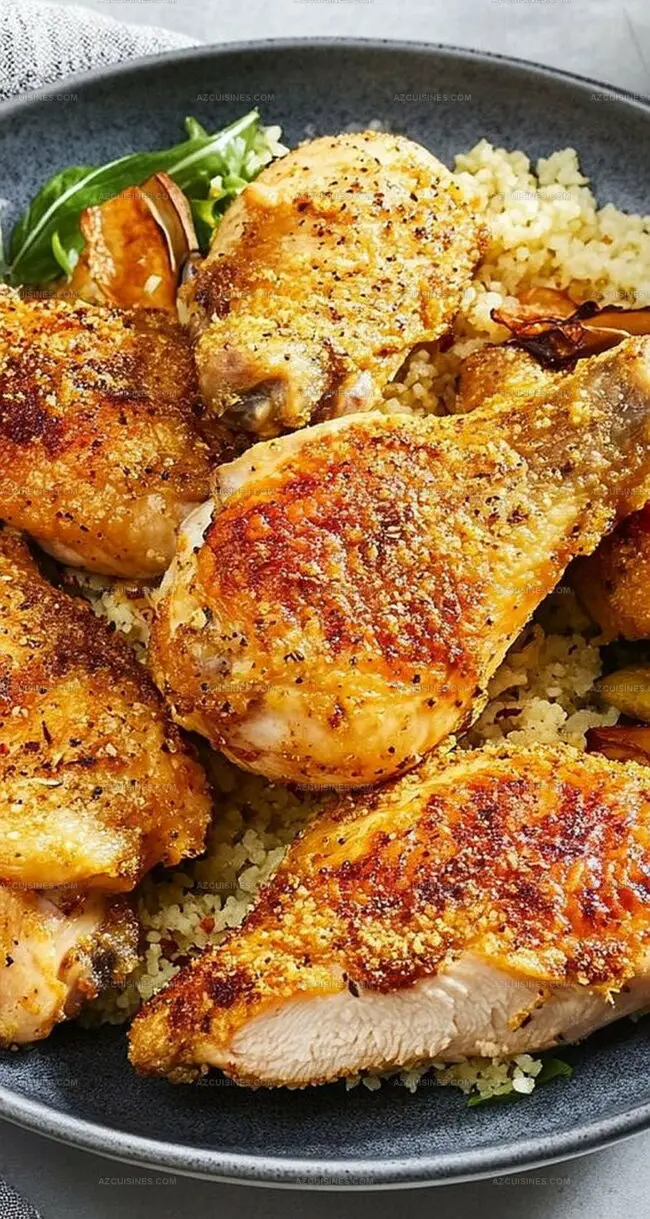
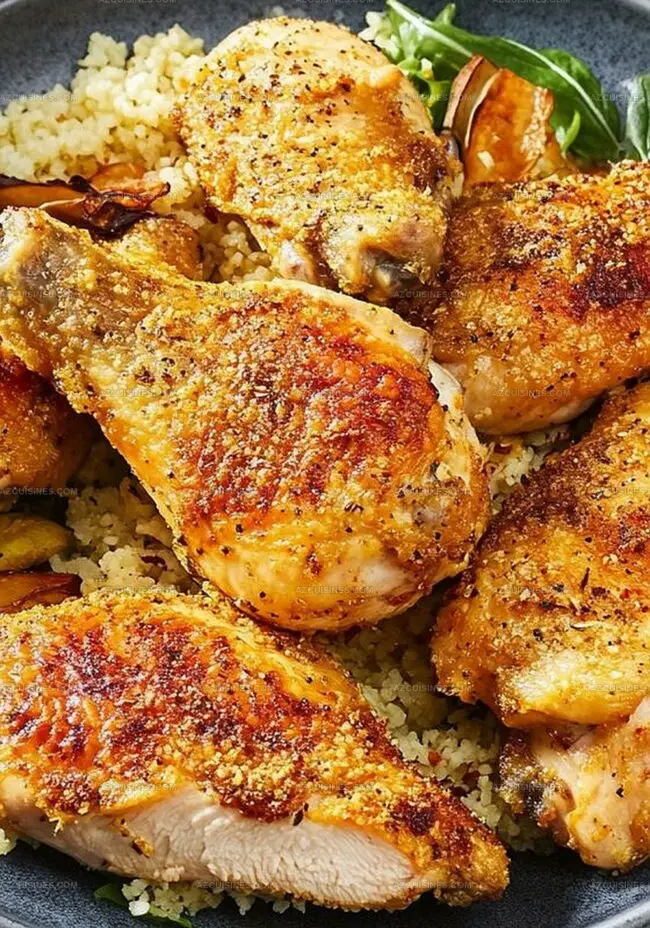
The Most Tender Shake and Bake Chicken Recipe Ever Made
Crispy, golden shake and bake chicken brings comfort right to your dinner table without complicated prep work.
Weeknight meals demand simple solutions that pack serious flavor.
Home cooks appreciate shortcuts that deliver delicious results quickly.
My grandmother’s classic approach inspired this straightforward technique for making restaurant-quality chicken at home.
Salt, pepper, and a zesty coating create magic in your kitchen.
Crunchy exterior and juicy interior promise a meal everyone will devour.
You can master this recipe in minutes and impress everyone around the table.
Why Shake and Bake Chicken Still Slaps
What You Need for That Signature Crunch
Main Protein:Coating Mix:Baking Ingredient:Shake, Bake, and Win with These Steps
Step 1: Crank Up the Heat
Fire up your oven to a blazing 450°F. This high temperature will help create that crispy, golden-brown exterior we all love.
Step 2: Create Flavor Explosion Coating
Grab a large resealable plastic bag and toss in:Mix these ingredients thoroughly to create a flavor-packed coating that will make your chicken sing.
Step 3: Dance with the Chicken
Drop your chicken pieces into the seasoned flour mixture.
Seal the bag and shake, shake, shake! Wiggle and bounce that bag until every inch of chicken is completely covered in the tasty coating.
Step 4: Butter the Battlefield
Place butter in a 9×13-inch baking dish and slide it into the hot oven. Let the butter melt and create a slick, delicious base for your chicken.
Step 5: First Bake Position
Carefully arrange the flour-coated chicken pieces skin-side down in the buttery baking dish. Slide the dish into the oven and bake for 20 minutes.
Step 6: Flip and Finish
Turn the chicken pieces over so the other side can get that beautiful golden crunch. Bake for another 20 minutes.
Check that the internal temperature hits 165°F near the bone to ensure it’s perfectly cooked.
Step 7: Serve and Devour
Pull out your gorgeous, crispy chicken and serve immediately.
Get ready for a flavor explosion that’ll make your taste buds dance!
Tips for Crispy, Juicy Chicken Every Time
Shake and Bake Combos That Mix It Up
Pairing Ideas for This Classic Throwback
Storage Tips to Keep That Coating Crispy
FAQs for Easy, Crunchy Chicken Wins
The bag allows even, mess-free coating and helps the seasoning stick perfectly to every chicken piece without using extra dishes.
Yes, skinless chicken works fine. Just ensure you adjust cooking time slightly and add a little extra butter or oil to prevent drying.
You can substitute herbs and spices based on what’s in your pantry. Dried thyme, oregano, or garlic powder are great alternatives to sage.
Always check the internal temperature reaches 165°F (74°C) using a meat thermometer. Clear juices and no pink meat are additional indicators of doneness.
Print
Shake and Bake Chicken Recipe
- Total Time: 50 minutes
- Yield: 4 1x
Description
Crispy, golden shake and bake chicken elevates classic comfort food with a crunchy coating that seals in juicy flavor. Home cooks can quickly craft this simple, delightful meal that brings restaurant-style crunch straight to family dinner tables.
Ingredients
Chicken:
- 4 pounds (1.8 kg) chicken pieces (drumsticks, thighs, or breasts)
Dry Coating Mix:
- 1 cup (120 grams) all-purpose flour
- 1 teaspoon (5 grams) salt
- 1 teaspoon (2 grams) paprika
- 1 teaspoon (1 gram) dried sage
- 1/4 teaspoon (0.5 grams) black pepper
Fat:
- 4 tablespoons (56 grams) unsalted butter
Instructions
- Heat the oven to a scorching 450°F (230°C), ensuring a perfectly crisp exterior.
- Blend the dry seasonings thoroughly in a large, sealable plastic bag, creating a flavorful coating mixture.
- Tumble the chicken pieces into the seasoned flour blend, sealing the bag and vigorously shaking to achieve a uniform, crispy layer.
- Place butter in a spacious 9×13-inch baking dish, allowing it to melt completely in the preheated oven.
- Carefully position the flour-dusted chicken pieces skin-side down in the melted butter, ensuring maximum contact for golden browning.
- Roast for 20 minutes, allowing the bottom to develop a rich, golden crust.
- Gently flip each piece, exposing the uncooked side to direct heat for even cooking and additional crispiness.
- Continue baking for another 20 minutes, verifying doneness by checking that internal temperature reaches 165°F (74°C) near the bone and juices run clear.
- Remove from oven, let rest briefly, then serve piping hot for maximum flavor and texture.
Notes
- Swap flour for gluten-free alternatives like almond or rice flour to make the recipe celiac-friendly and accommodating for those with wheat sensitivities.
- Reduce sodium content by using low-salt seasonings or replacing salt with herb blends like Italian or Herbs de Provence for a healthier version.
- Pat chicken completely dry before coating to ensure the seasoning adheres better and creates a crispier exterior with maximum flavor absorption.
- Check internal temperature with a meat thermometer to guarantee chicken is perfectly cooked without drying out, aiming for the precise 165°F sweet spot.
- Prep Time: 10 minutes
- Cook Time: 40 minutes
- Category: Dinner, Snacks
- Method: Baking
- Cuisine: American
Nutrition
- Serving Size: 4
- Calories: 450
- Sugar: 0 g
- Sodium: 470 mg
- Fat: 28 g
- Saturated Fat: 14 g
- Unsaturated Fat: 10 g
- Trans Fat: 1 g
- Carbohydrates: 18 g
- Fiber: 1 g
- Protein: 34 g
- Cholesterol: 120 mg
Truc Tran (Kris)
Senior Food Editor
Expertise
Home Cooking, Meal Planning, Recipe Development, Baking and Pastry, Food Editor, Cooking-video Maker, Vietnamese Food Evaluation Expert
Education
Truc Tran (Kris), an experienced food writer and editor, is great at exploring and describing global cuisines, from simple street food to fancy dining. In her writing, she skillfully mixes different flavors, cooking methods, and culinary traditions, showing the unique character of various cultures through their food and drinks. On azcuisines.com, Kris highlights her knowledge, especially in Asian cuisine and worldwide traditional dishes.