
Dreamy Soft Christmas Peppermints Recipe: Holiday Magic in Every Bite
Mixing soft christmas peppermints brings a delightful burst of holiday cheer right into your kitchen.
Candy crafting becomes a magical experience when you sprinkle festive peppermint magic into each sweet creation.
Winter celebrations deserve something special that melts smoothly on your tongue.
Sweet moments emerge from simple ingredients combined with care and excitement.
Seasonal treats like these connect us to cherished memories and warm feelings.
Crisp mint flavors dance through this simple recipe, promising joy in every delectable bite.
You can create these delicious morsels that will spark smiles and spark holiday spirit.
Why The Magic Of Soft Christmas Peppermints Is Real
What You’ll Need For The Magic Of Soft Christmas Peppermints
Sugar Base:Flavoring and Coloring:Dusting and Preventing Sticking:Easy Steps To Make The Magic Of Soft Christmas Peppermints
Step 1: Prepare Baking Surface
Line a baking sheet with a silicone mat or parchment paper. Create a dusting mixture using powdered sugar and cornstarch, generously coating the surface to prevent sticking.
Step 2: Create Sugar Base
In a heavy-bottomed saucepan, combine:Stir gently until sugar dissolves completely.
Step 3: Heat Sugar Mixture
Cook the mixture without stirring, allowing it to reach 300°F (hard crack stage) on a candy thermometer. This process typically takes 10-12 minutes.
Step 4: Add Peppermint Flavor
Remove from heat and quickly stir in peppermint extract. Be cautious to avoid splattering hot sugar.
Step 5: Divide and Color
Split the molten sugar mixture into two portions. Keep one portion clear and add red food coloring to the other.
Step 6: Create Marbled Design
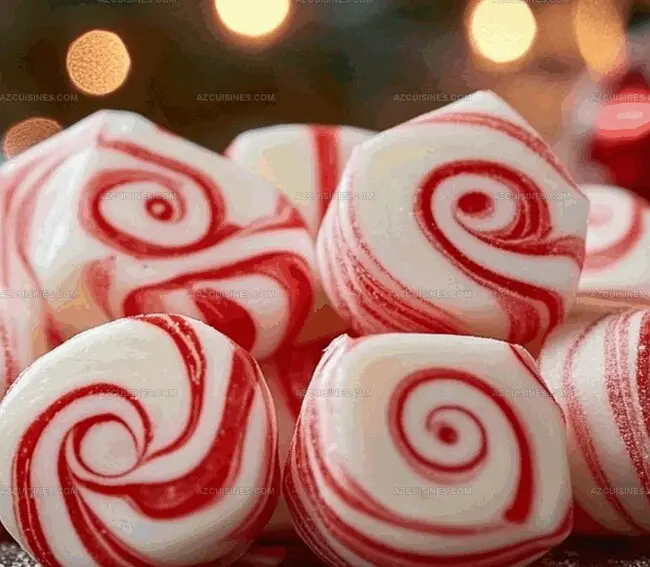
Pour white and red mixtures onto the prepared baking sheet. Use a spatula or bench scraper to gently swirl colors together, creating a beautiful marbled effect.
Step 7: Initial Cooling
Allow the candy to cool at room temperature for 3-5 minutes until slightly firm but still pliable.
Step 8: Stretch and Fold
Put on heat-resistant gloves and begin folding and stretching the candy. Work quickly to prevent hardening.
Step 9: Develop Texture
Continue pulling and folding the candy to create a glossy, smooth texture. Ensure even color distribution.
Step 10: Shape and Cut
When the candy becomes opaque and loses its shine, use clean kitchen shears to cut into small pieces.
Step 11: Final Cooling
Let the peppermints cool completely on the dusted surface.
Step 12: Store Properly
Store cooled peppermints in an airtight container, placing parchment paper between layers to prevent sticking.
Helpful Tips For The Magic Of Soft Christmas Peppermints
Festive Spins On The Magic Of Soft Christmas Peppermints
What To Serve With The Magic Of Soft Christmas Peppermints
How To Store The Magic Of Soft Christmas Peppermints Right
FAQs About The Magic Of Soft Christmas Peppermints
A candy thermometer ensures precise temperature for perfect candy texture, preventing undercooking or burning the sugar mixture.
Yes, you can keep the peppermints white or use natural food colorings like beet juice for a red tint.
Always wear heat-resistant gloves and dust your work surface generously with powdered sugar and cornstarch mixture.
Work in a warm room, move swiftly, and have all tools ready before starting. If it hardens, you can gently reheat the candy to make it pliable again.
Print
Soft Christmas Peppermints Recipe
- Total Time: 22 minutes
- Yield: 2 1x
Description
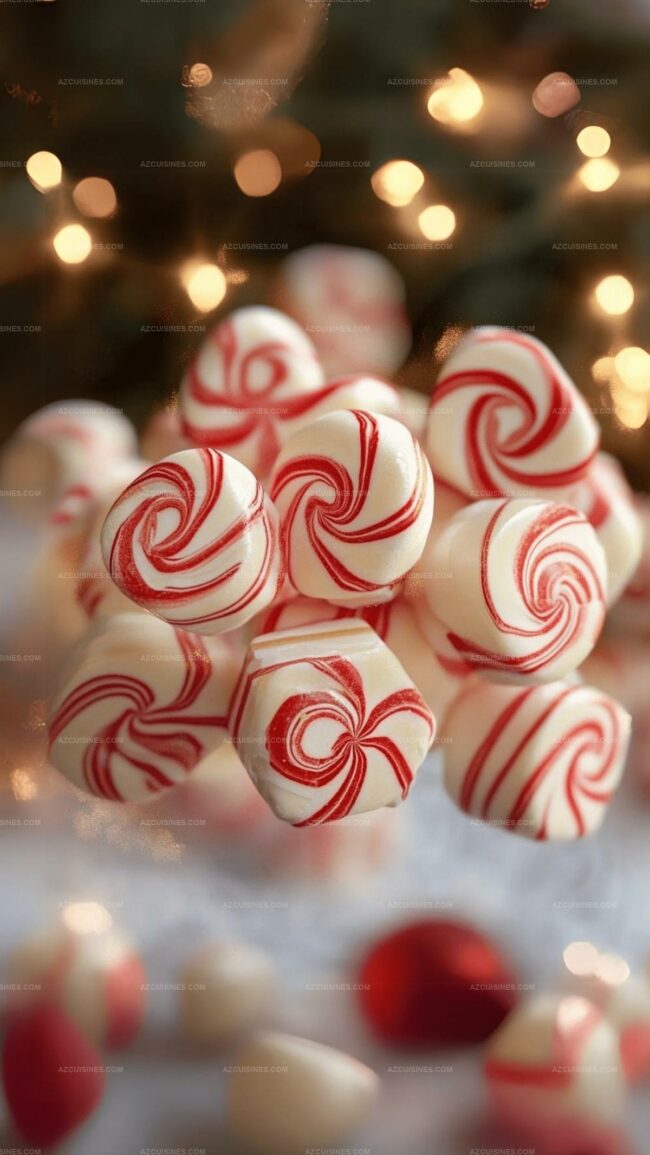
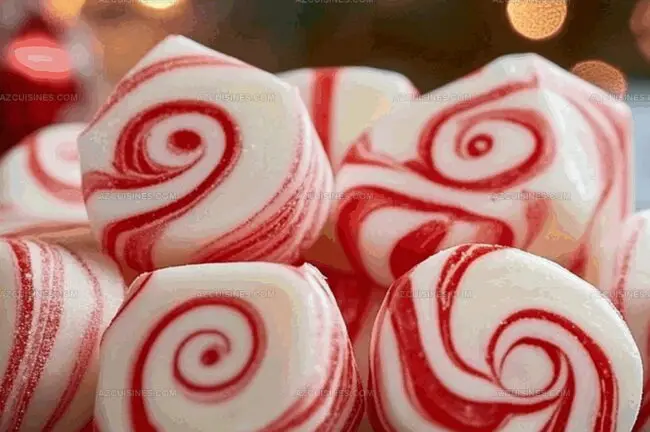
Festive Christmas Peppermints melt hearts with classic holiday cheer, bringing sweet memories of family gatherings. Delicate red and white swirls promise delightful moments you’ll treasure and share with loved ones.
Ingredients
Main Ingredients:
- 2 cups granulated sugar
- 1/2 cup water
- 1/4 cup light corn syrup
- 1 tsp peppermint extract
Flavoring and Coloring:
- 1/2 tsp red food coloring
- 1/2 tsp white food coloring
Tools and Dusting:
- 1/4 cup powdered sugar (for dusting)
- 1 tbsp cornstarch (for preventing sticking)
Instructions
- Prepare a baking sheet by lining it with a silicone mat or parchment paper, then dust generously with a mixture of powdered sugar and cornstarch to prevent sticking.
- Combine granulated sugar, water, and corn syrup in a heavy-bottomed saucepan, stirring gently until sugar dissolves completely.
- Heat the mixture without stirring, allowing it to reach 300°F (hard crack stage) on a candy thermometer, which typically takes 10-12 minutes.
- Immediately remove from heat and quickly stir in peppermint extract, working carefully to avoid splattering.
- Divide the molten sugar mixture into two separate portions, keeping one portion clear and adding red food coloring to the other.
- Working swiftly, pour the white and red mixtures onto the prepared baking sheet, allowing them to spread naturally.
- Use a spatula or bench scraper to gently swirl the colors together, creating a marbled effect without overmixing.
- Allow the candy to cool at room temperature for 3-5 minutes until it becomes slightly firm but still pliable.
- Wearing heat-resistant gloves, fold and stretch the candy, working quickly to prevent hardening.
- Pull and fold the candy repeatedly to create a glossy, smooth texture and distribute colors evenly.
- Once the candy becomes opaque and loses its shine, begin cutting into small pieces using clean kitchen shears.
- Let the peppermints cool completely on the dusted surface, then store in an airtight container between layers of parchment paper.
Notes
- Prep your workspace meticulously by having all tools and ingredients measured and ready before starting the candy-making process.
- Invest in a reliable candy thermometer to ensure precise temperature control, which is crucial for achieving the perfect hard crack stage.
- Use gel food coloring instead of liquid for more vibrant colors and minimal liquid interference with the sugar mixture.
- Silicone gloves are essential for protecting hands during the pulling and stretching stage, preventing burns while allowing maximum dexterity.
- Prep Time: 10 minutes
- Cook Time: 12 minutes
- Category: Snacks, Desserts
- Method: Boiling
- Cuisine: American
Nutrition
- Serving Size: 2
- Calories: 380
- Sugar: 56 g
- Sodium: 0 mg
- Fat: 0 g
- Saturated Fat: 0 g
- Unsaturated Fat: 0 g
- Trans Fat: 0 g
- Carbohydrates: 98 g
- Fiber: 0 g
- Protein: 0 g
- Cholesterol: 0 mg
Truc Tran (Kris)
Senior Food Editor
Expertise
Home Cooking, Meal Planning, Recipe Development, Baking and Pastry, Food Editor, Cooking-video Maker, Vietnamese Food Evaluation Expert
Education
Truc Tran (Kris), an experienced food writer and editor, is great at exploring and describing global cuisines, from simple street food to fancy dining. In her writing, she skillfully mixes different flavors, cooking methods, and culinary traditions, showing the unique character of various cultures through their food and drinks. On azcuisines.com, Kris highlights her knowledge, especially in Asian cuisine and worldwide traditional dishes.